Step 1 - Project Setup
Creating Your Lab
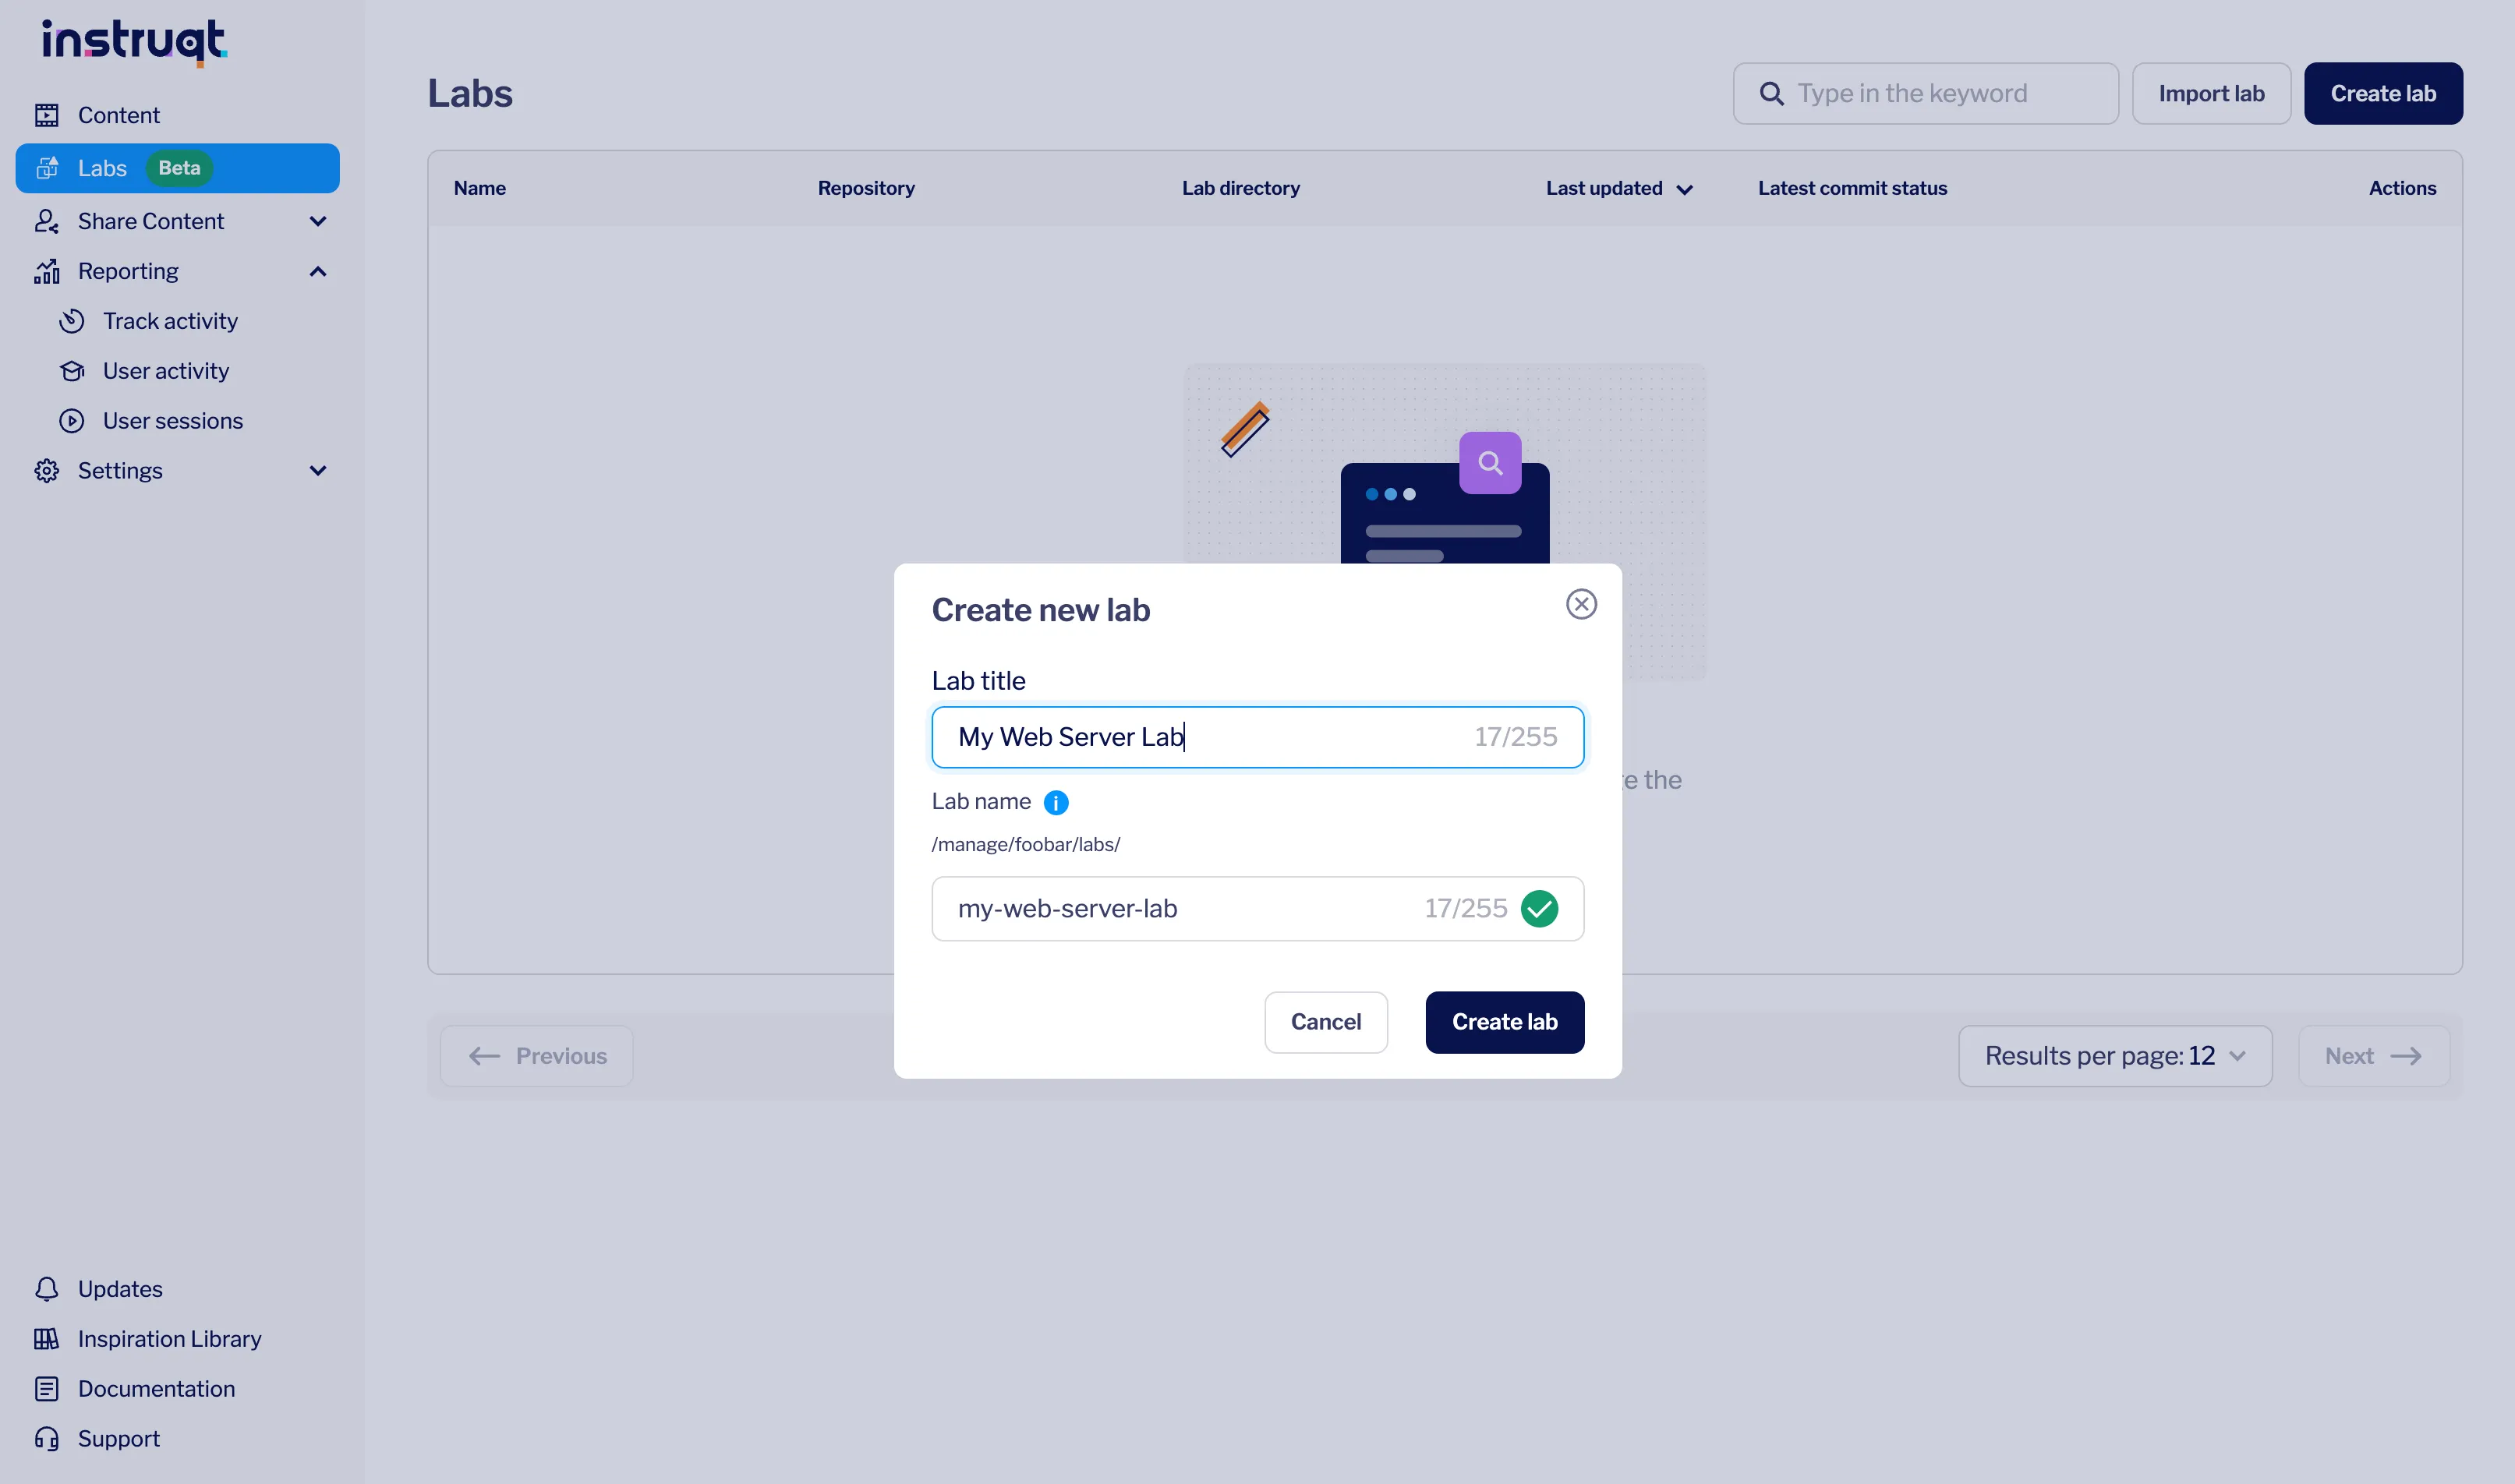
Section titled “Creating Your Lab”Labs can be accessed in the Labs section of the menu. All your labs are listed in this page. To create a new lab, click the Create Lab button in the top right corner.

Let’s call it My Web Server Lab and click Create Lab.
The title is visible to users, whereas the name is used in the lab URL and remains unique across all references in the lab. These values do not need to match and can be modified at any time. For now, we’ll keep them as they are.
Version Control and Tracking
Section titled “Version Control and Tracking”Every lab is versioned, so all changes are automatically recorded. This ensures you can review the history of your lab and see exactly what has changed over time.
Safe, Isolated Editing
Section titled “Safe, Isolated Editing”When you make updates, they happen in your own isolated environment. This allows you to review and test changes before saving them to the main lab, keeping the original version safe from accidental modifications.
Collaboration and Conflict Resolution
Section titled “Collaboration and Conflict Resolution”Multiple users can work on separate branches simultaneously. If conflicting changes arise, they can be reviewed and resolved before merging, ensuring smooth collaboration.
Versions and Releases
Section titled “Versions and Releases”You can create versions or release tags to mark important milestones in your lab. For example, you might tag a “v1.0” version for the first stable release, a “workshop-2025” version for a training session, or a “beta-feature” version for experimental updates. You can also maintain separate versions for different software updates—for instance, one version of your lab could be set up for version 2.0 of a software, while another version is prepared for version 3.0. This approach allows you to manage multiple stages of your lab simultaneously, easily switch between versions, and track its evolution over time.
The title of a lab can be customized for each version, giving each iteration its own identity, while the lab’s name remains unique across all versions. This is the name that will be used in the urls when accessing your lab.
Read more
Section titled “Read more”- You can also use your own GitHub repository to start your lab. See the Getting Started (Code flow) to learn more.
What’s Next
Section titled “What’s Next”In the next step, you’ll define the infrastructure that powers your lab by creating containers, networks, and user interface elements that learners will interact with.
