Assets
Assets are files that you can include in your labs so you can add them in your instructions. These files can be images, pdf files, or any other type of file you want to provide to your users.
Adding Assets
Section titled “Adding Assets”To add assets to your lab, navigate to the Assets tab in the lab editor. Here, you can upload files from your computer by clicking the Upload assets button. A drawer will open where you can click Add from device or drag and drop files directly into the drawer.
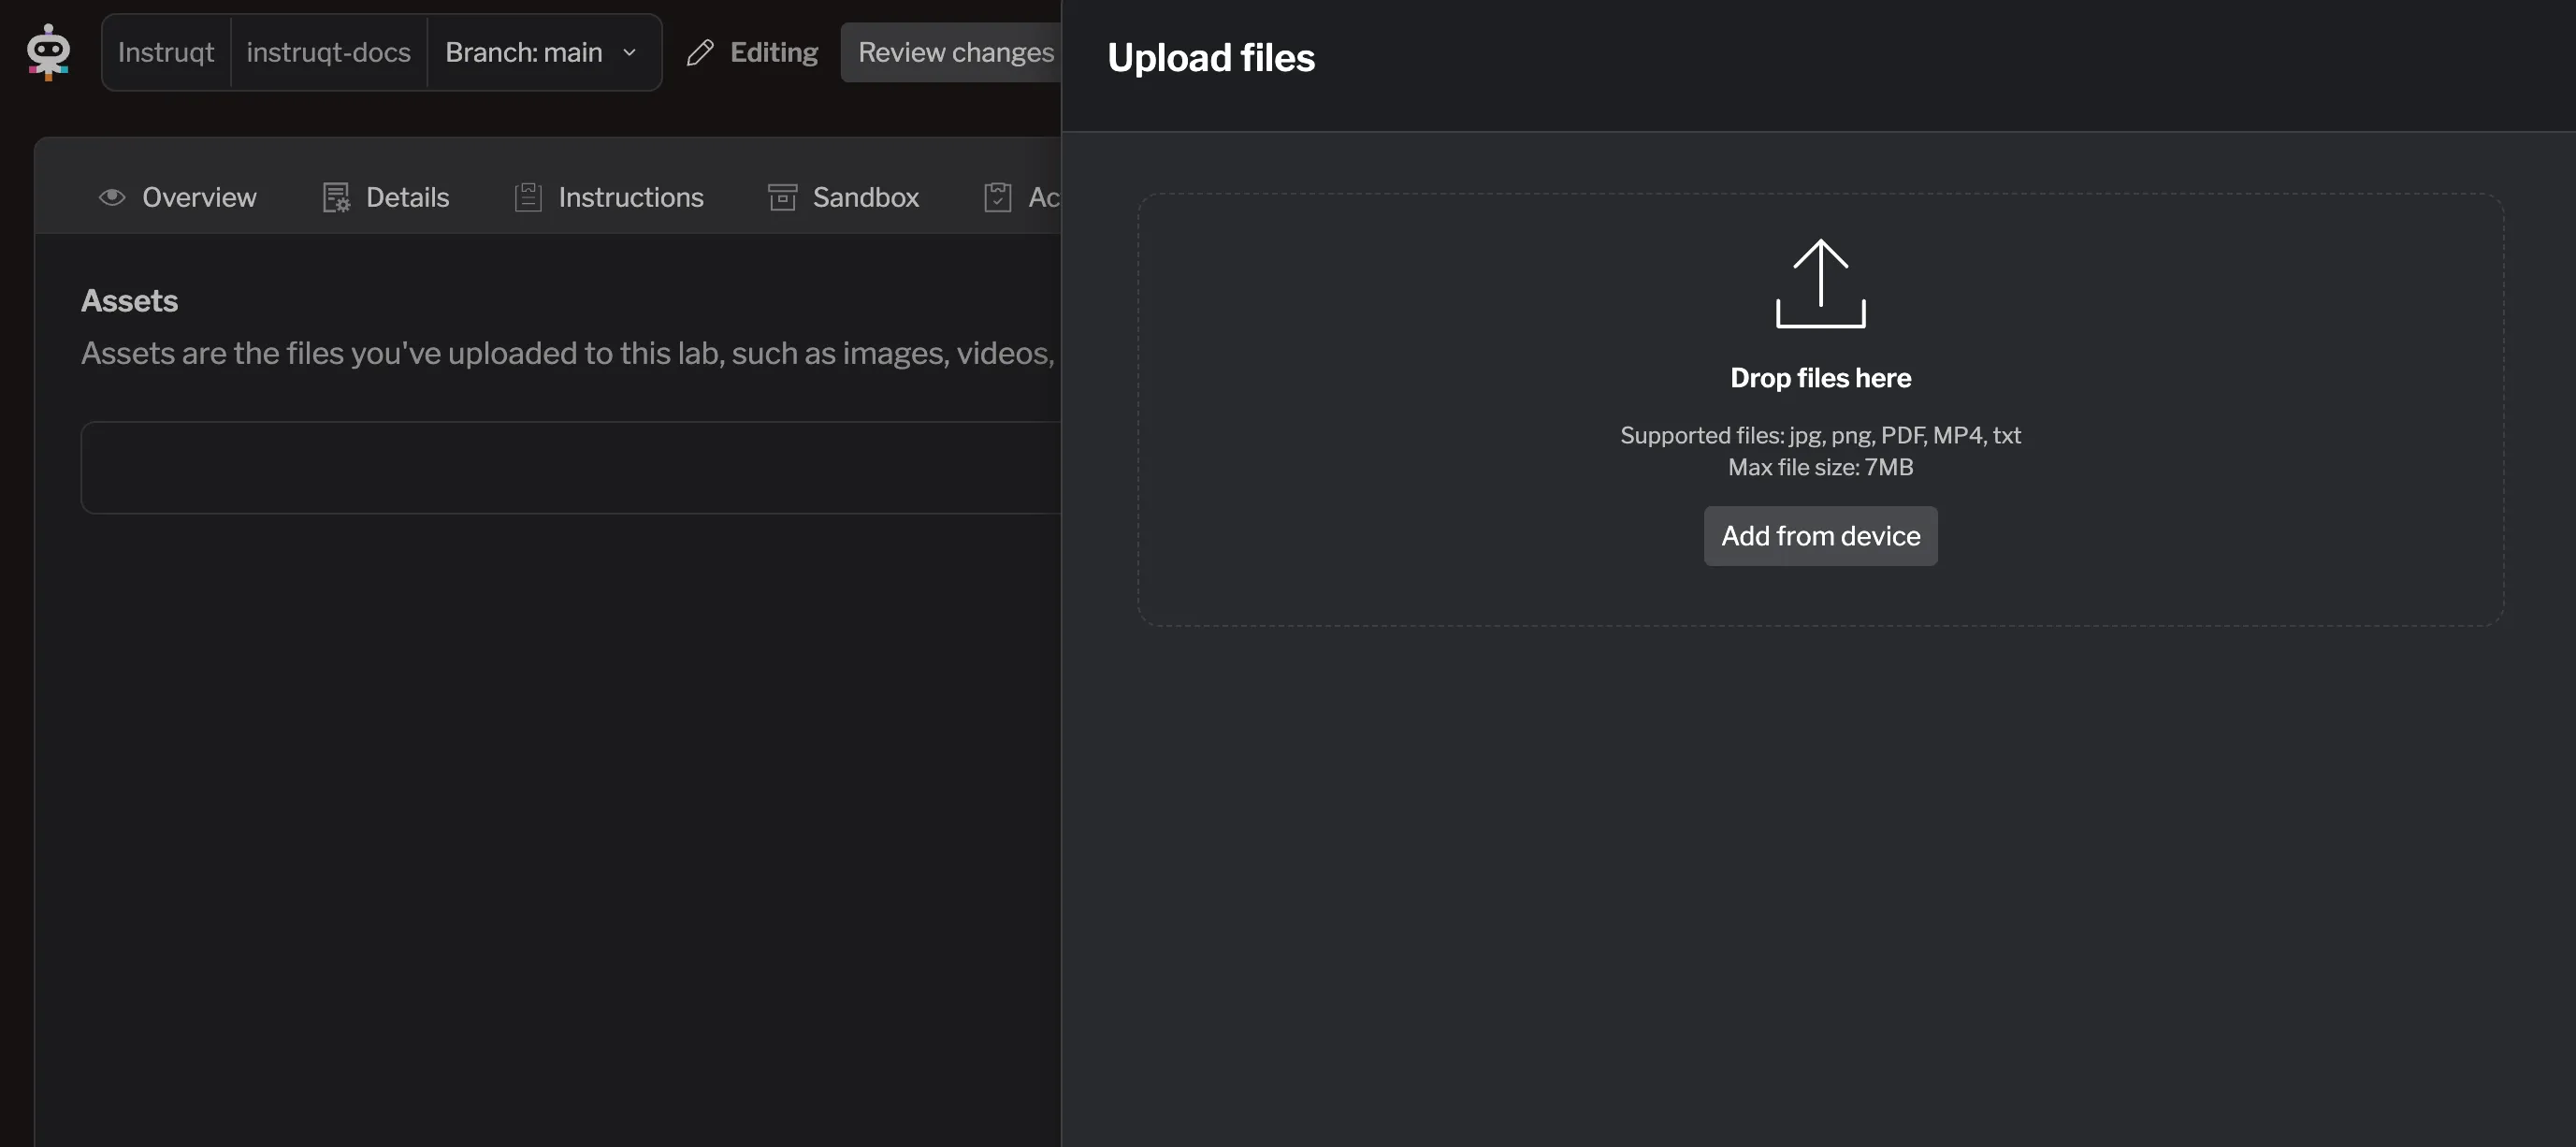
Your file will be uploaded immediately and will appear in the list of assets for your lab.
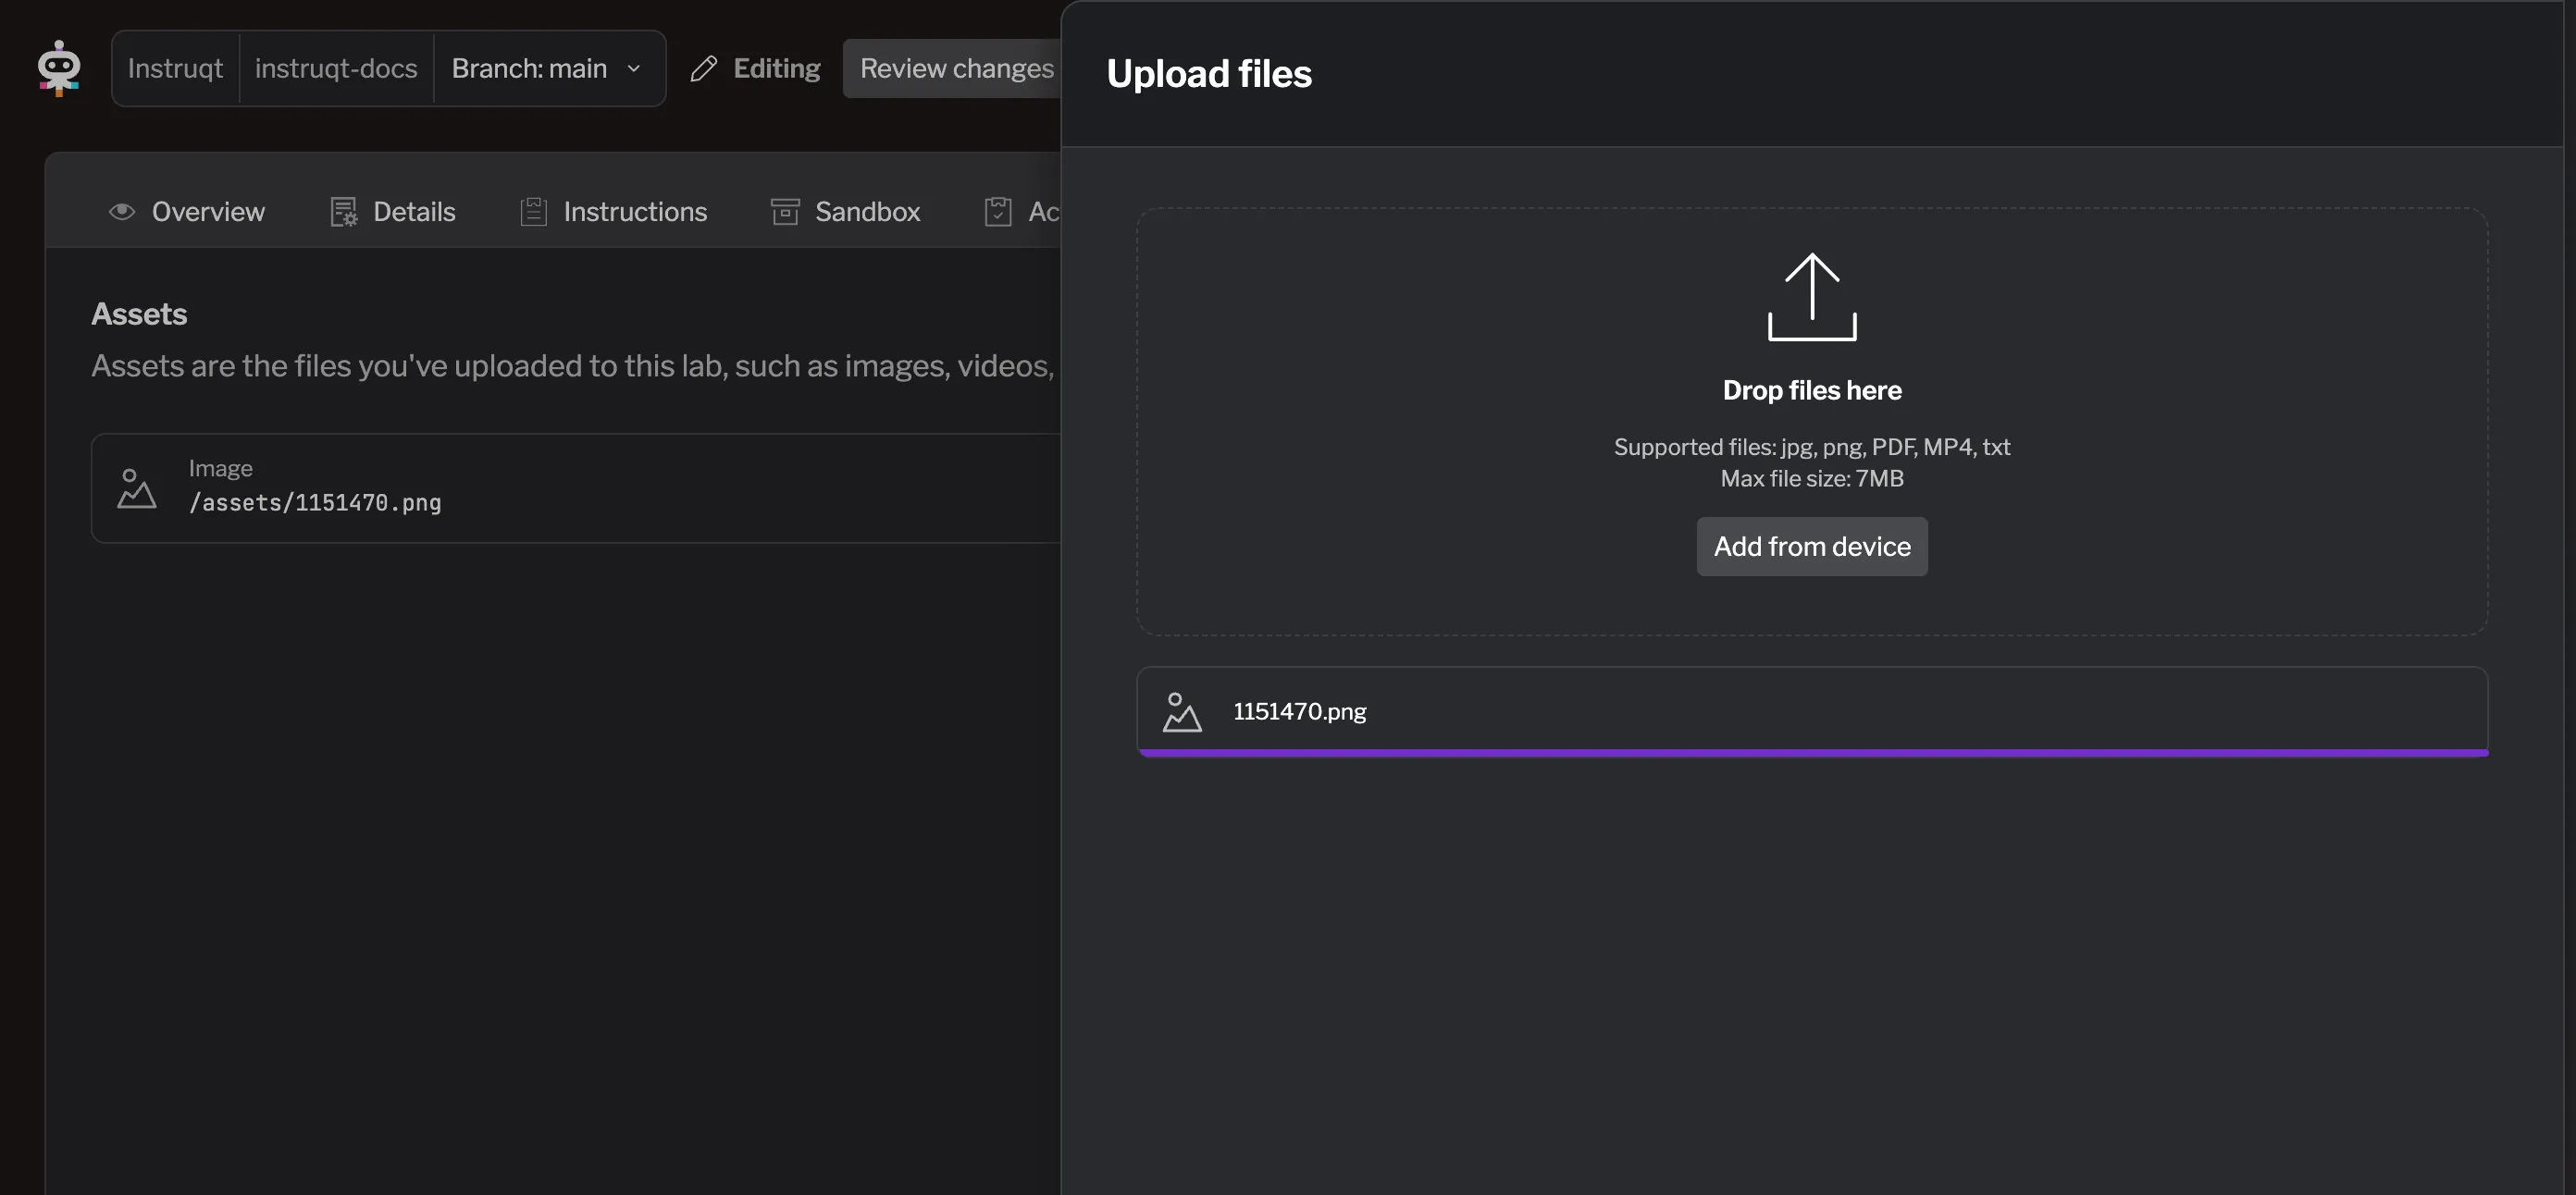
Update Assets
Section titled “Update Assets”To update an asset, click the pencil icon next to the one you want to rename. The file name will become editable. You can also organize assets into subdirectories by including slashes in the name (for example, images/my-image.png).
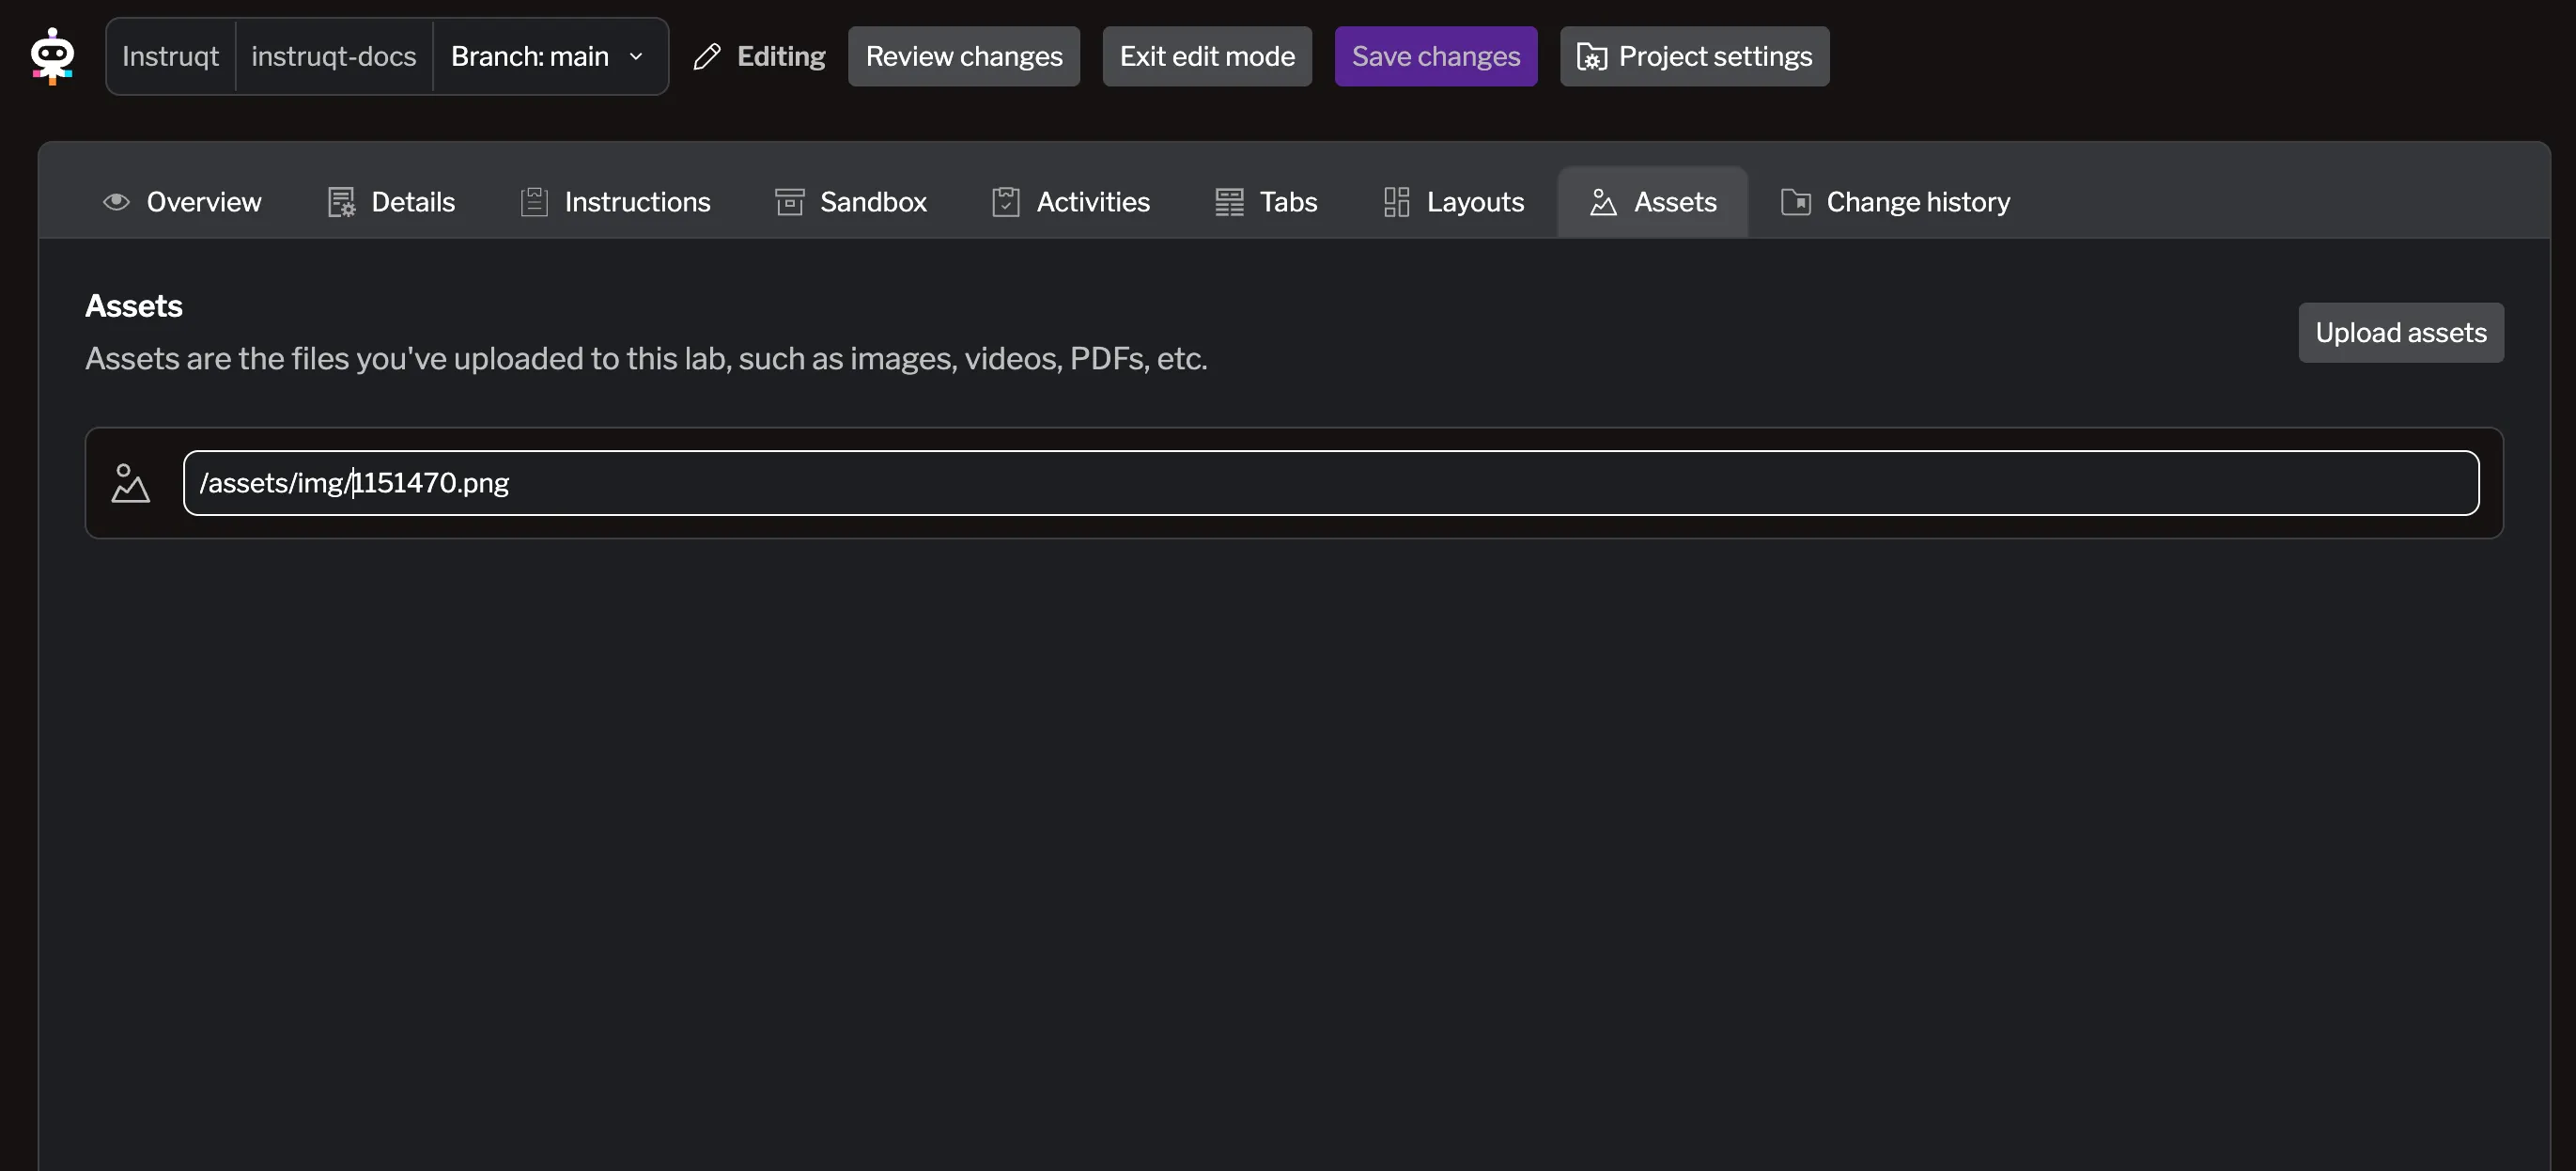
After editing the file name or location, press Enter to save your changes and update the asset.
Using Assets in Instructions
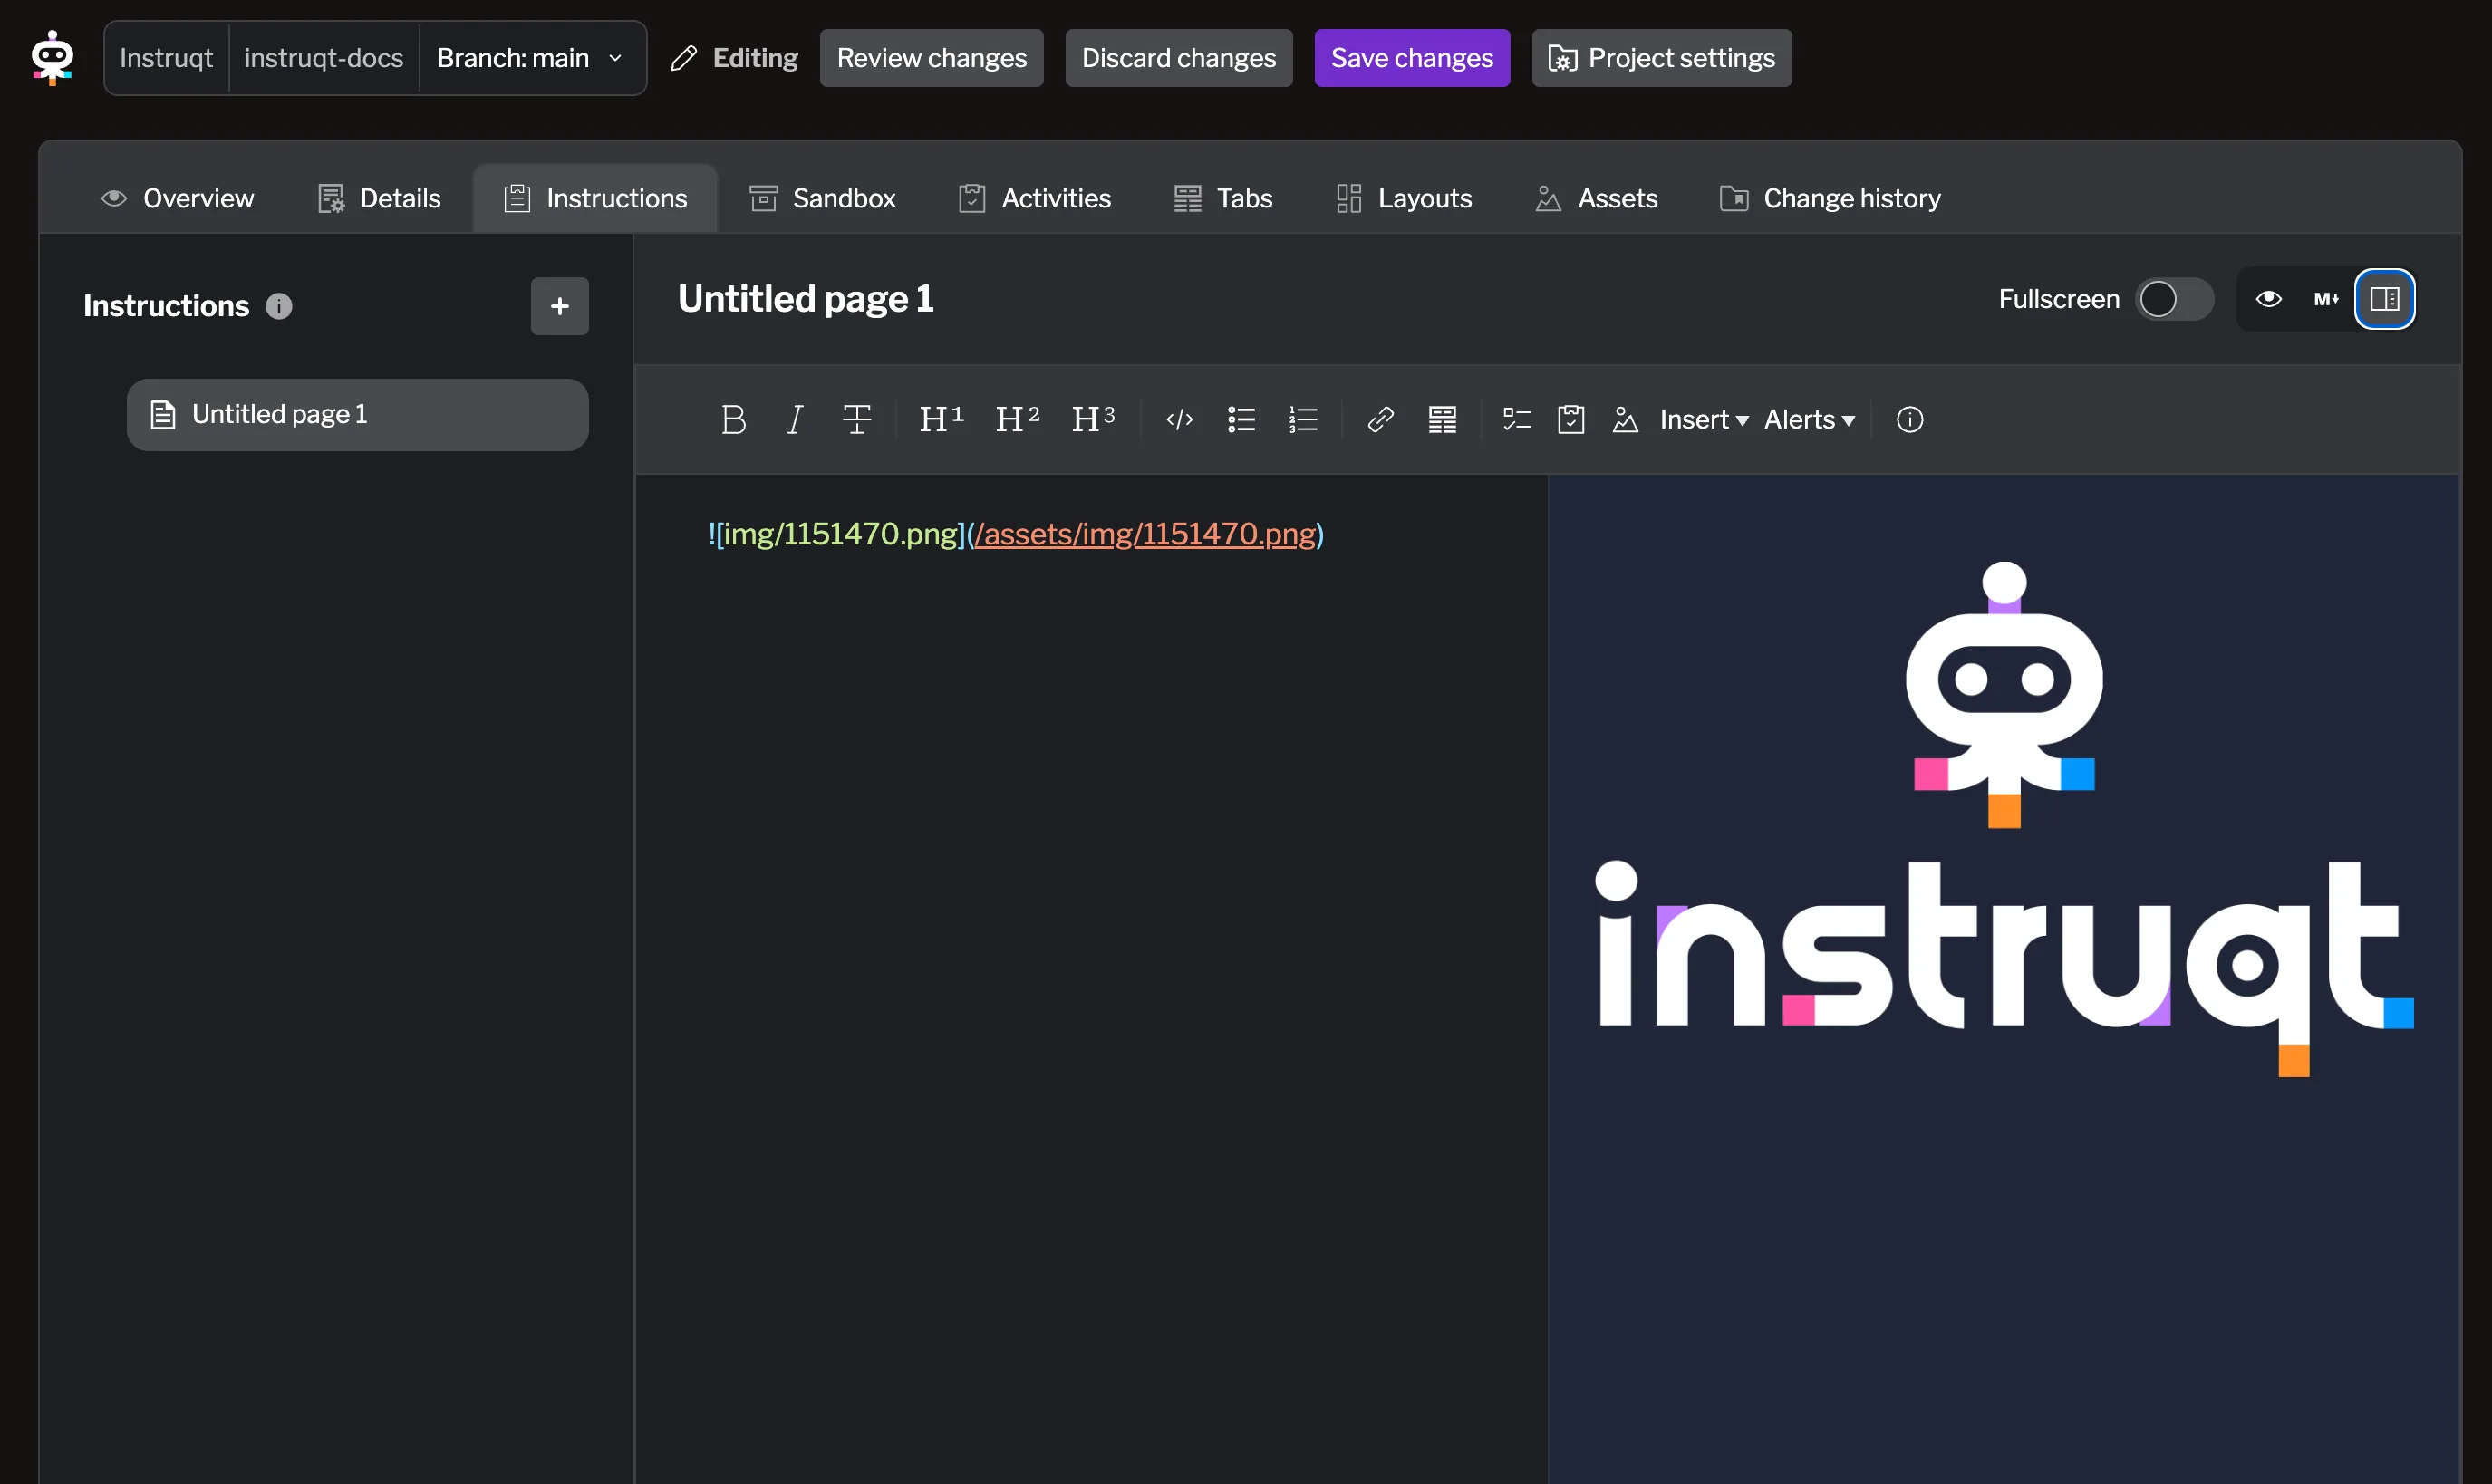
Section titled “Using Assets in Instructions”To add an asset to your page, go to the Instructions tab while editing a page. Then, click the Add asset icon at the top and choose the asset you want to include:
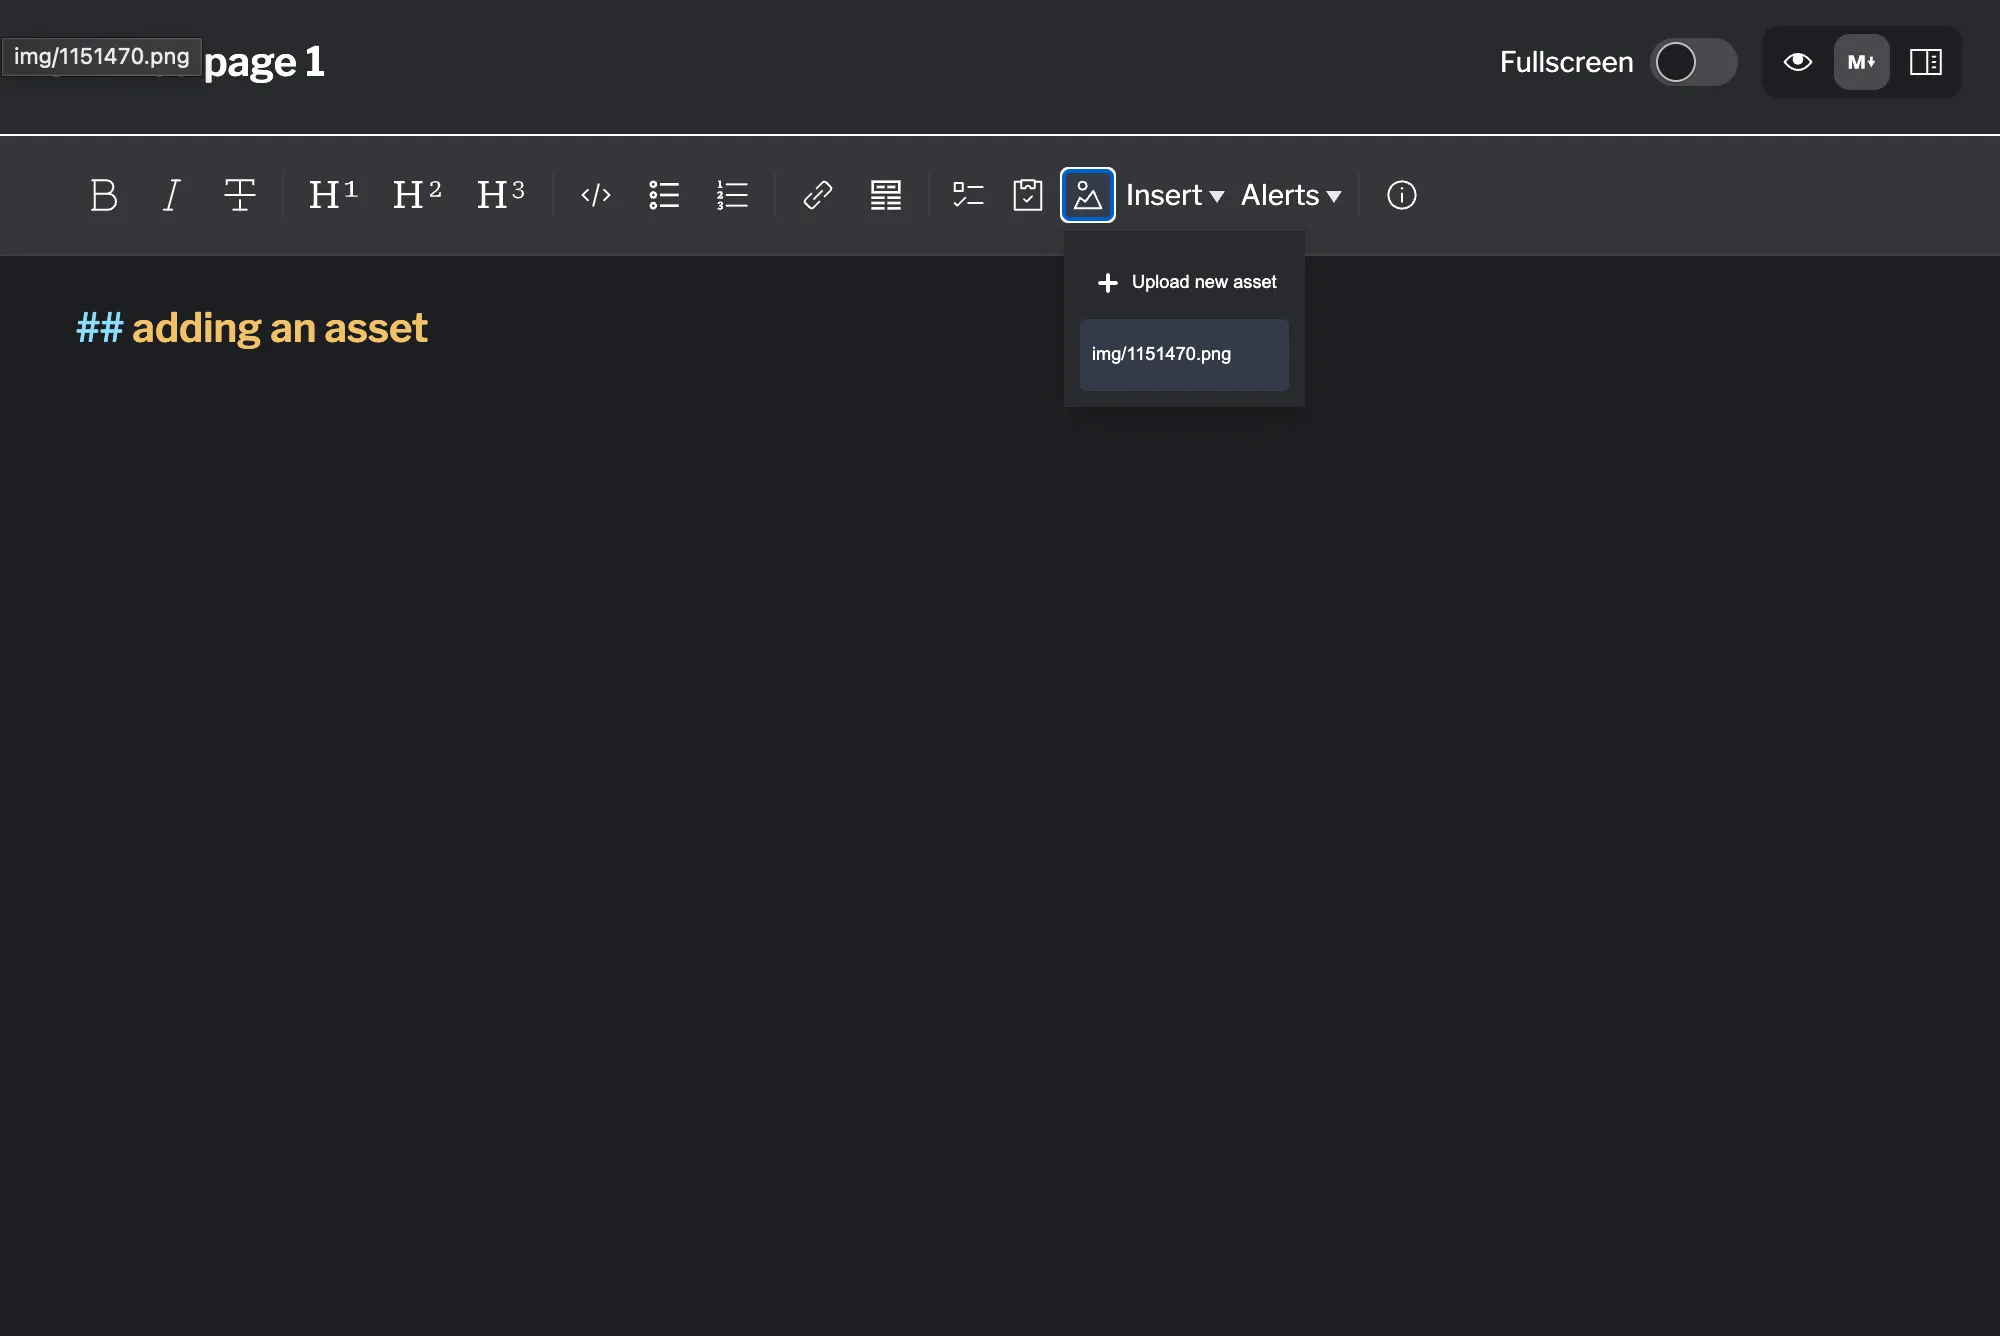
it will show up as markdown, e.g.:
Assets are displayed based on their type — for example, a video asset appears as a video player, an image as an image, and a PDF as an embedded viewer.
You can preview how it will look in the markdown preview:
Deleting Assets
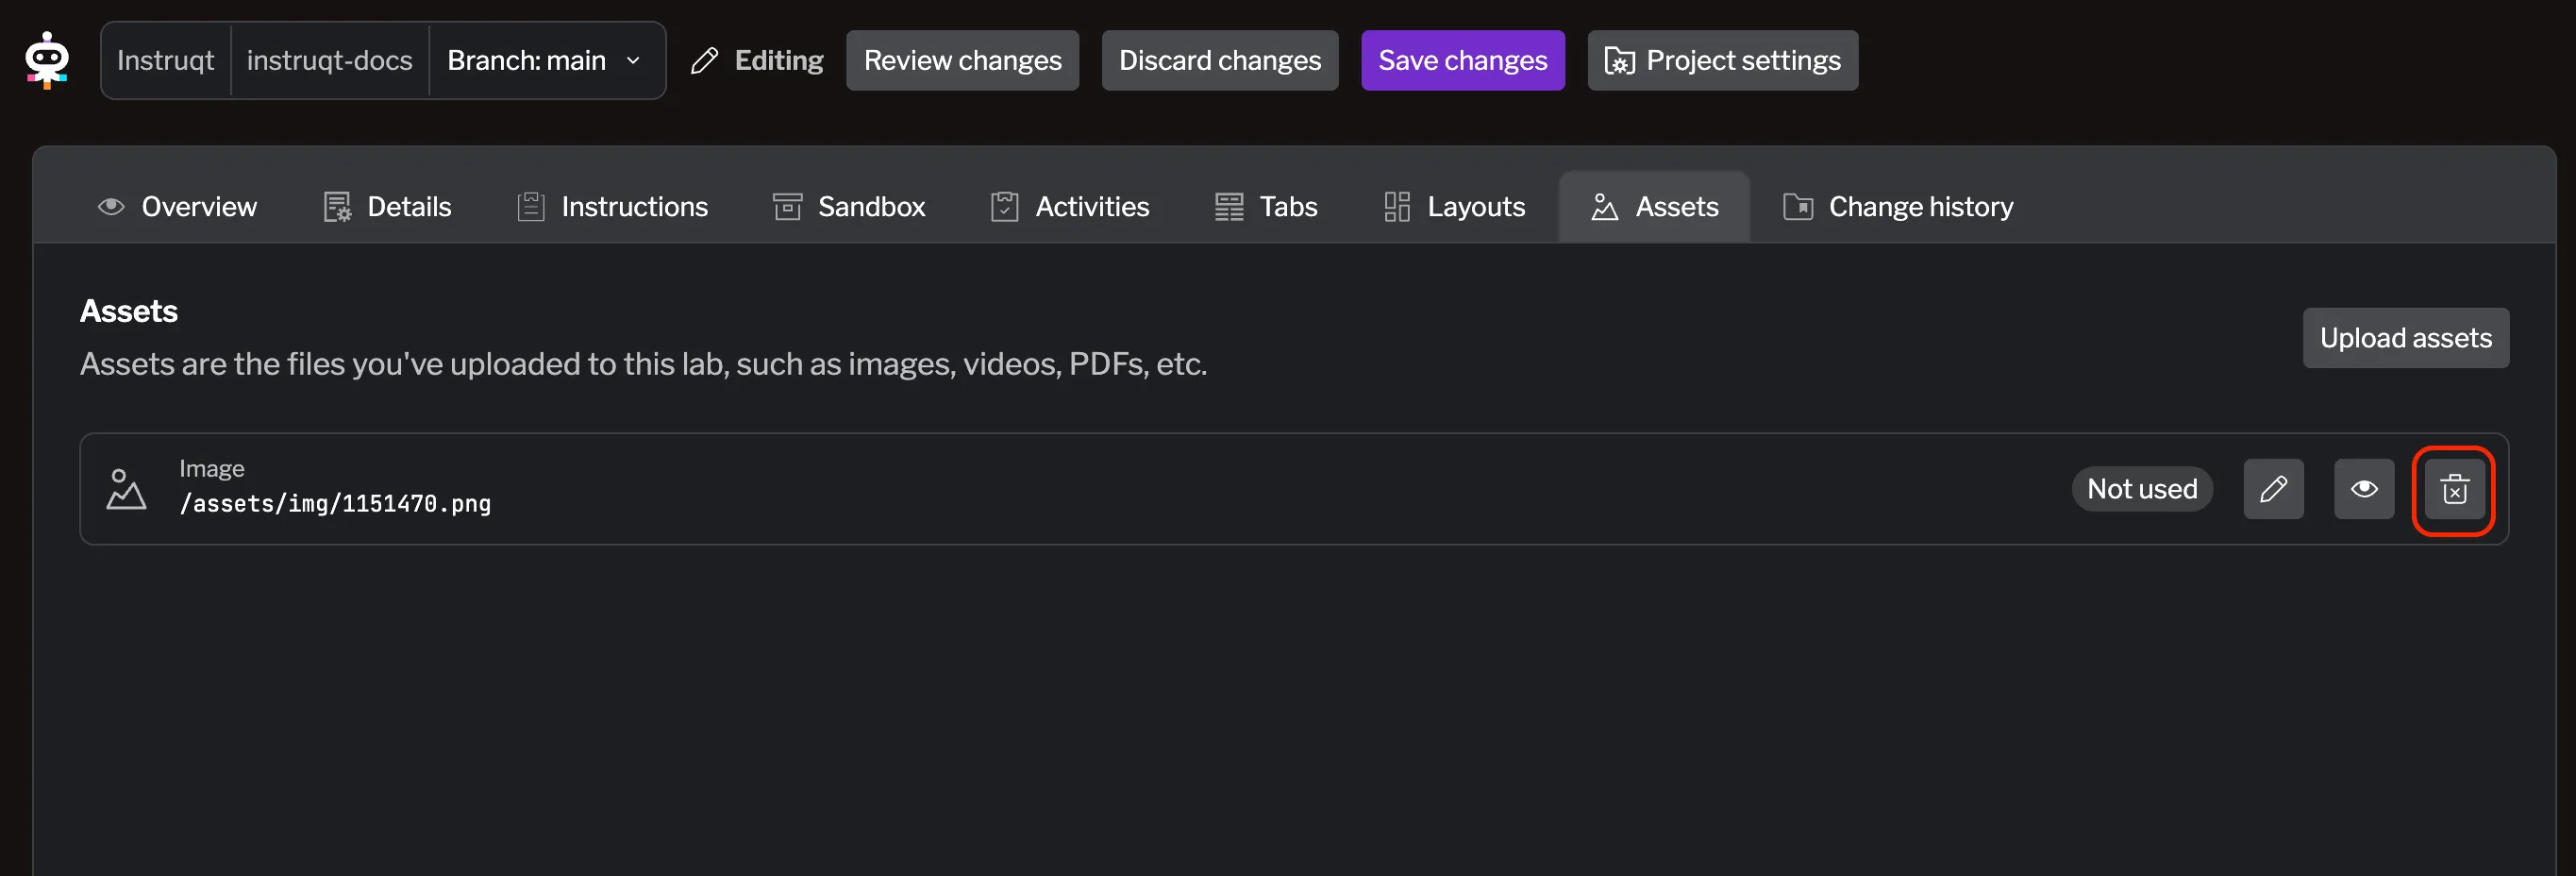
Section titled “Deleting Assets”To delete an asset, simply go to the Assets tab, find the asset you want to delete, and click the trash can icon next to it.
Summary
Section titled “Summary”Adding assets to your labs enhances the learning experience by providing additional resources and visual aids. By following the steps outlined in this guide, you can easily manage and utilize assets in your lab instructions.
Please remind that:
- All assets must be stored in the
/assetsdirectory. - The maximum file size for each asset is 7 MB.
- Deleting an asset will break any references to it in your instructions.
