Step 2 - Infrastructure Setup
Now that your project structure is in place, it’s time to define the infrastructure for your lab. In this step, you’ll create the containers and networking that form the foundation of your learning environment. You’ll also set up the user interface elements - a terminal for command-line access and a service tab to view the web server.
Create the Infrastructure Configuration
Section titled “Create the Infrastructure Configuration”When you create the lab, you get redirected to the lab overview page. It shows you the lab’s title of your current version (you can see the selected version at the top. It should show Branch: main).
For more information on the lab overview page, see the Lab Overview documentation.
Creating a Network resource
Section titled “Creating a Network resource”Let’s start by navigating to the Sandbox tab in the top bar. At first, you won’t have any options, since no infrastructure exists yet. The first step is to enter Edit mode by clicking the purple Edit mode button at the top.
This creates a separate copy of main for you to work in. Any changes you make here are isolated and won’t affect the main version until you save them.
After entering edit mode, a + button appears in the Sandbox tab. We’ll begin by creating a Network resource:
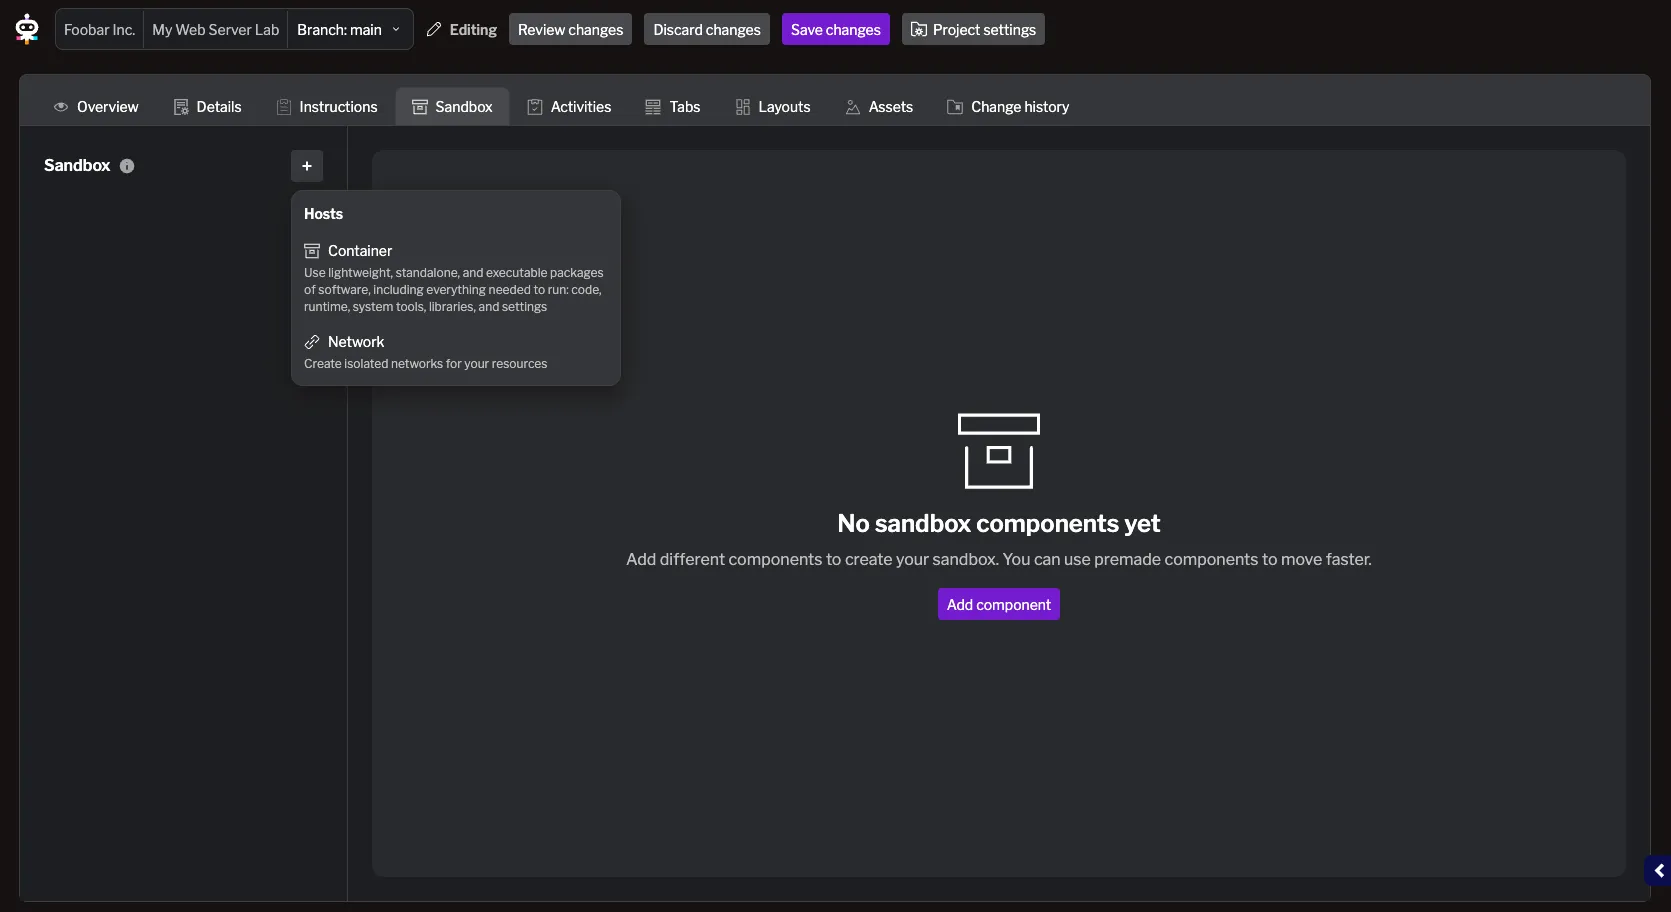
Let’s give it a name and a subnet:
- Name:
main - Subnet:
10.0.200.0/24
And click Add changes.
This adds the network resource to your environment. You can now see it listed in the Sandbox tab. Additionally, clicking Review changes at the top lets you view the code generated for the network you just created:

For additional details on creating networks, refer to the Network documentation.
Here, you can review the generated code for the network resource. You have several options:
- Discard all changes – Remove all modifications made during this edit session.
- Discard specific changes – Remove individual changes by clicking Discard changes next to each file.
- Save Changes – Commit all changes from this session and merge them into a version.
- Back to edit mode – Return to edit mode to continue editing resources.
Let’s go back to the edit mode for now.
Creating a Container resource
Section titled “Creating a Container resource”Next, create the web server container. Click the + button again in the Sandbox tab and choose Container.
The container form is organized into collapsible sections. The Image and Resources sections are expanded by default, while other sections are collapsed. For this lab, you only need to configure a few:
- Name:
webserver - Image: The Image section is already expanded. Select Add a new public or private image on GCP and enter:
nginx:1.25
- Port: Expand the Ports section and click Add port, then set:
- Local (local port on the host machine):
80 - You can also set Host as port inside the container. If the host port is not set, the same value as the container local port will be used
- Local (local port on the host machine):
- Network: Expand the Network section and click Add new network, then select the network you created earlier (
main).
Leave the other options as default. When finished, click Add changes.
This adds the container resource to your environment. It now appears in the Sandbox tab, and clicking Review changes at the top lets you view the generated code for the container you just created.
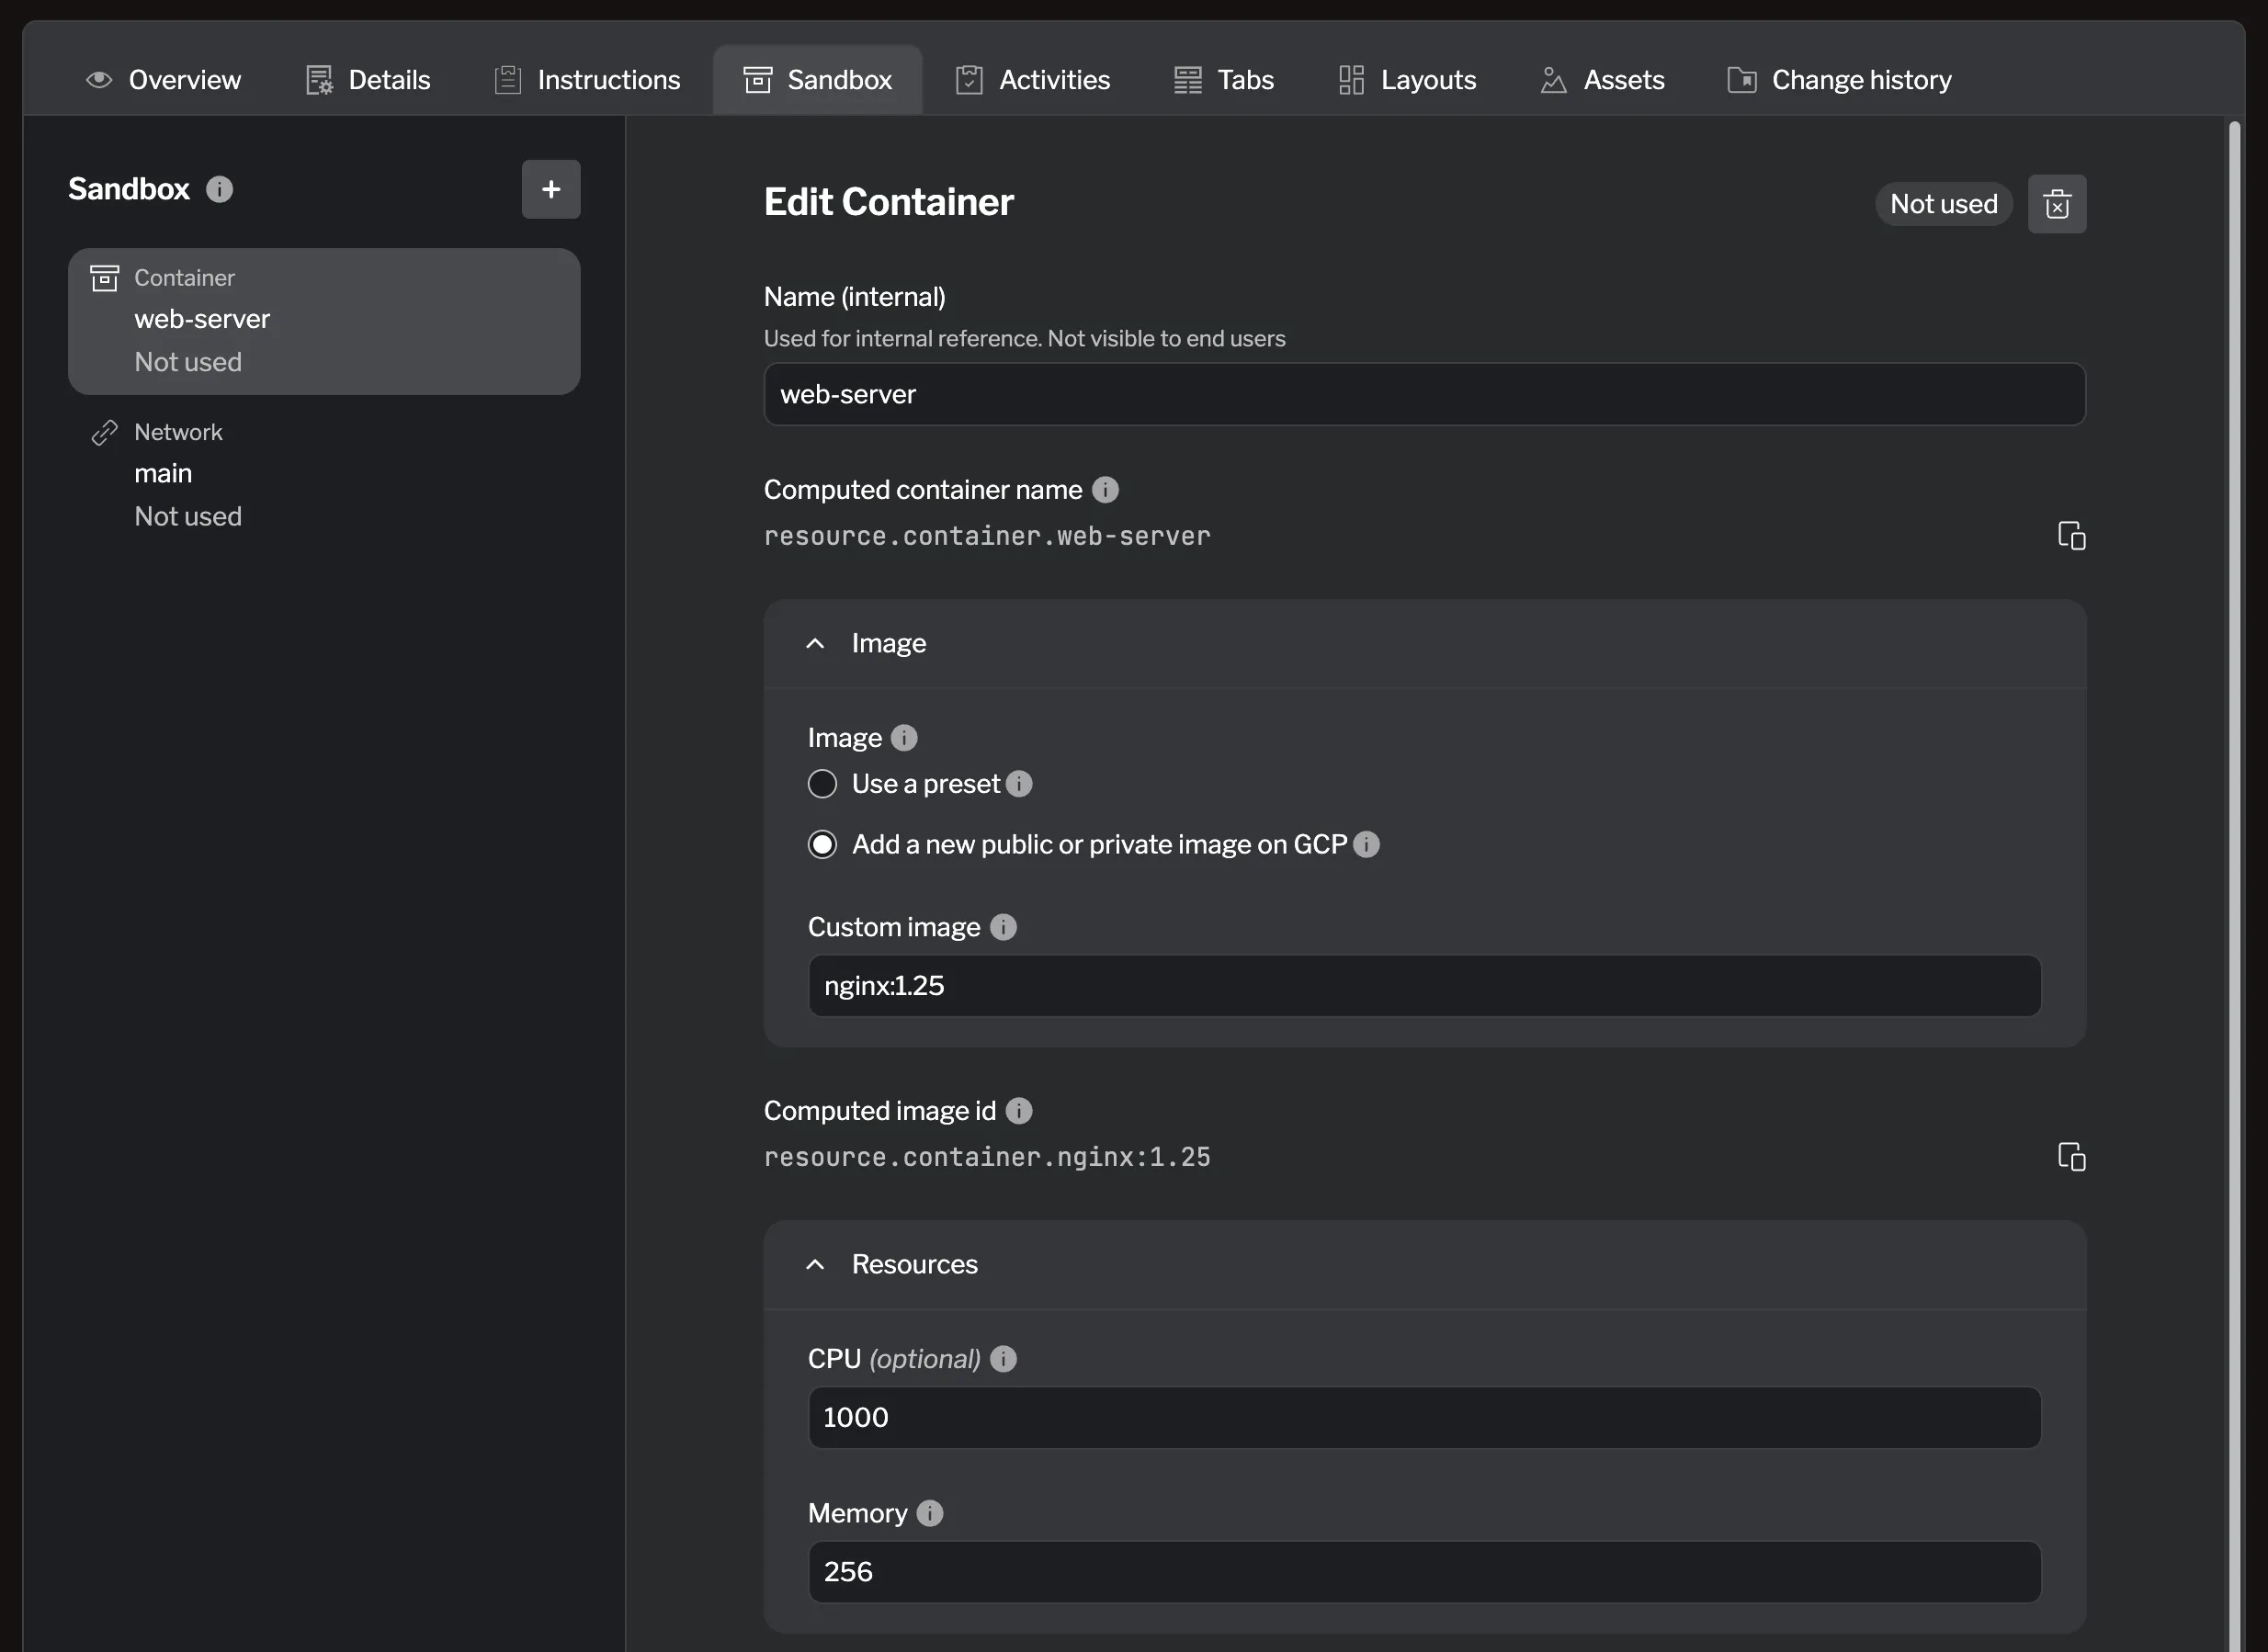
For additional details on creating containers, refer to the Container documentation.
Create User Interface Elements
Section titled “Create User Interface Elements”Now you need to create the interface that learners will actually see and use. This includes a service tab (so they can view the web server in their browser) and a terminal tab (so they can run commands on the server). These UI elements connect to the infrastructure you just created:
- The service tab exposes the container’s web server
- The terminal gives command-line access to the same container.
Let’s move to the Tabs tab so we can create these interface elements.
Creating a Service Tab
Section titled “Creating a Service Tab”Click the + button in the Tabs tab and choose Service/Web Application.
Let’s configure the service tab:
- Name:
webserver - Target: Select the container you created earlier (
webserver). - Scheme:
http - Port:
80
When finished, click Add changes.
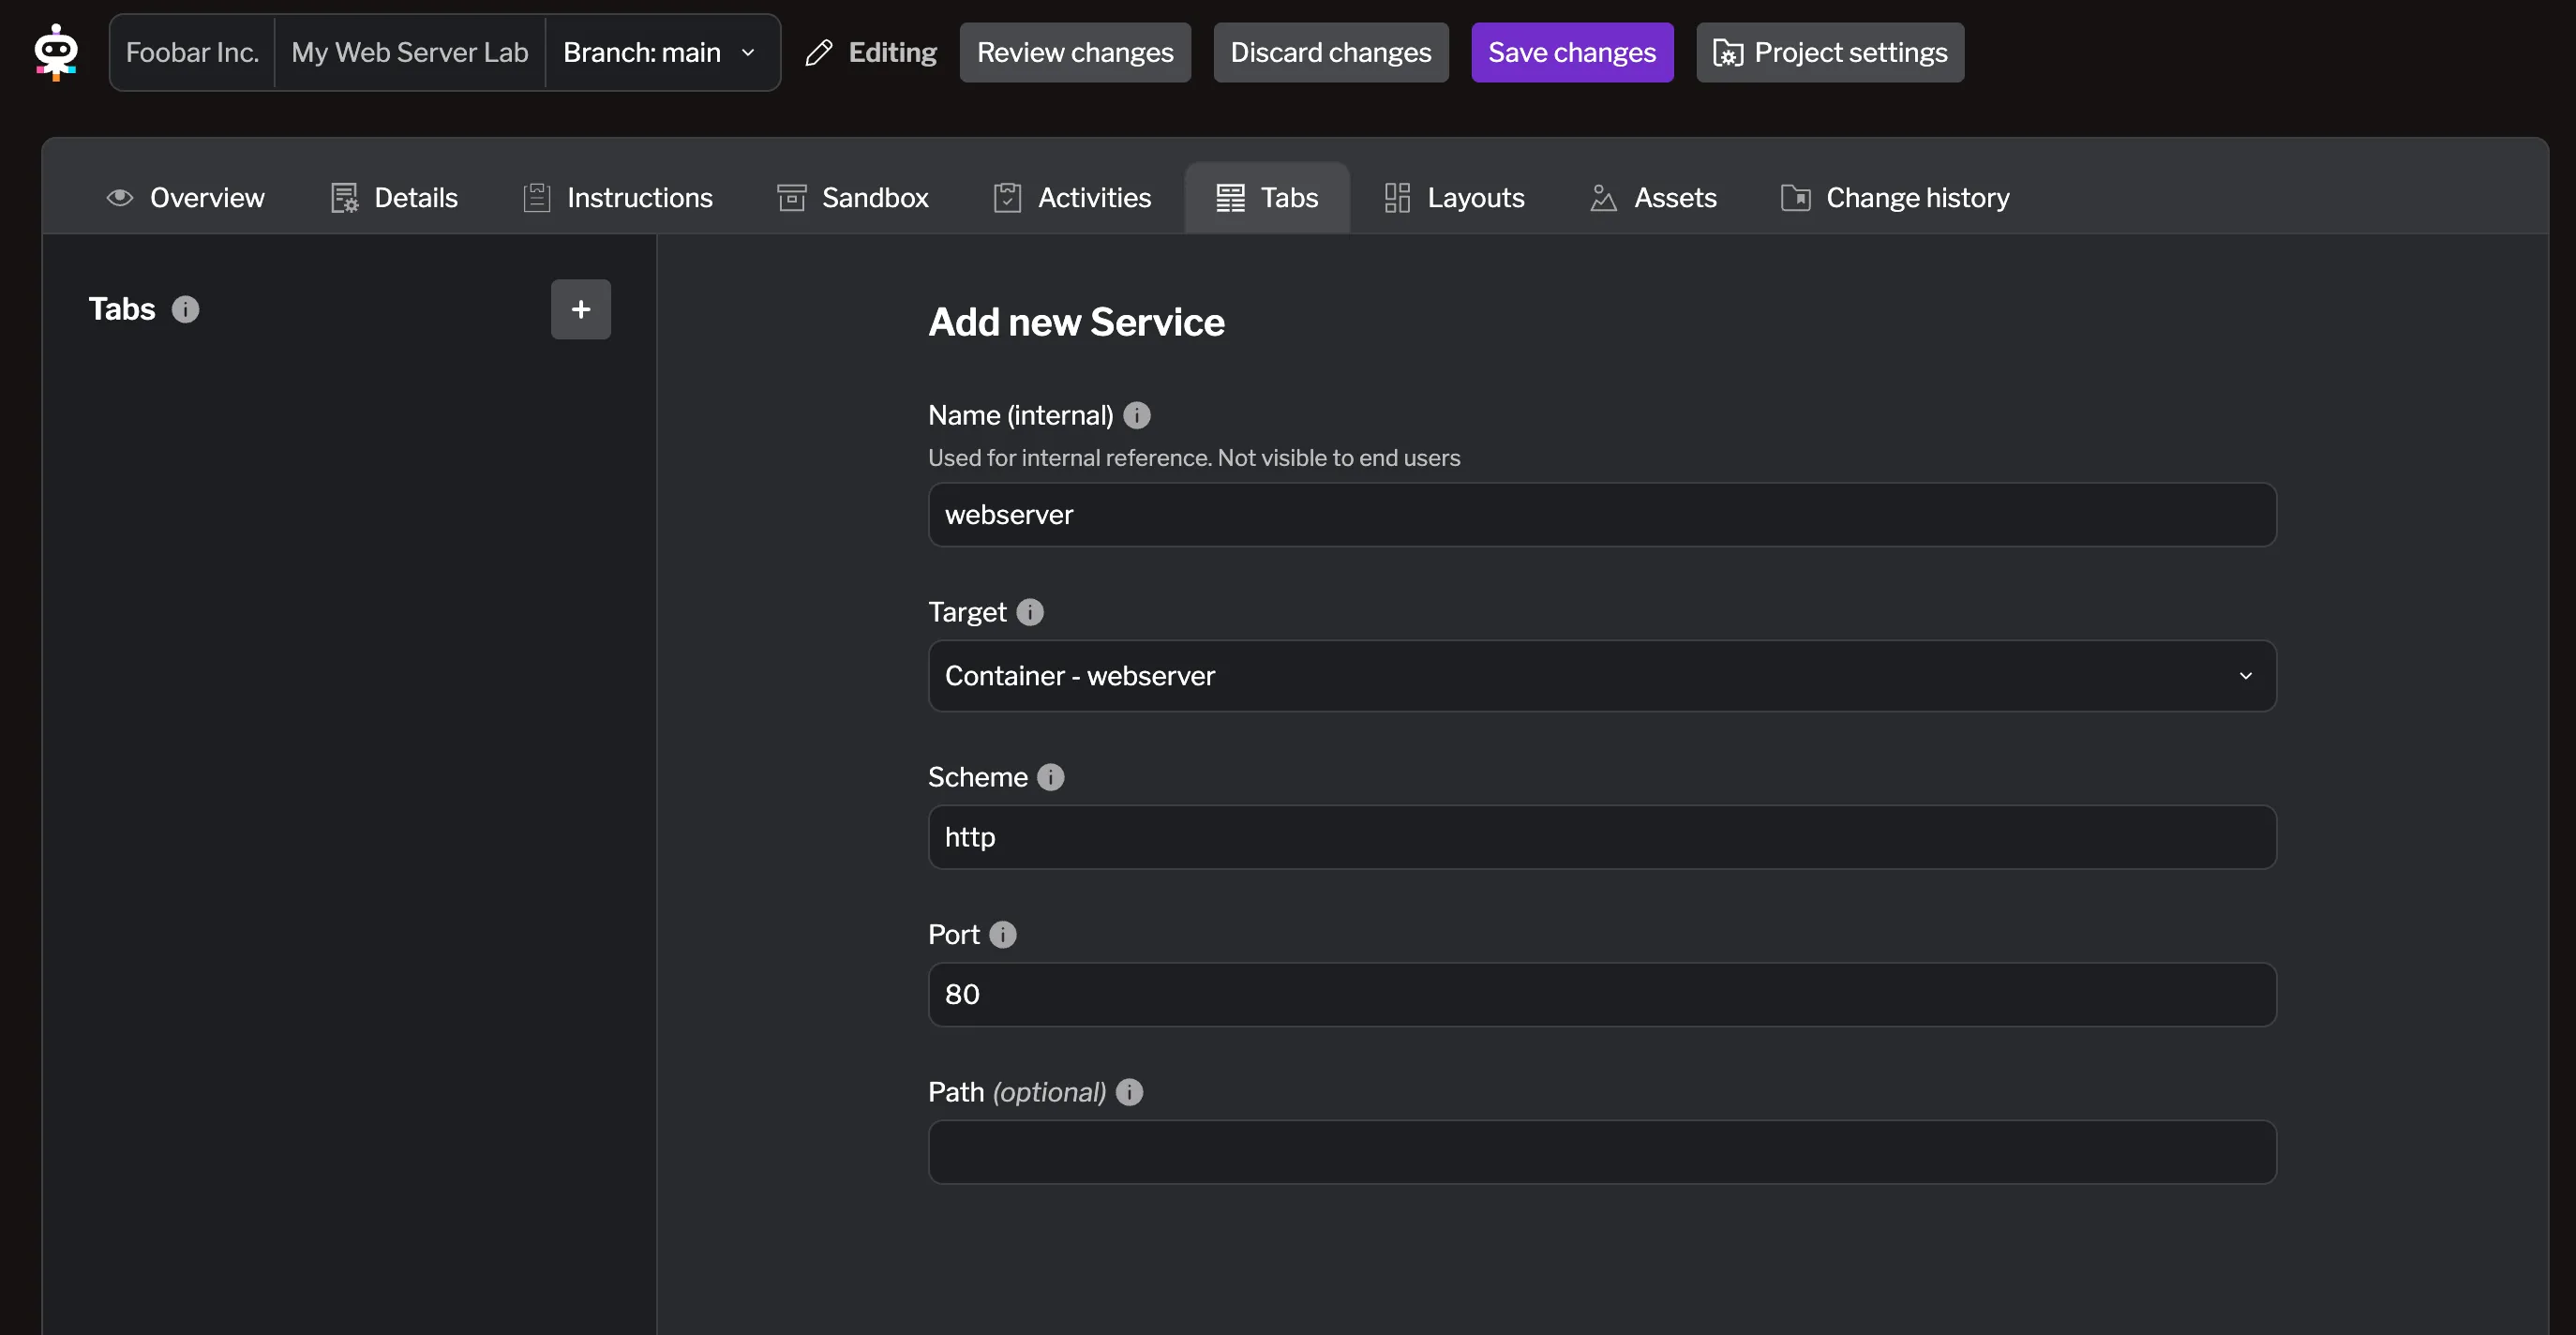
For additional details on creating service tabs, refer to the Creating Tabs documentation.
Creating a Terminal Tab
Section titled “Creating a Terminal Tab”Let’s also create the terminal tab now. Click the + button again in the Tabs tab and choose Terminal.
Configure the terminal tab as follows:
- Name:
shell - Target: Select the container you created earlier (
webserver). - Shell:
/bin/bash
When finished, click Add changes.
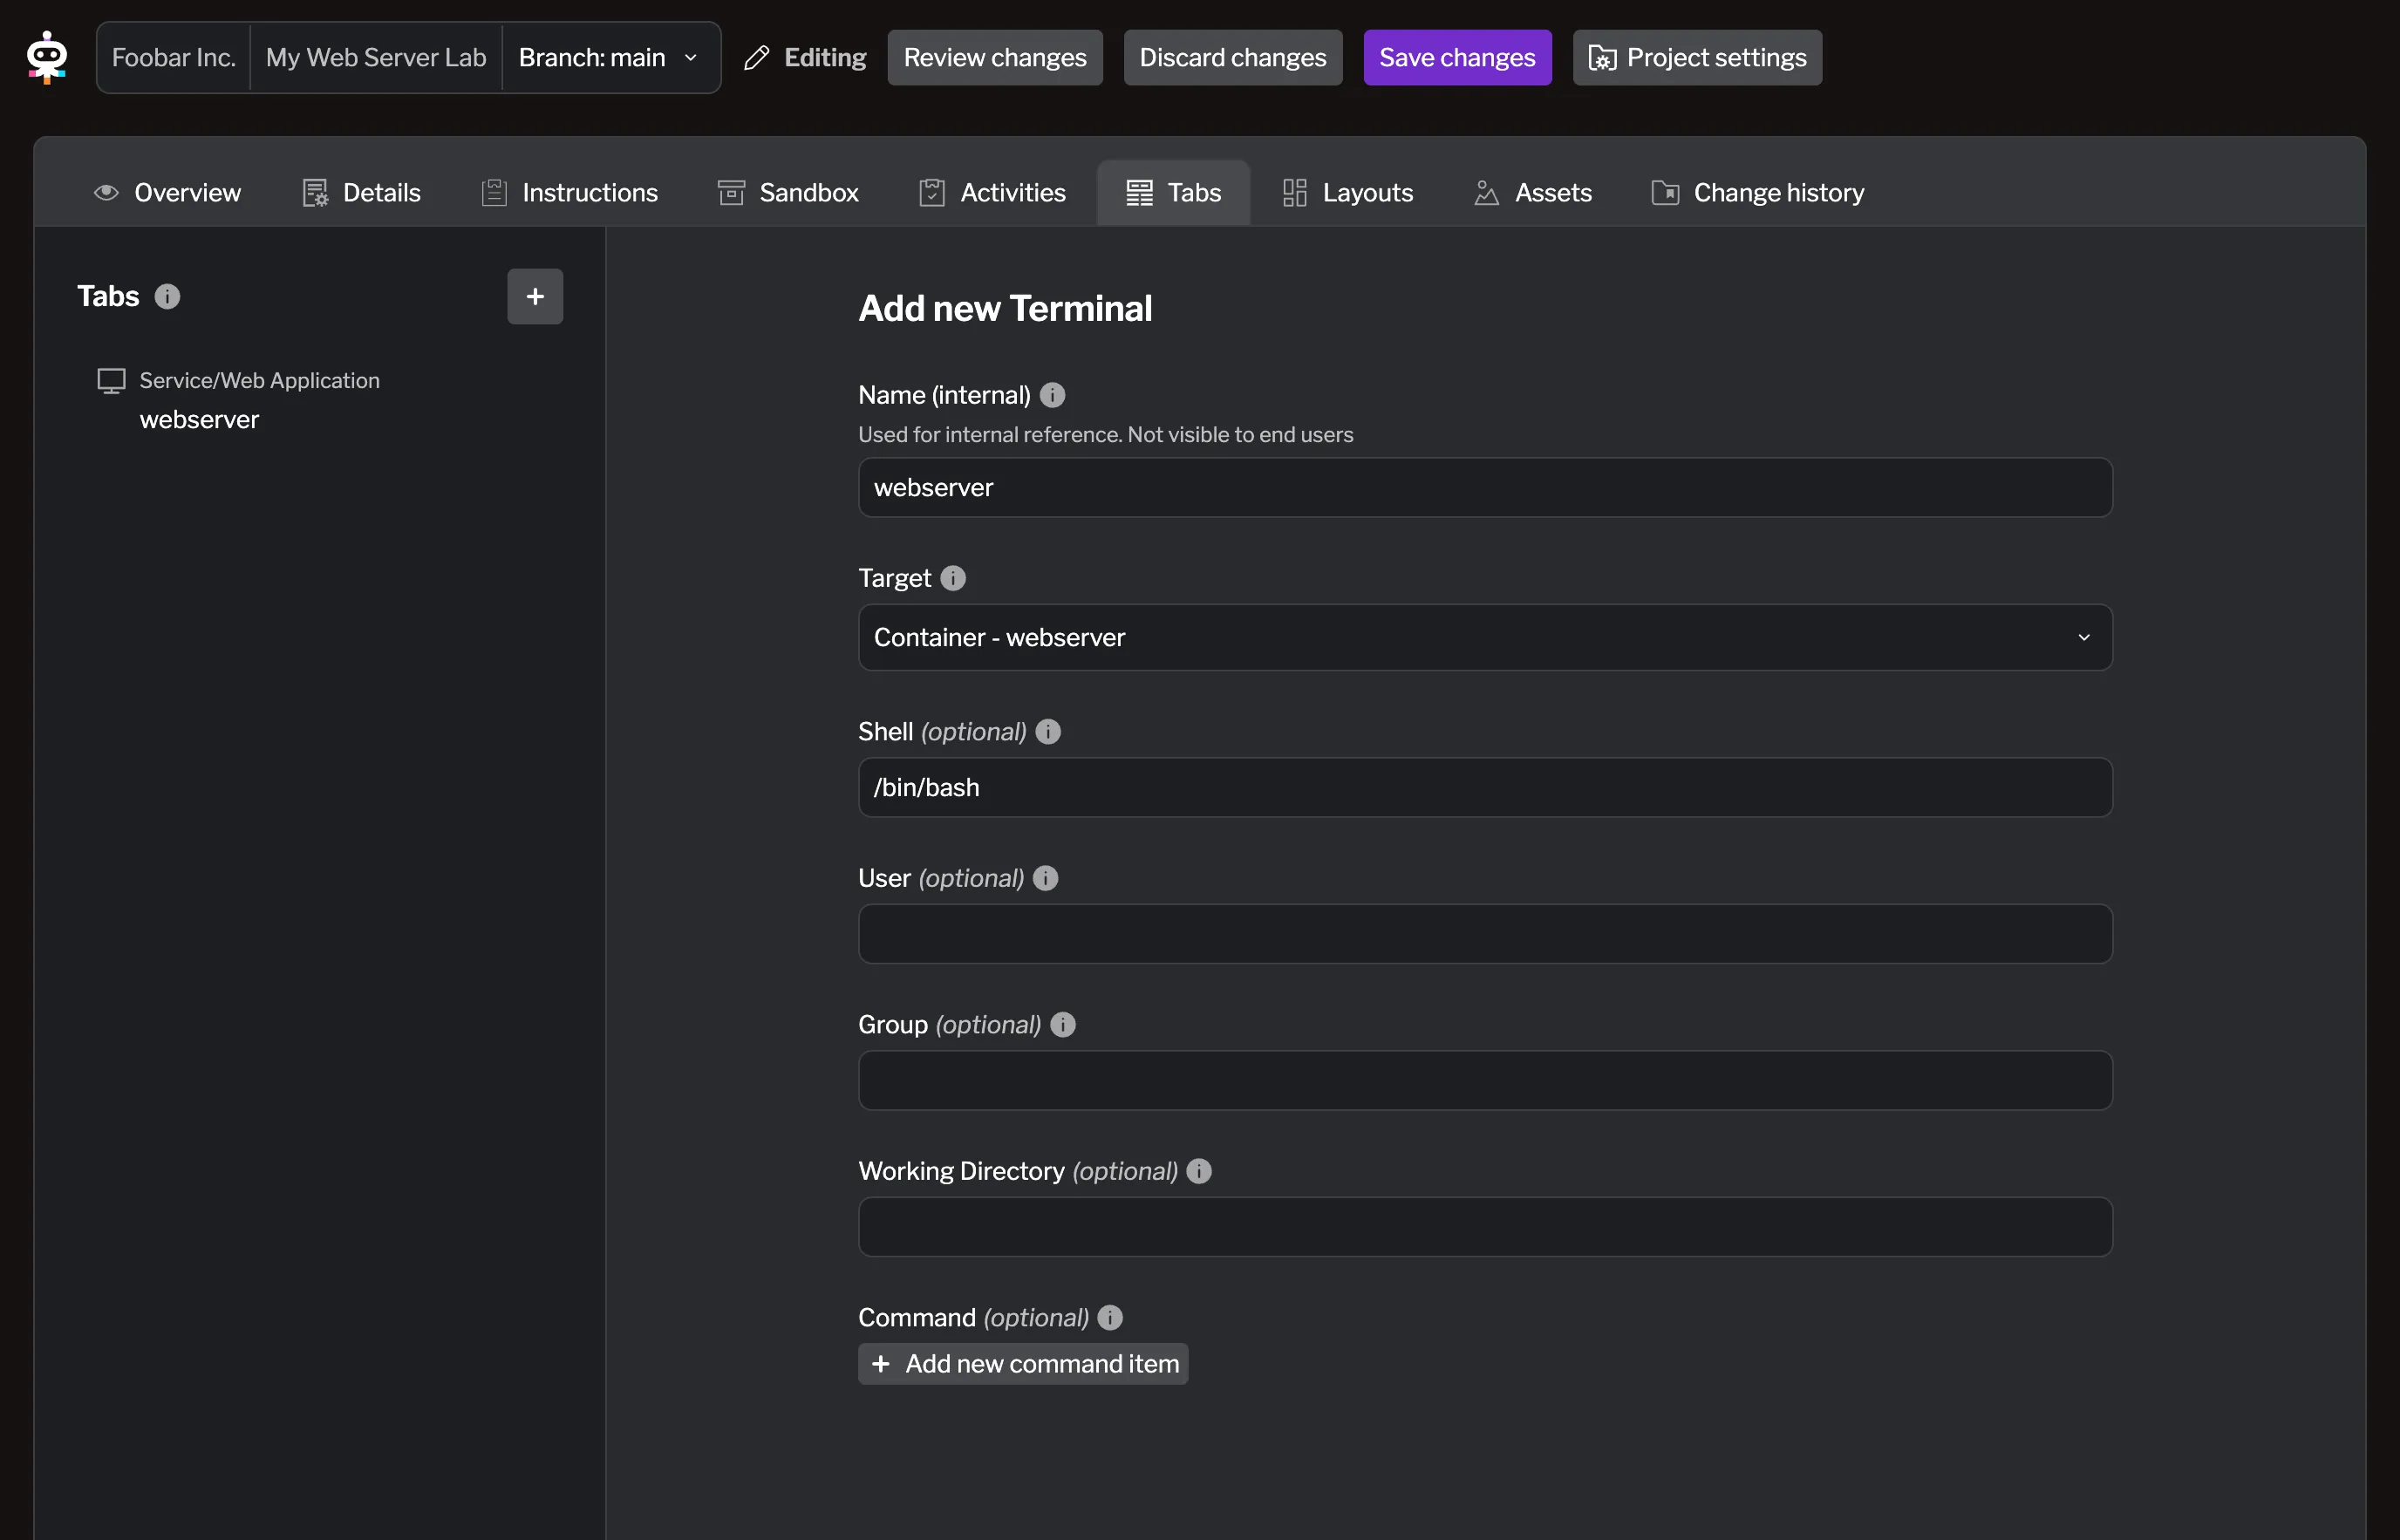
For additional details on creating terminal tabs, refer to the Creating Tabs documentation.
Review and Save Changes
Section titled “Review and Save Changes”Now that you’ve created the network, container, service tab, and terminal tab, it’s time to save your changes. Click Review changes at the top to see all the modifications you made during this edit session. You can review all the changes that will be saved when you click Save changes.
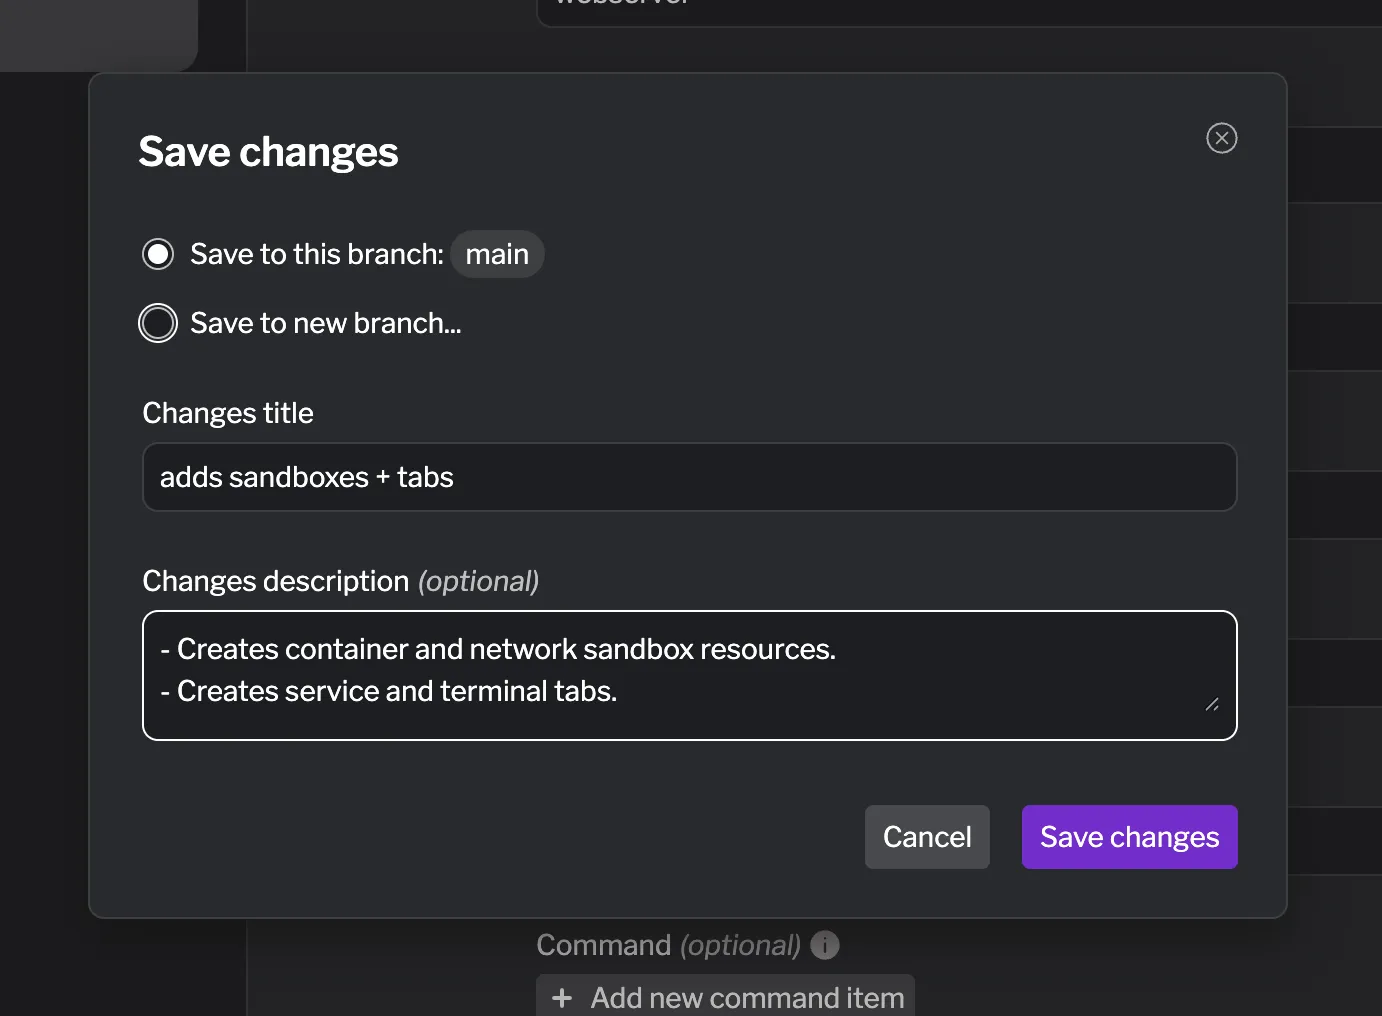
Hit Save changes to commit your infrastructure setup. This merges your changes into the main version of the lab. You can also create a new version if you want to keep the main version unchanged for now, but let’s just save to main for this guide. You can add a title and description for your changes to describe what you did.
What You’ve Built
Section titled “What You’ve Built”You’ve successfully created the infrastructure foundation for your lab:
- Network infrastructure that provides isolated networking for your lab environment
- Container infrastructure running nginx web server that learners will customize
- User interface elements including terminal access and web service viewing
Your lab now has a complete infrastructure setup that learners can interact with. The next step is to make it truly interactive by adding educational content and validation tasks.
What’s Next
Section titled “What’s Next”In the next step, you’ll create interactive content and tasks that guide learners through hands-on activities while automatically validating their progress.
