Creating Tasks
Tasks are hands-on challenges where users perform technical work in real environments with automated validation. Unlike quizzes that test conceptual understanding through questions, tasks validate practical skills by checking whether users can successfully execute technical operations like deploying containers, configuring services, or creating files.
Tasks use validation scripts that run in your lab’s sandbox environments to verify a user’s work. When the user clicks ”Check”, your scripts run and provide immediate feedback on what passed and what still needs fixing.
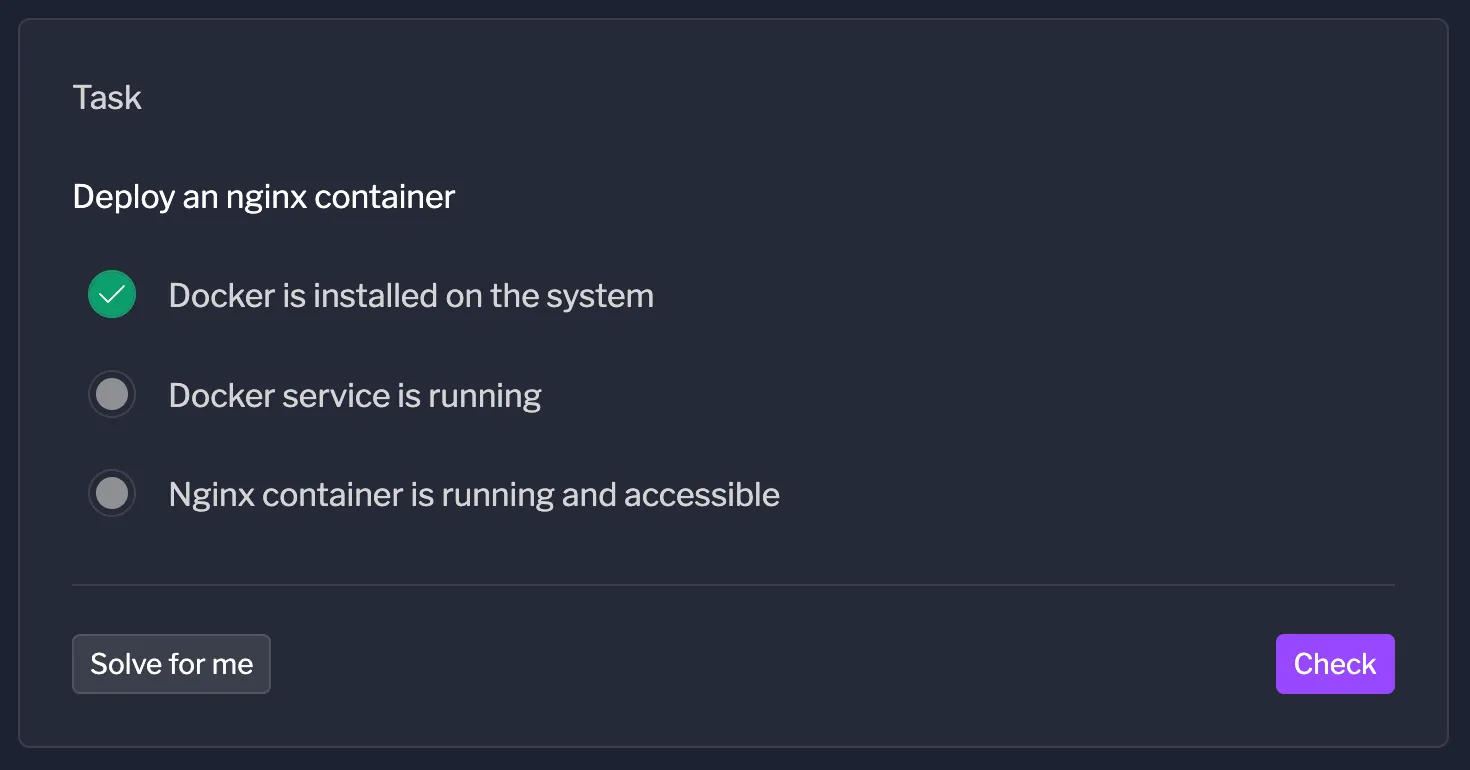
Creating a Task
Section titled “Creating a Task”Tasks are created in the Activities tab of your lab. This is where you define validation conditions, configure scripts, and manage which pages use each task.
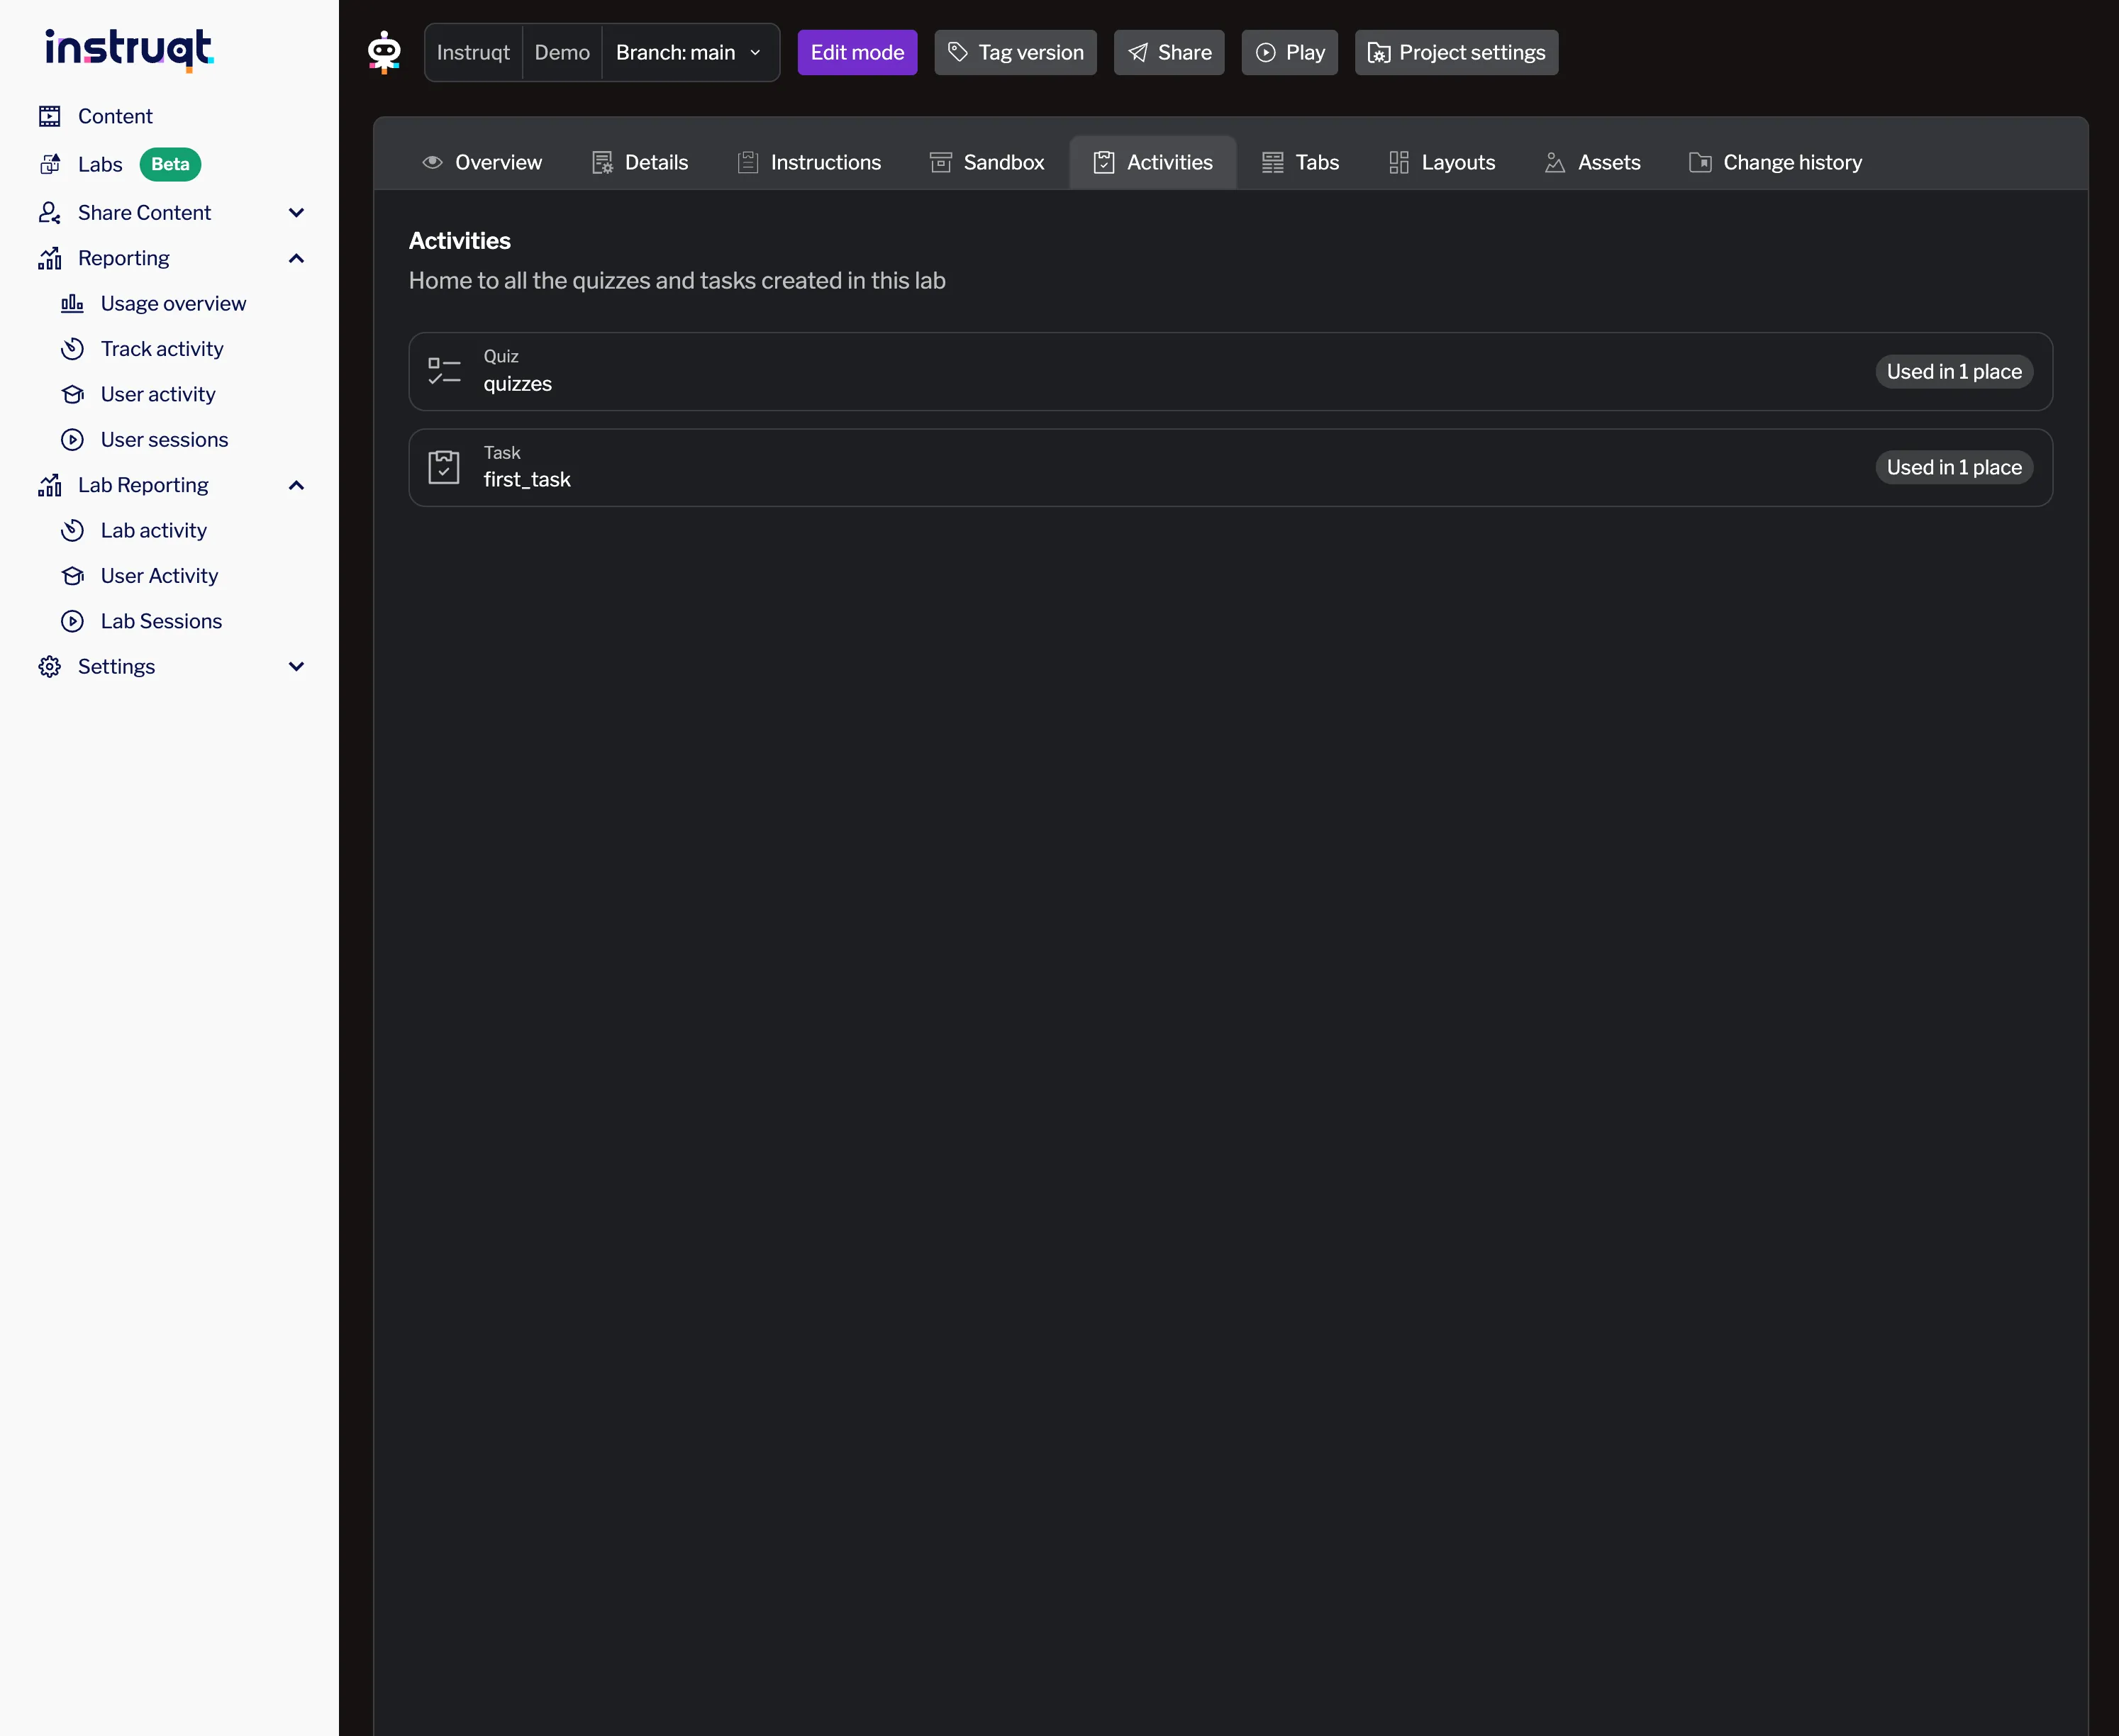
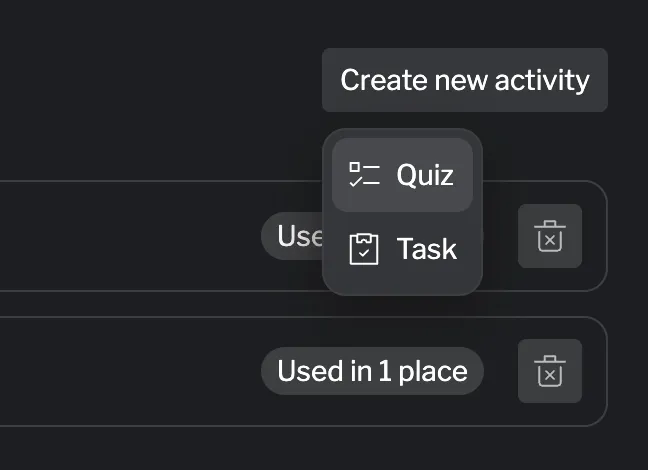
To create a new task, navigate to the Activities tab and click the Create new activity button, then choose Task.
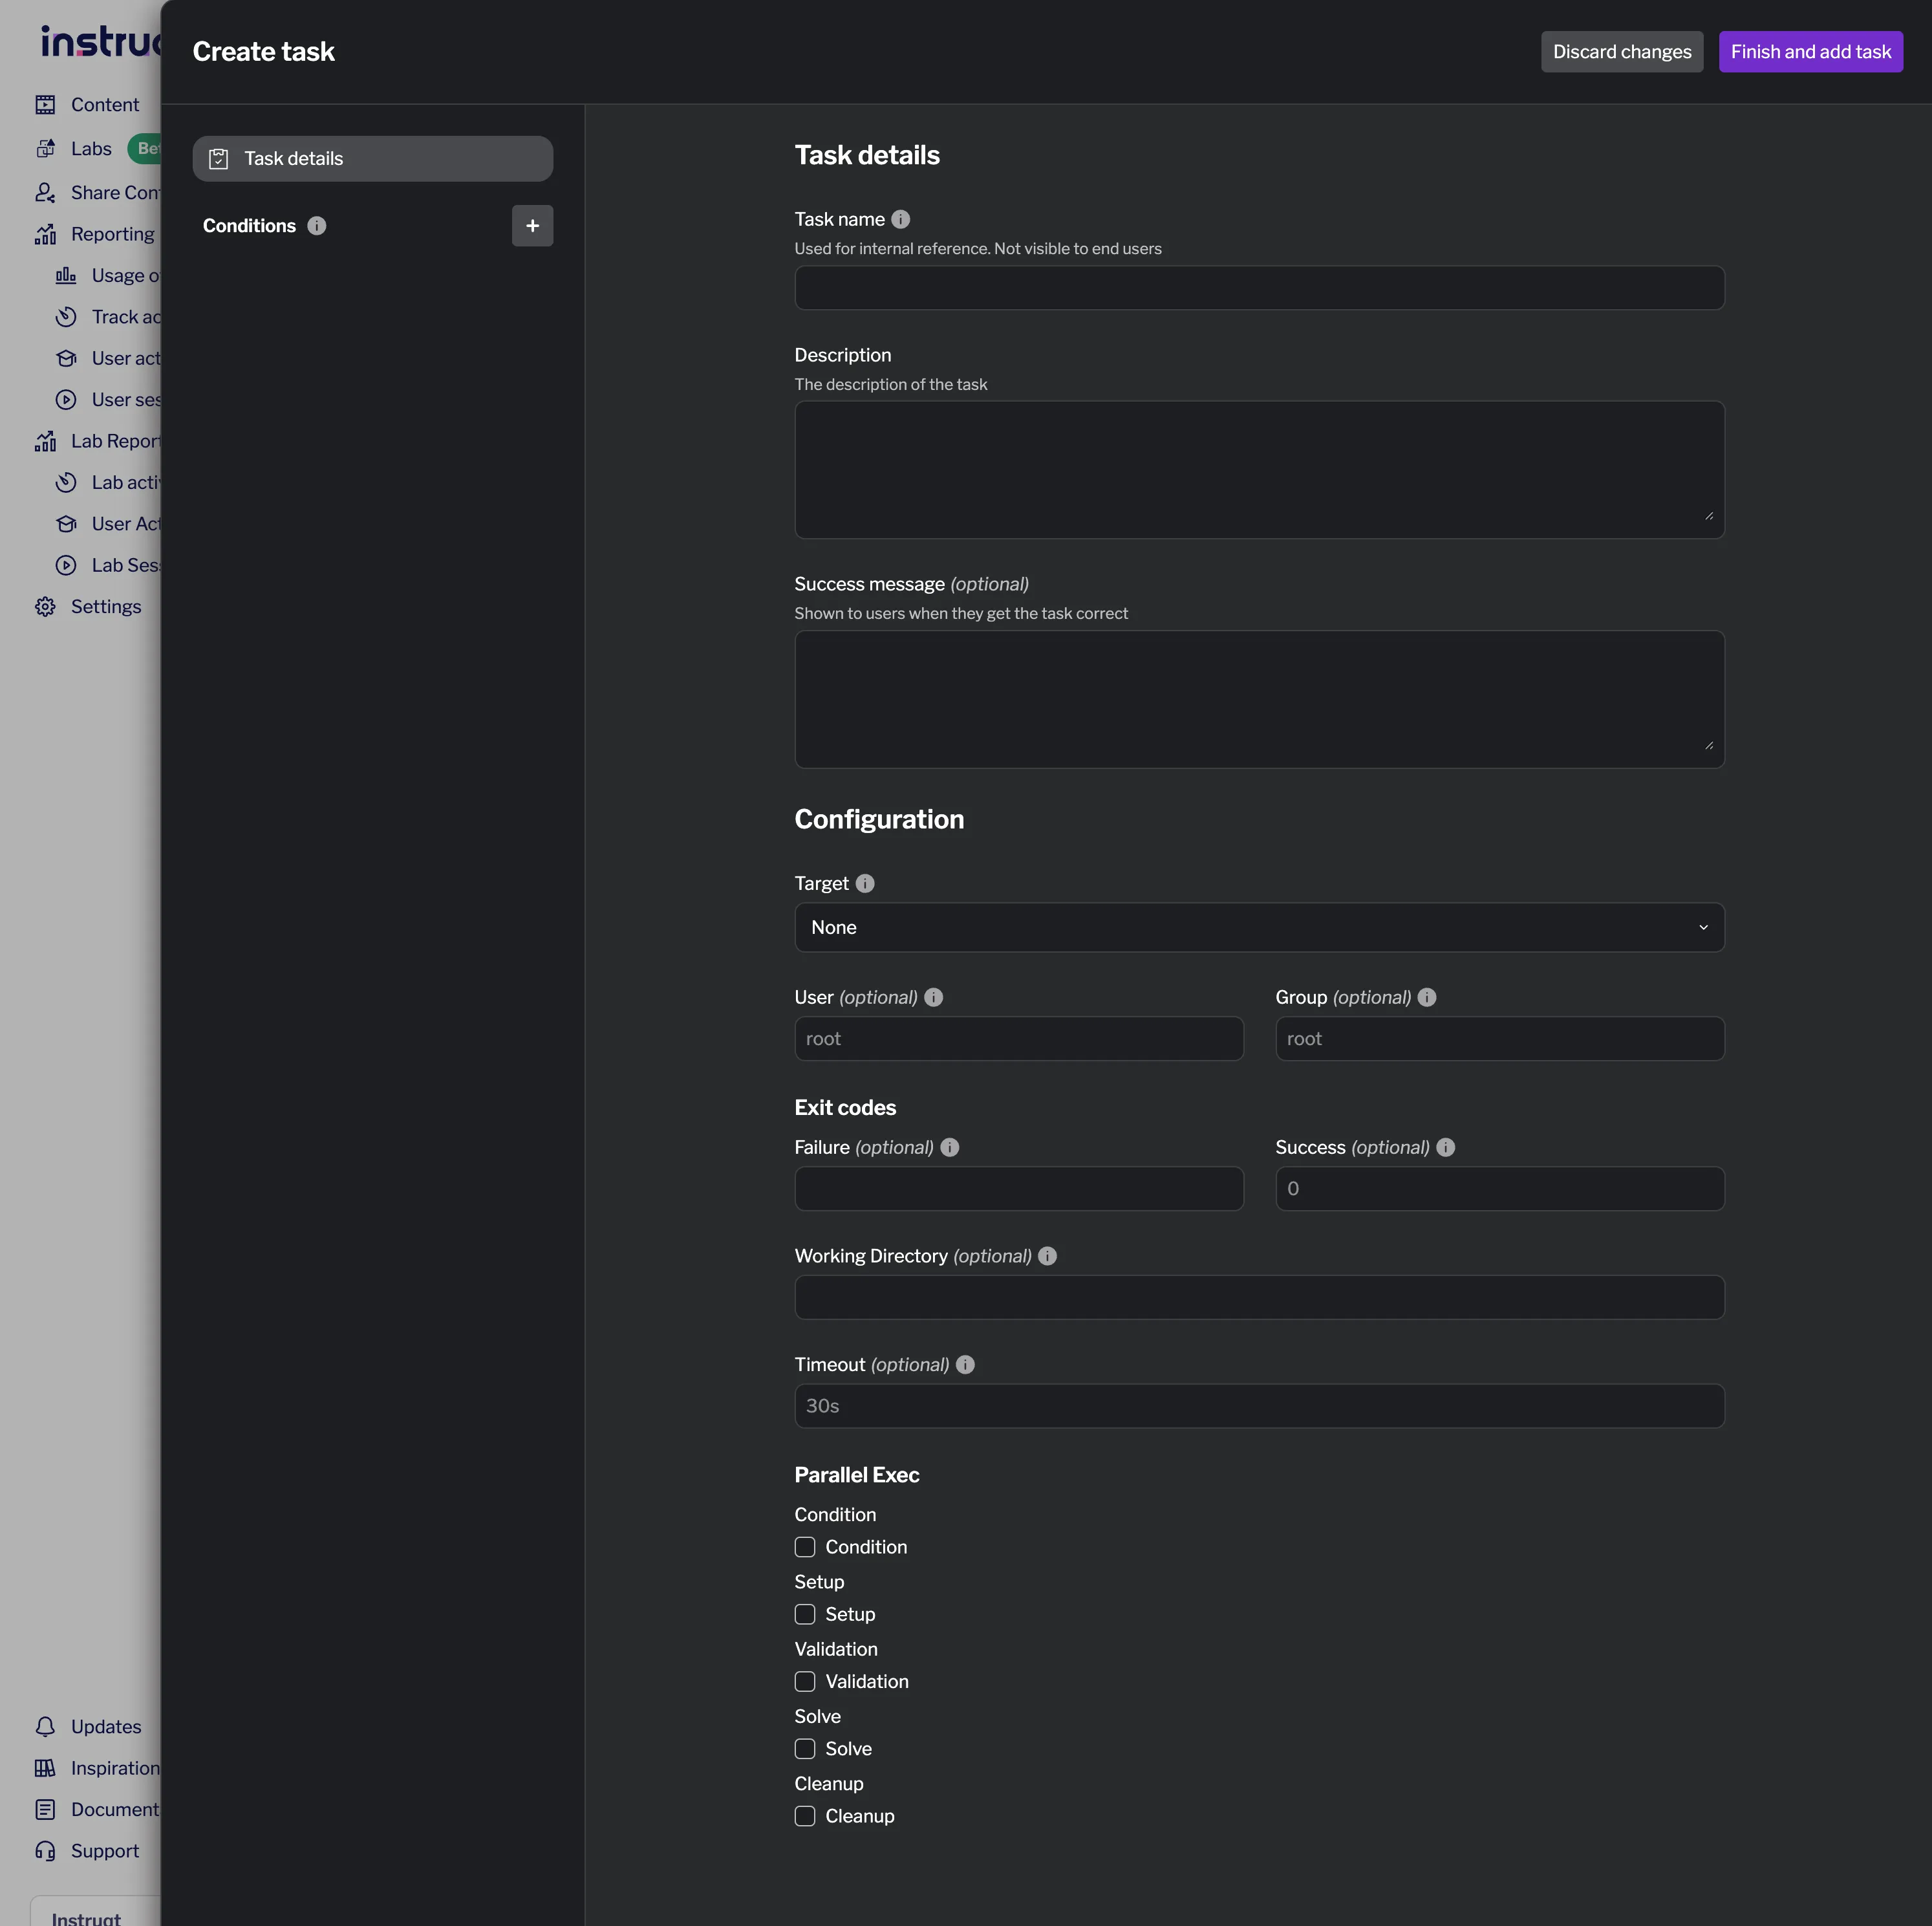
This opens the task creation drawer where you can configure all aspects of your task. When you’re done configuring your task, click the Finish and add task button to save it.
Task Details
Section titled “Task Details”The task drawer has several sections for configuring your validation:
Task Name: An internal identifier used to reference this task in your lab configuration. Users never see this name. Use descriptive names like docker_setup or deploy_application.
Task names can use lowercase letters, numbers, hyphens, and underscores. They must:
- Begin and end with a letter or number
- Not contain consecutive hyphens or underscores
- Be unique (no duplicates allowed)
Description: A brief explanation of what the task requires users to accomplish. This appears as the task heading when users encounter it in the lab.
Success Message (optional): A celebratory message displayed when users successfully complete all task conditions. Use this to acknowledge their achievement and reinforce what they learned.
Configuration
Section titled “Configuration”Tasks require execution configuration to run validation scripts in your sandbox environment. This configuration can be set at the task level (applying to all conditions) or overridden at the condition level for specific requirements.
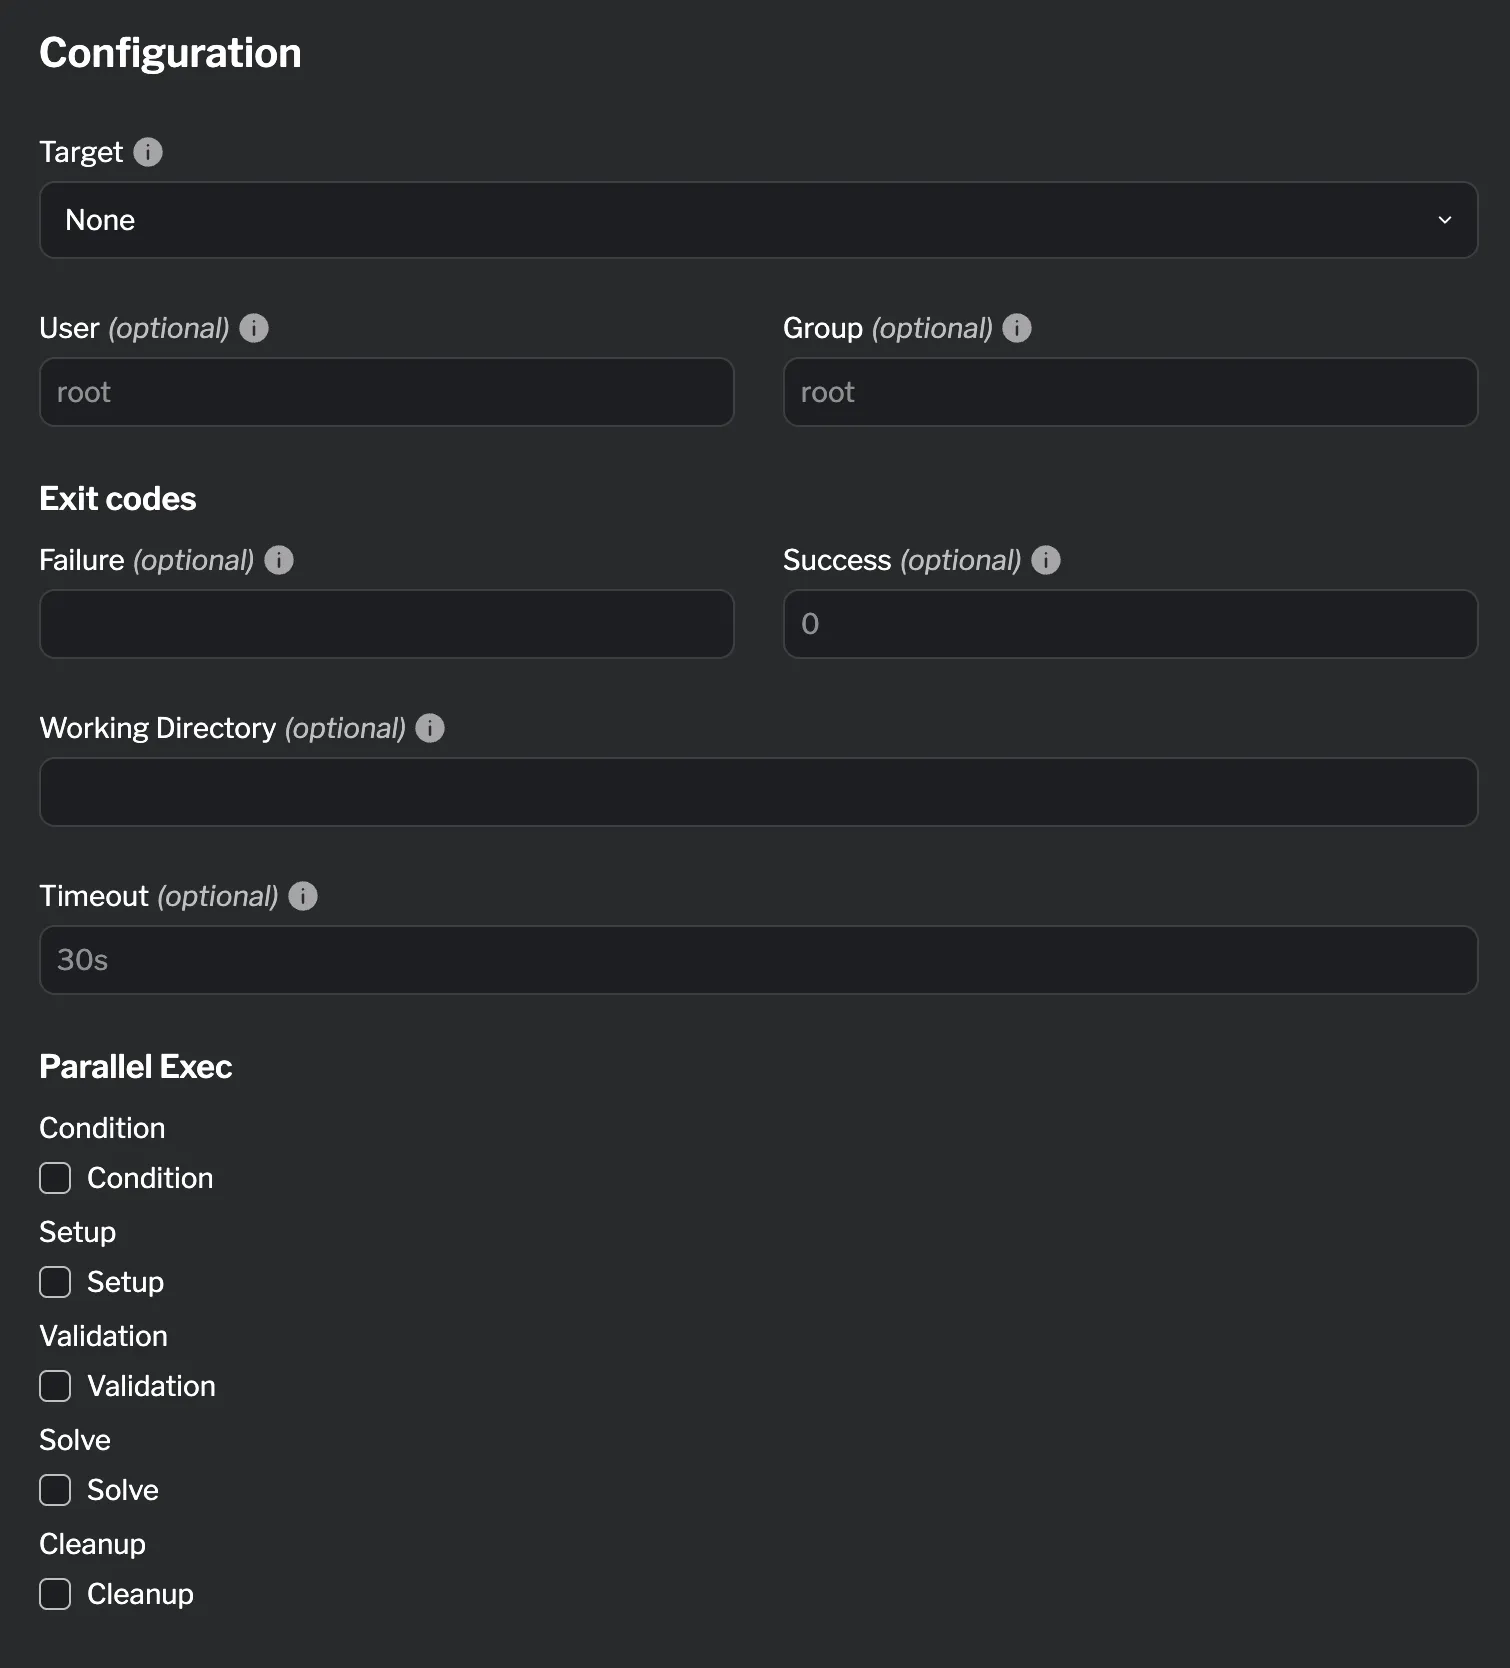
| Field | Description | Default |
|---|---|---|
| Target | The sandbox component where validation scripts will execute. Required as tasks must run somewhere in your lab environment. | - |
| User (optional) | The user account to run scripts as. | root |
| Group (optional) | The group to run scripts as. | root |
| Exit Codes > Failure (optional) | Exit codes that indicate expected failures. Scripts returning these codes will fail the condition with your failure message. | - |
| Exit Codes > Success (optional) | Exit codes that indicate success. | 0 |
| Working Directory (optional) | The directory where scripts execute. | / |
| Timeout (optional) | Maximum time a script can run before being terminated. Use Go duration format (e.g., 60s, 2m, 1m30s). | 30s |
| Parallel Exec > Condition (optional) | Execute all conditions in parallel. | Sequential |
| Parallel Exec > Setup (optional) | Execute all setup scripts in parallel. | Sequential |
| Parallel Exec > Validation (optional) | Execute all check scripts in parallel. | Sequential |
| Parallel Exec > Solve (optional) | Execute all solve scripts in parallel. | Sequential |
| Parallel Exec > Cleanup (optional) | Execute all cleanup scripts in parallel. | Sequential |
Parallel execution can speed up task validation but requires careful script design to avoid conflicts.
Adding Conditions
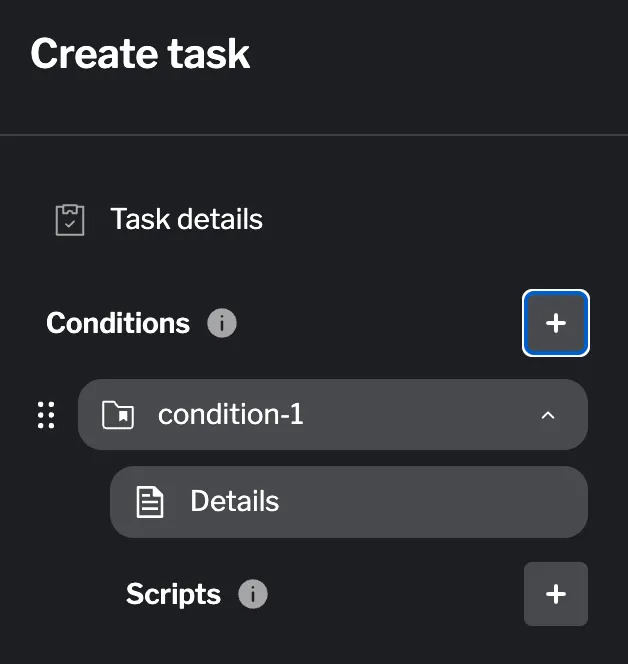
Section titled “Adding Conditions”Conditions are the individual validation requirements that make up a task. Each condition represents a discrete check - like verifying a file exists, a service is running, or a configuration is correct.
Click Add condition in the Conditions section to create a new validation requirement.
Condition Details
Section titled “Condition Details”Each condition needs configuration to define what it validates and how:
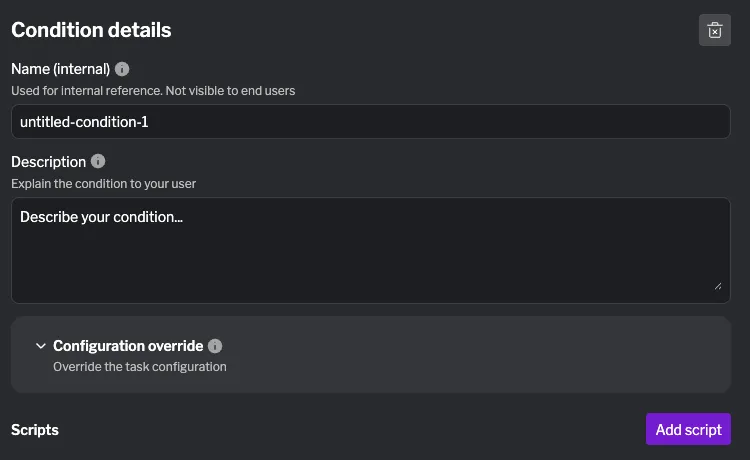
| Field | Description |
|---|---|
| Name (internal) | An internal identifier for this condition. Used for internal reference and must be unique within the task. Use descriptive names like file_exists, service_running, or container_deployed. Condition names follow the same naming rules as task names: lowercase letters, numbers, hyphens, and underscores only. |
| Description | Explain what this condition validates in user-friendly language. This appears in the task UI, so write it from the user’s perspective. For example: “Create /tmp/hello.txt” or “Start the Docker service”. |
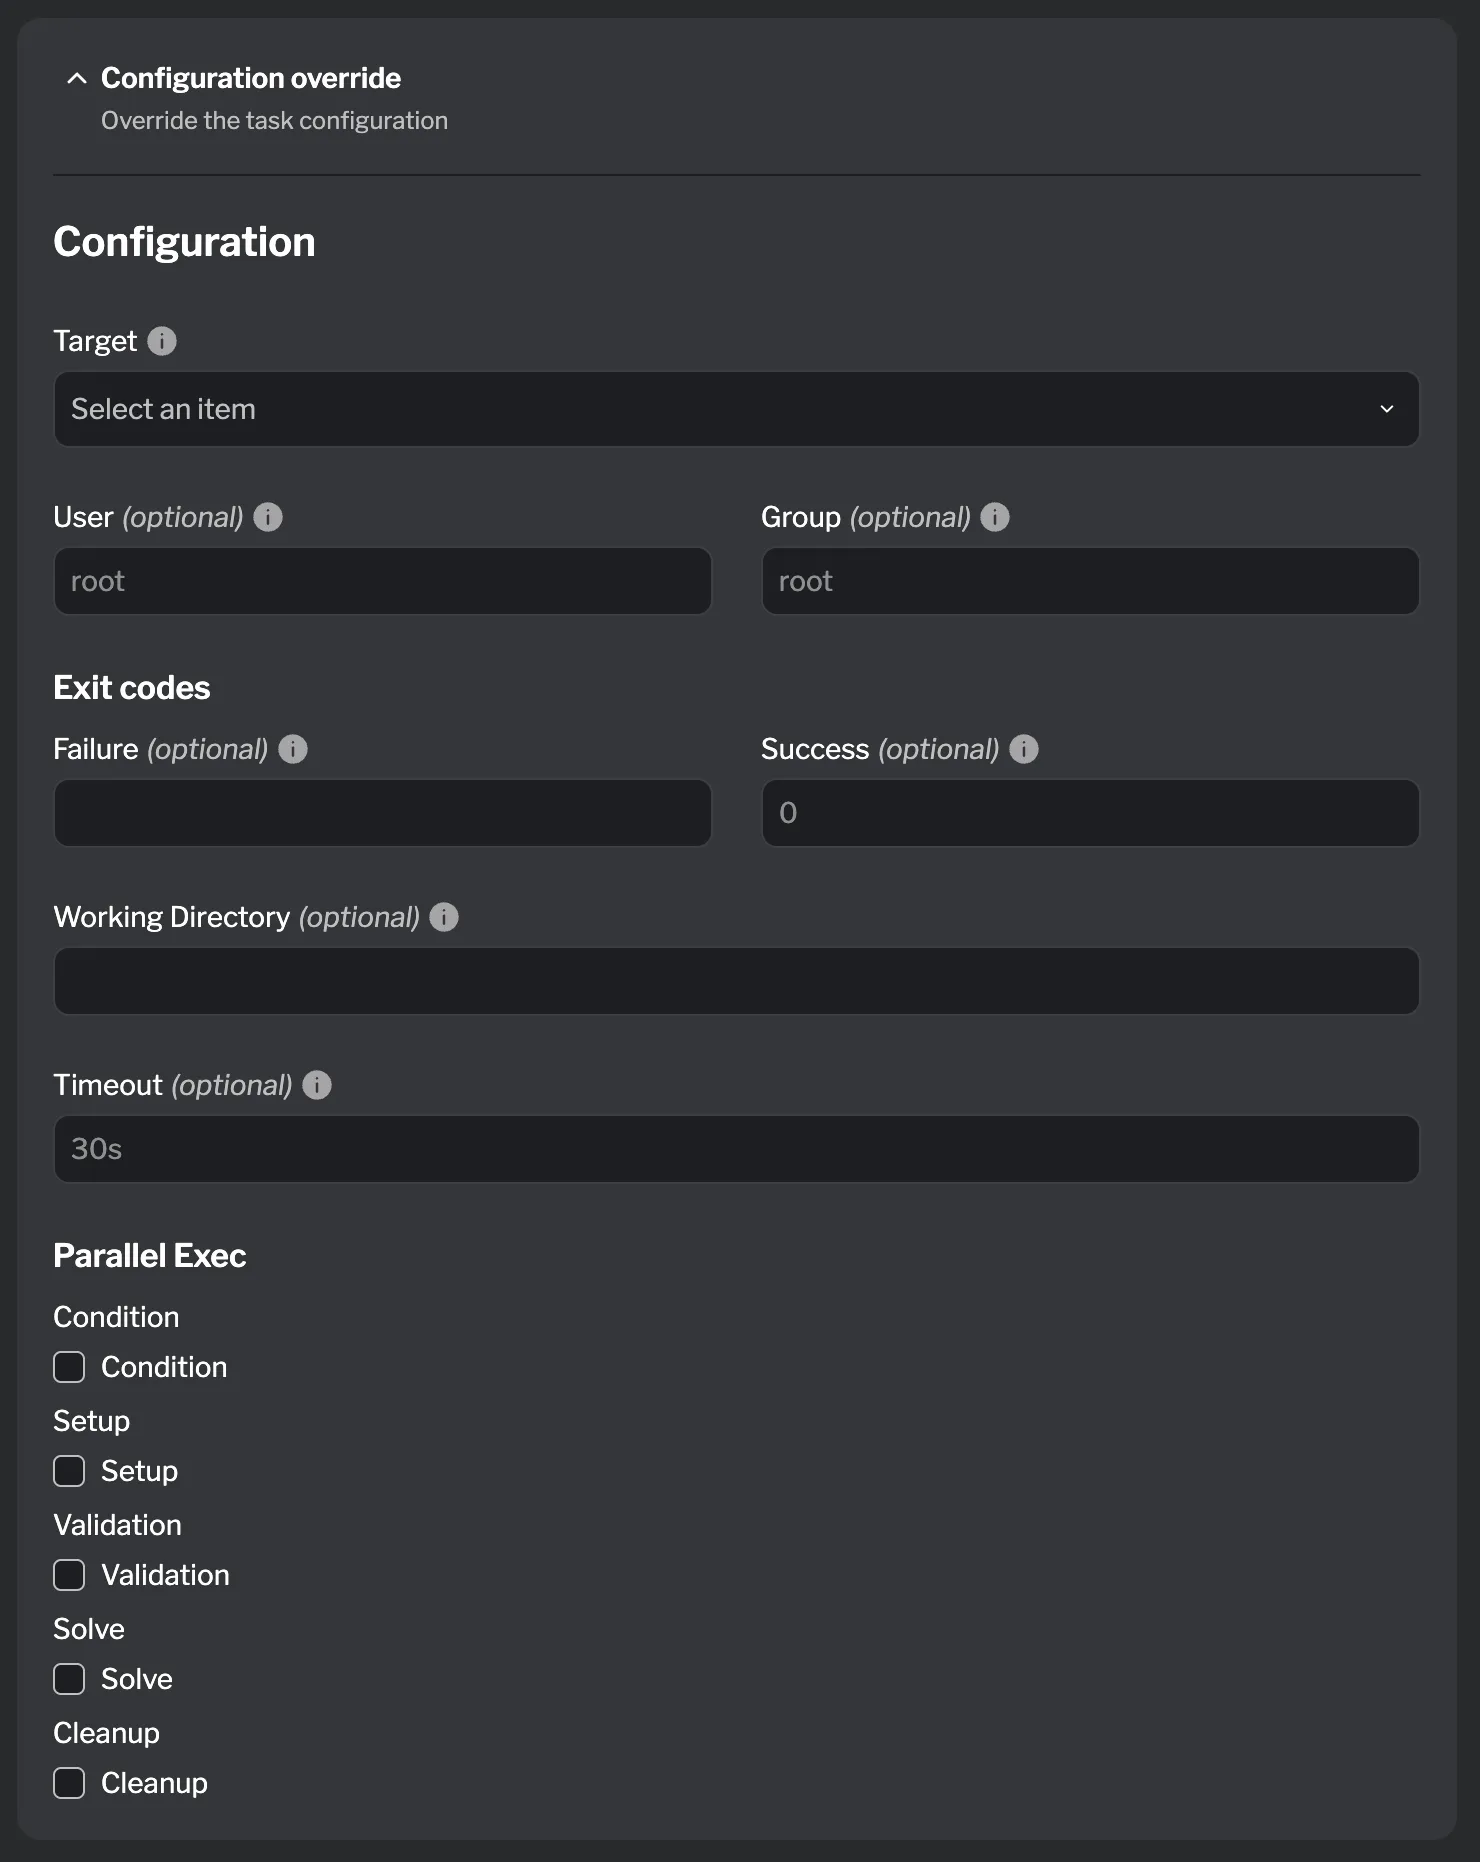
| Configuration Override (optional) | By default, conditions inherit configuration from the task level. Click to expand this section if this specific condition needs different settings (e.g., a longer timeout, different user, or specific exit codes). When expanded, you can override any task-level configuration for this specific condition. |
Adding Scripts
Section titled “Adding Scripts”Scripts are the executable code that validates user work. Each condition can have multiple scripts of different types, each serving a specific purpose in the validation lifecycle:
- Setup: Runs when the condition becomes active (e.g., installing dependencies, preparing environment)
- Check: Runs when validating whether the user met the requirement
- Solve: Runs when the user skips the condition (provides the solution)
- Cleanup: Runs when the condition completes, whether successful or skipped
Click the + button in the Scripts section to add a new script to the condition.
New vs Existing Scripts
Section titled “New vs Existing Scripts”When adding a script, you can create a new script file or reference an existing one:
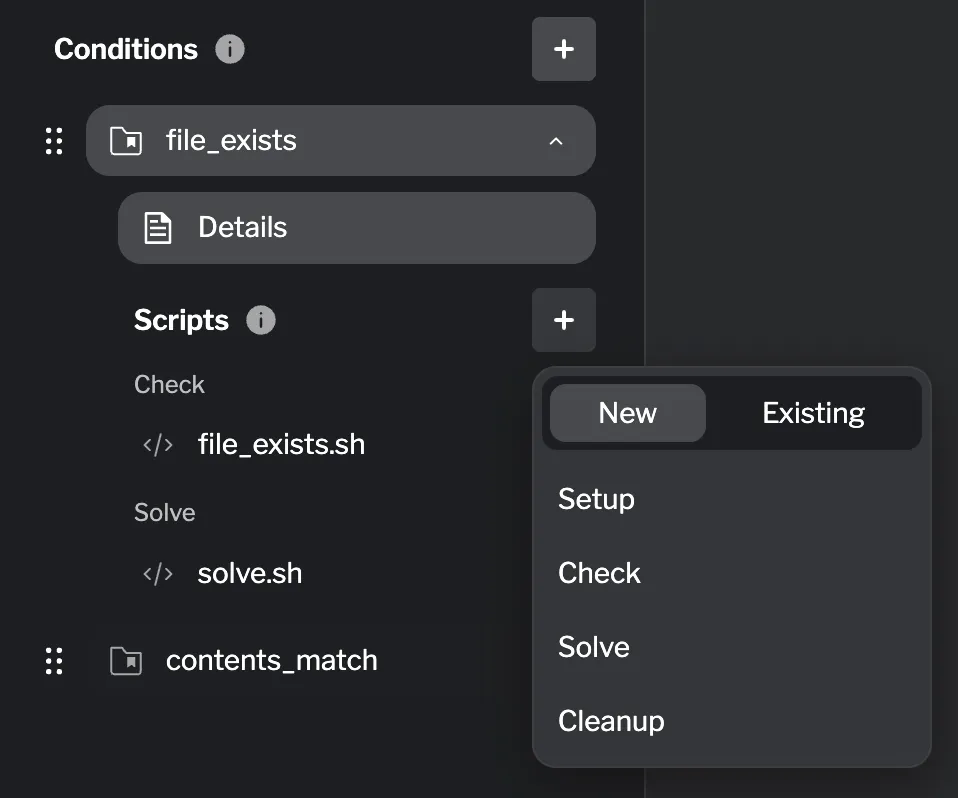
New: Write a new script directly in the inline editor. The script is saved to the file path you specify.
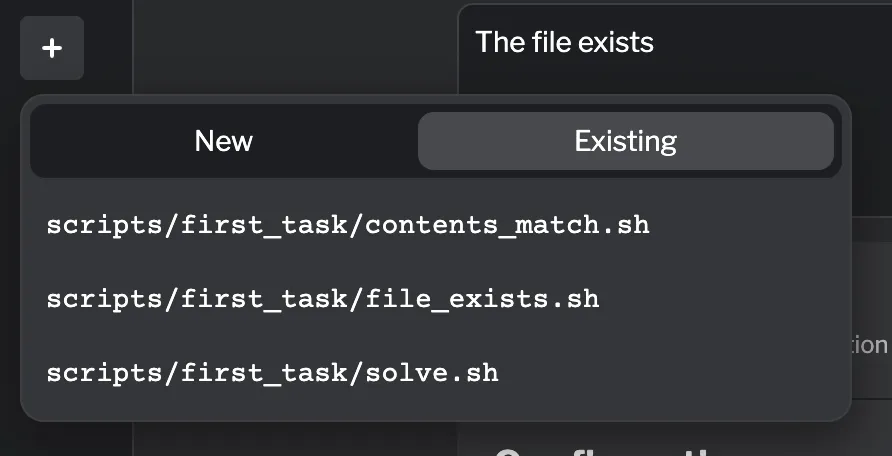
Existing: Select from scripts you’ve already created in your lab. This is useful for reusing common validation logic across multiple conditions or tasks.
Script Configuration
Section titled “Script Configuration”Each script needs configuration to execute properly:

| Field | Description |
|---|---|
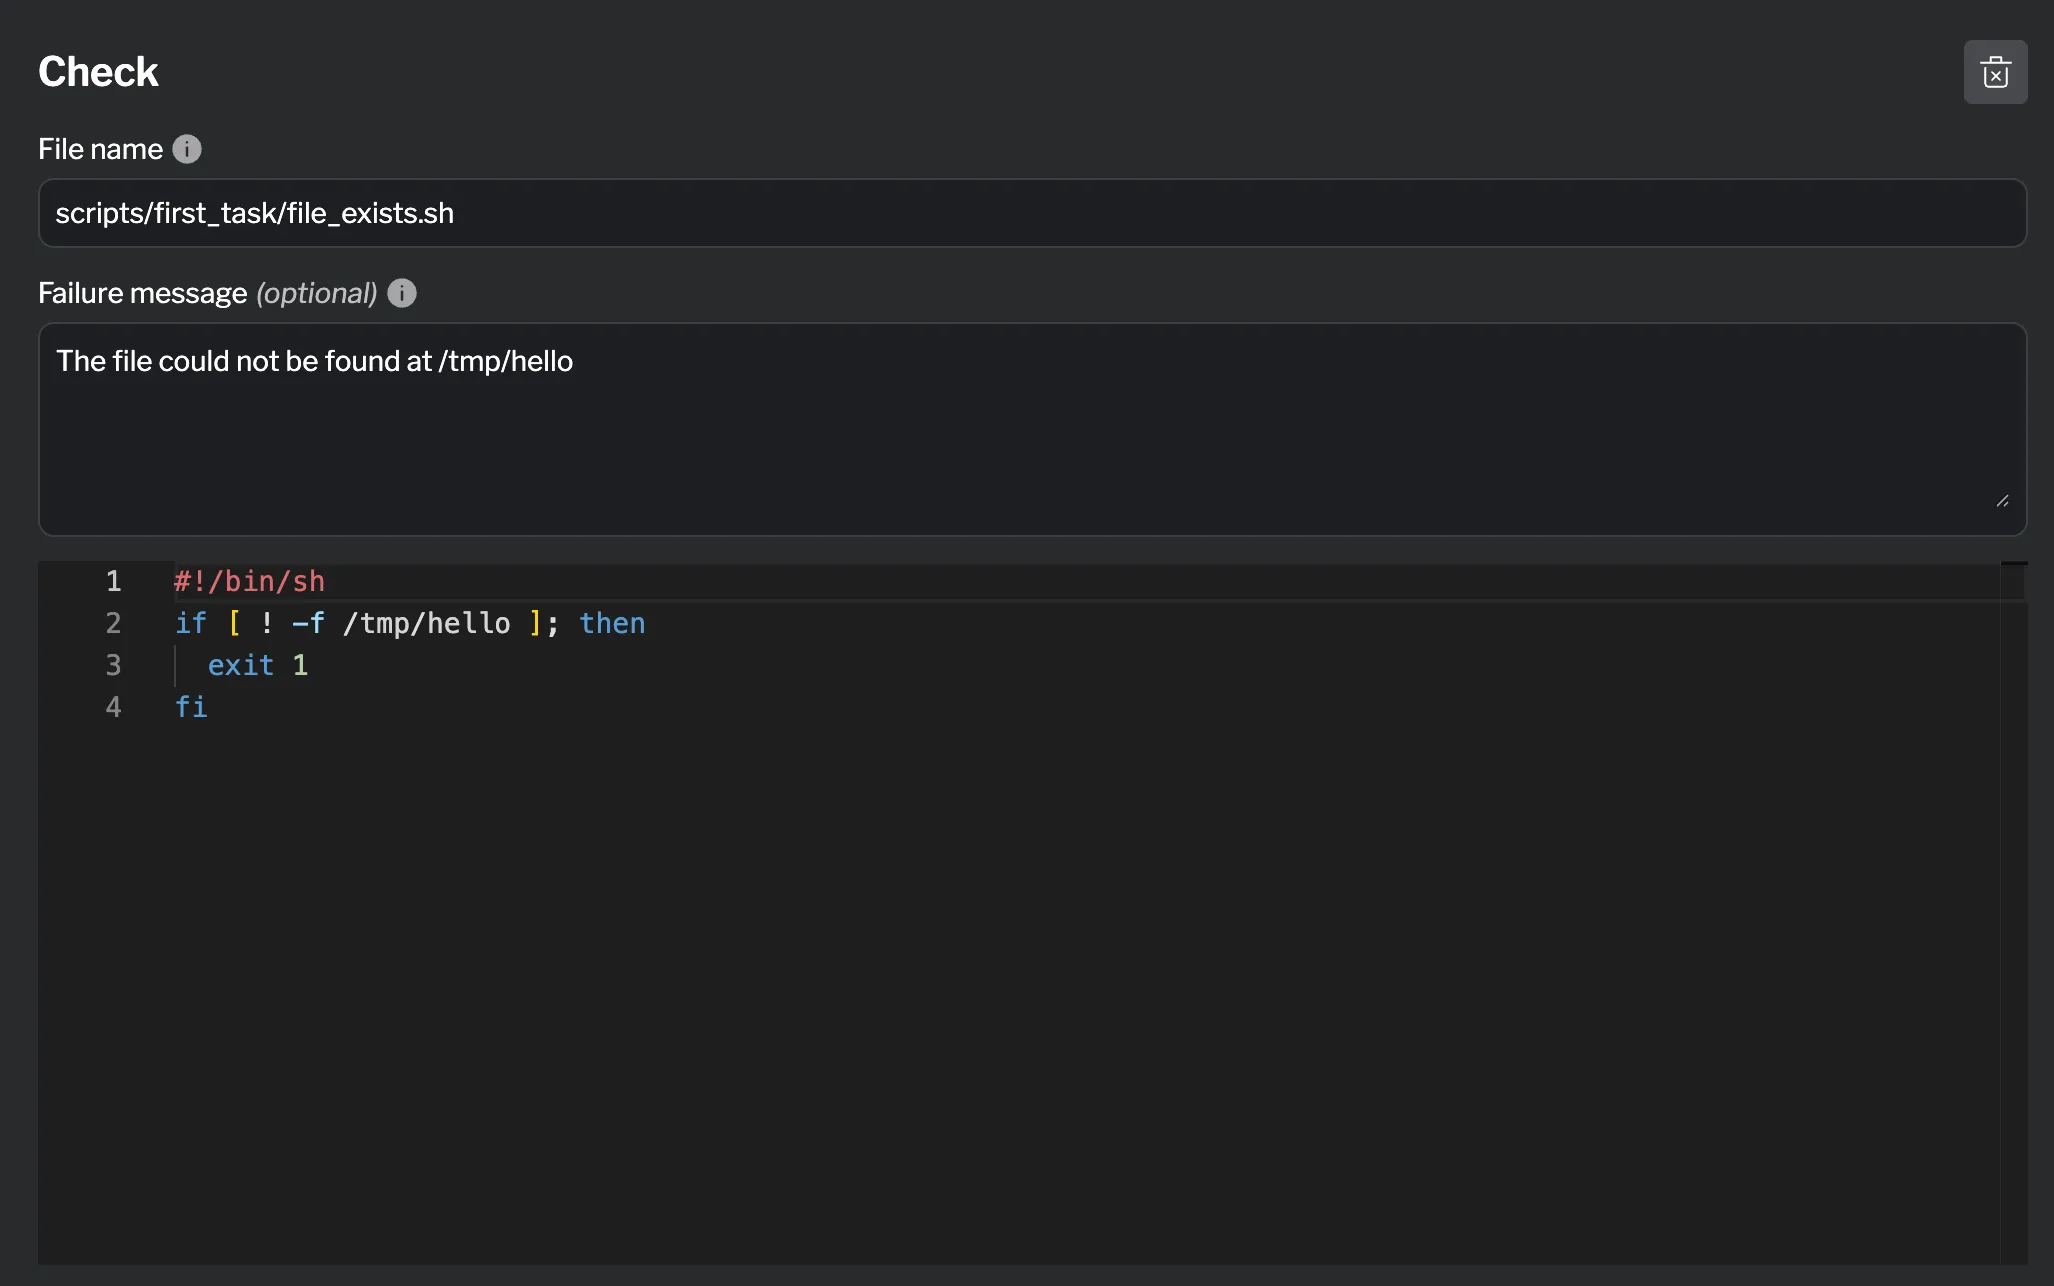
| File Name | The path to the script file relative to your lab’s scripts directory. Use descriptive paths that organize scripts by task, like scripts/docker_setup/check_installed.sh or scripts/first_task/file_exists.sh. |
| Failure Message (Check scripts only) | The message shown to users when this check script fails. Write helpful messages that guide users toward fixing the issue, like “The file could not be found at /tmp/hello” or “Docker service is not running. Try systemctl start docker”. |
| Script Editor | Write or edit your script code directly in the inline editor with syntax highlighting. The editor supports shell scripts and other executable formats. |
Condition Ordering
Section titled “Condition Ordering”Conditions appear in the order you define them in the task drawer. Users must complete conditions in order - they cannot skip ahead to later conditions.
You can reorder conditions by dragging them using the drag handle on the left side of each condition card.
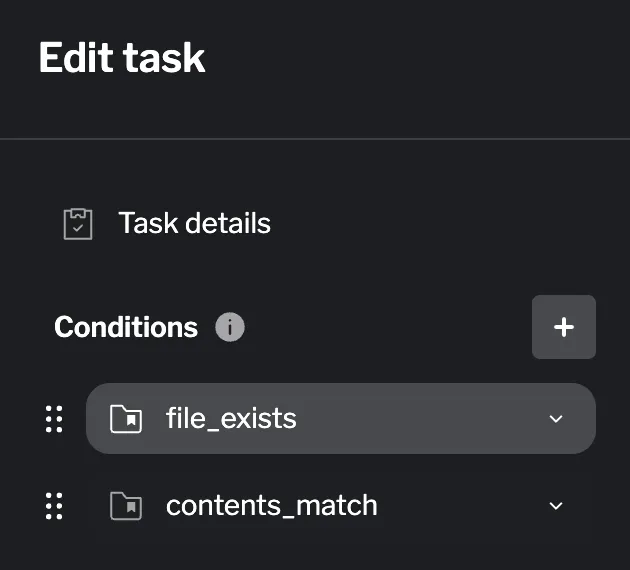
Each condition card can be collapsed or expanded. When collapsed, you can quickly see all your conditions and rearrange them. Click the chevron icon to expand a condition and edit its details or scripts.
Editing Tasks
Section titled “Editing Tasks”To edit an existing task, click on the task card in the Activities tab. This opens the task drawer where you can modify the task name, description, success message, configuration, add or remove conditions, reorder conditions, and update scripts.

When you’re done making changes, click the Finish and update task button to save your modifications. If you want to discard your changes, click the Discard changes button.
Embedding Tasks in Pages
Section titled “Embedding Tasks in Pages”Once you’ve created a task, you need to embed it in your instruction pages where users will encounter it.
Using the Markdown Editor
Section titled “Using the Markdown Editor”In the Instructions tab, edit the page where you want the task to appear. The markdown editor provides a button to insert task components.
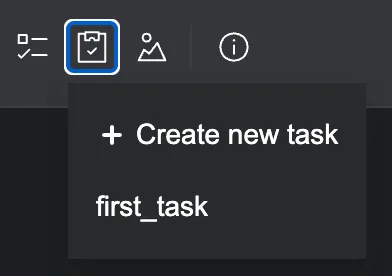
Click the task icon button (or use the insert menu) to see available tasks. You can either:
- Select an existing task to embed it at the cursor position
- Create a new task which opens the task drawer and inserts the reference when saved
The editor inserts a task component like this:
<instruqt-task id="docker_setup"></instruqt-task>The id must match the internal name of a task defined in your Activities.

Managing Task Components
Section titled “Managing Task Components”Once inserted, task components show inline controls:
- Edit: Opens the task drawer to modify conditions, scripts, and settings
- Delete: Removes the task from this page (it won’t delete the task from the Activities)
Non-Existent Tasks
Section titled “Non-Existent Tasks”If you reference a task that doesn’t exist, the editor shows a warning indicator with options to:
- Remove the reference from the markdown
- Create the missing task, which opens the task drawer pre-filled with the specified id

This helps you catch typos or missing tasks before publishing your lab.
Deleting a Task
Section titled “Deleting a Task”You can delete a task from the Activities tab by clicking the delete button on the task card. When you delete a task, a confirmation dialog appears to prevent accidental deletion.
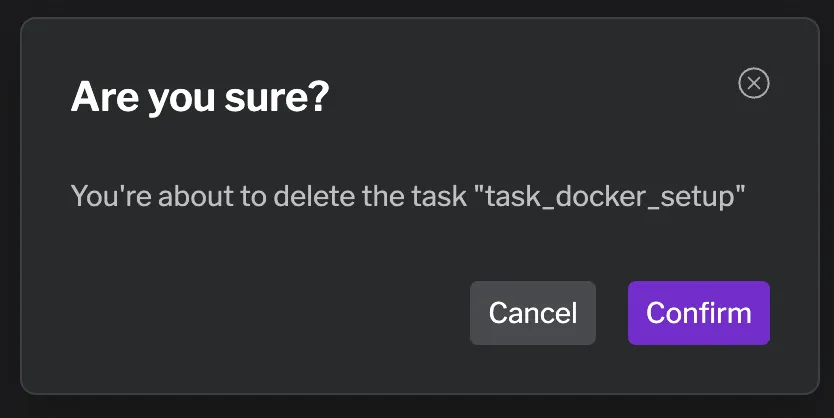
However, you cannot delete a task that’s currently being used in your lab. If the task is embedded in one or more pages, the delete button will be disabled and show a tooltip message.
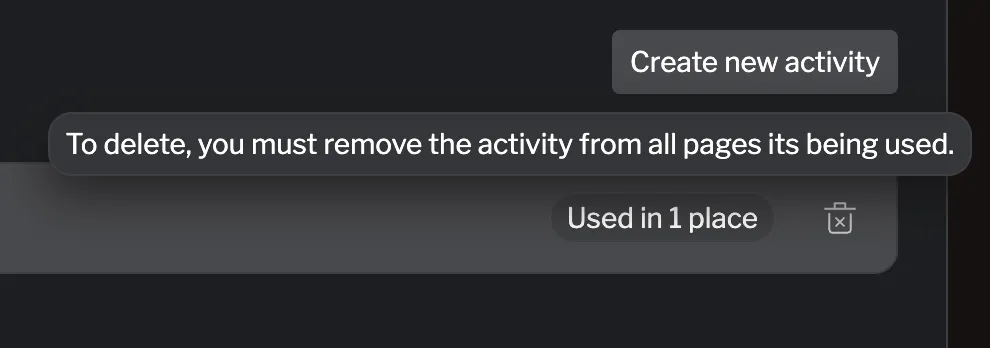
To delete a task that’s in use:
- Navigate to the task in the Activities tab
- Click on the usage indicator (e.g., “Used in 1 place”) to see which pages reference it
- Remove the task component from the page shown in the usage drawer
- Return to the Activities tab and delete the task
This protection prevents breaking your lab by accidentally removing tasks that users would encounter.
Summary
Section titled “Summary”Tasks transform passive instruction into active skill-building. By validating hands-on work with automated scripts, they help users develop practical competence and build confidence working with real systems.
Key points to remember:
- Create tasks in the Activities tab with clear names and well-designed conditions
- Configure execution settings at task or condition level for flexibility
- Use multiple script types (Setup, Check, Solve, Cleanup) for complete validation lifecycle
- Write helpful failure messages in check scripts to guide users
- Embed tasks in pages using the markdown editor’s task button
- Each task can only be used once per lab
For detailed information about the HCL configuration format and advanced task features, see the Task reference documentation. For an overview of how activities work together, see the Activities overview.
