Step 3 - Content & Tasks
With your infrastructure ready, it’s time to make your lab interactive. In this step, you’ll create engaging content that guides learners through hands-on activities. You’ll write validation scripts that check their progress, provide helpful feedback when they get stuck, and celebrate their success when they complete tasks correctly.
Create Your First Interactive Task
Section titled “Create Your First Interactive Task”Tasks make your lab interactive. They define specific activities that learners must complete, and they are automatically checked to verify their success.
Creating a Task
Section titled “Creating a Task”Tasks use validation scripts that run in your lab’s sandbox environments to verify a user’s work. When the user clicks ”Check”, your scripts run and provide immediate feedback on what passed and what still needs fixing.
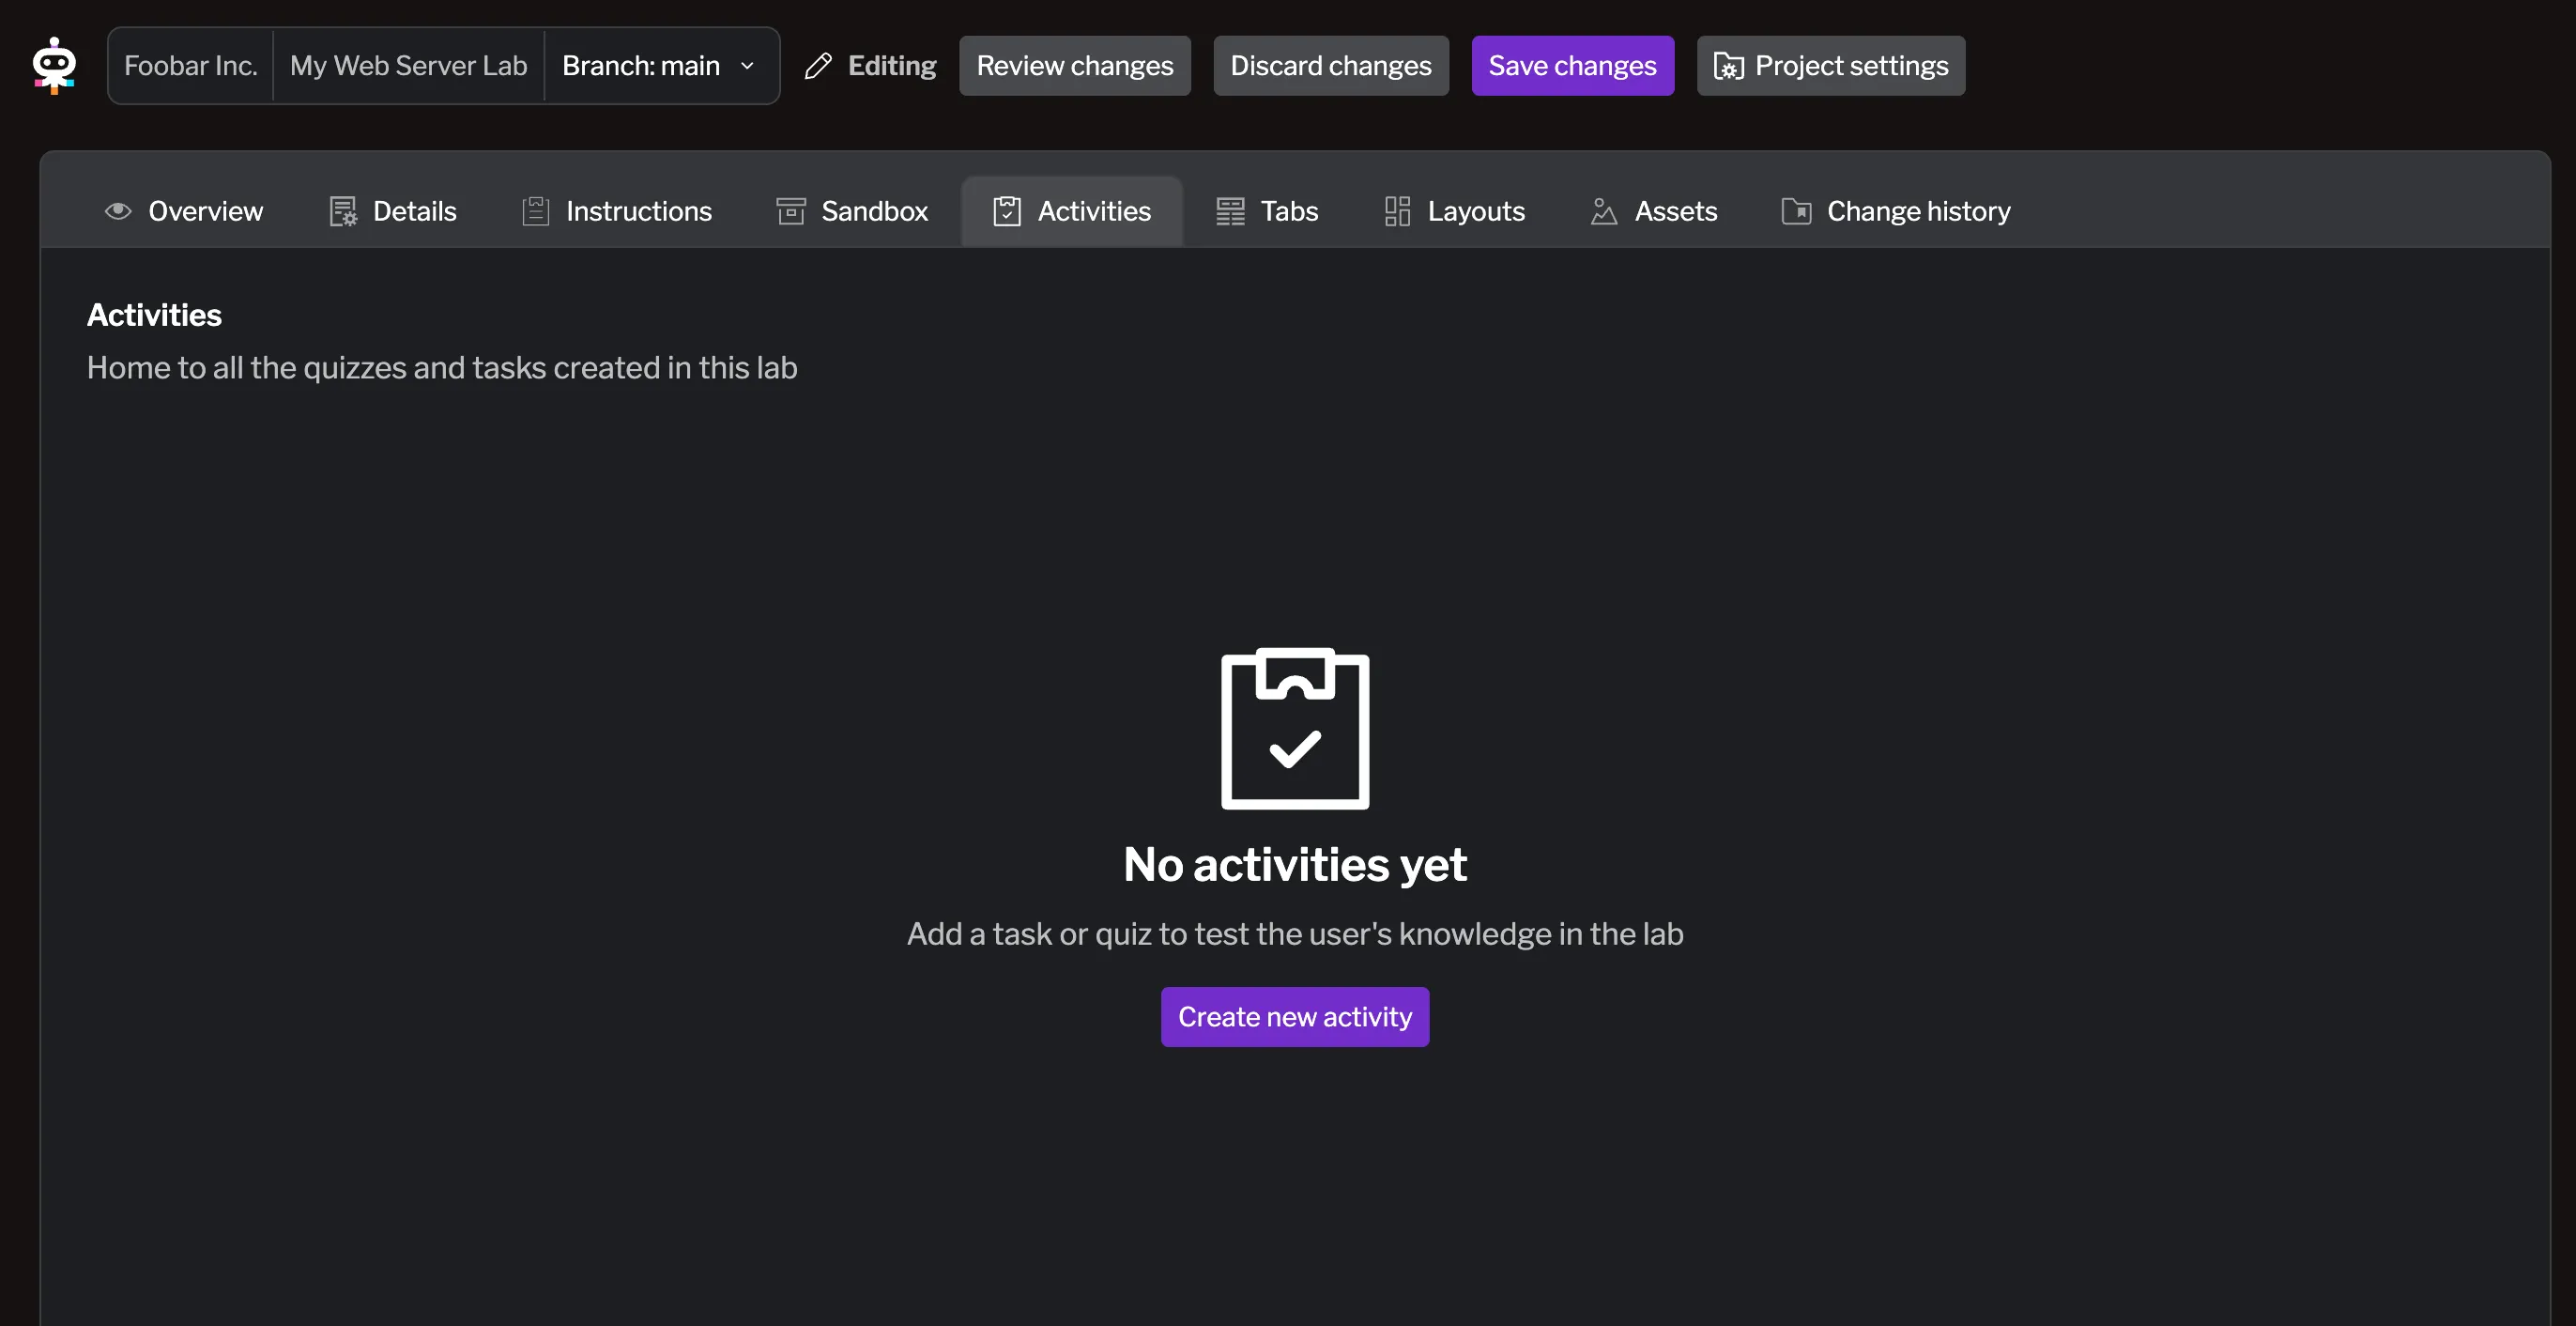
Navigate to the Activities tab and click the Create new activity button, select Task to create your first task. If the button is not visible, ensure you are in edit mode by clicking the Edit button at the top right.
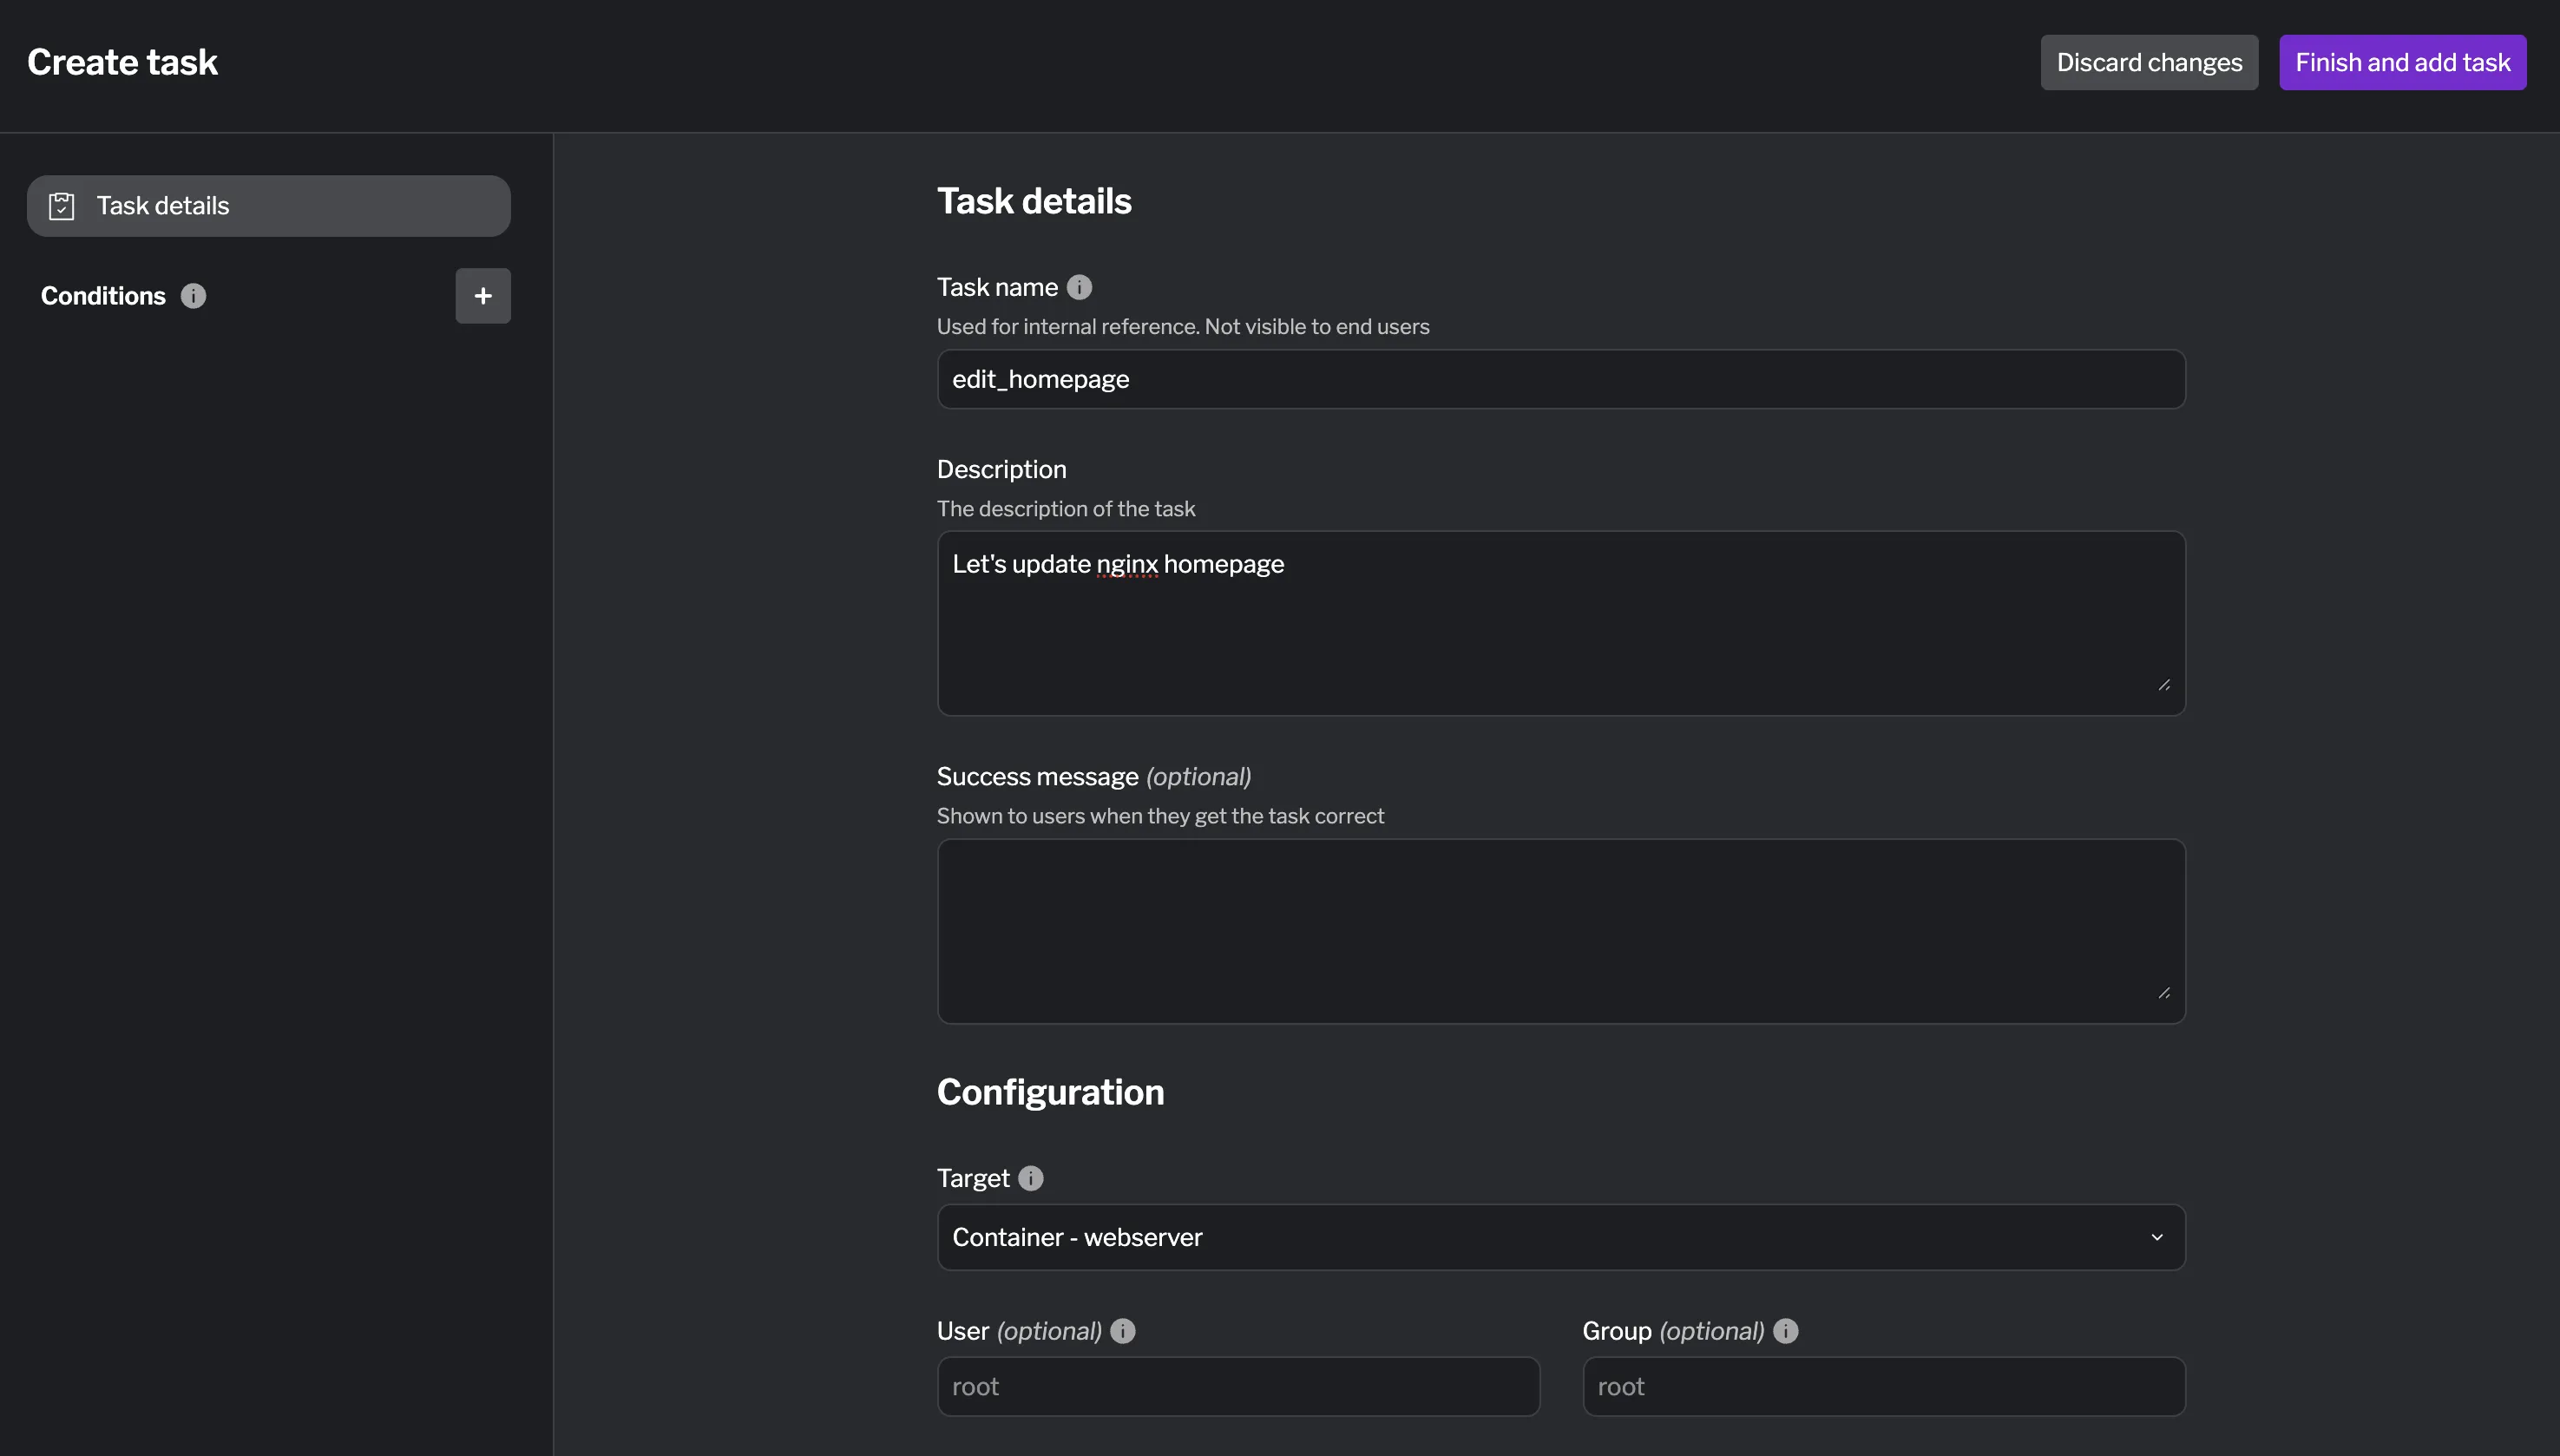
You’ll see a form to configure your task. There are many options, but for now, let’s focus on the essentials:
- Name:
edit_homepage- This is the internal identifier for the task. - Description:
Let's update nginx homepage- This is the message shown to learners when they view the task in their interface. - Configuration > Target:
webserver- This specifies which container the task will interact with. Let’s use thewebservercontainer we created earlier.
After filling in these fields, click the + button next to Conditions on the sidebar to add a validation condition. These conditions define what learners must do to complete the task.
You can customize the conditions in multiple ways, but for this example, let’s make it simple:
- Name (internal):
file_modified- An internal identifier for the condition. - Description:
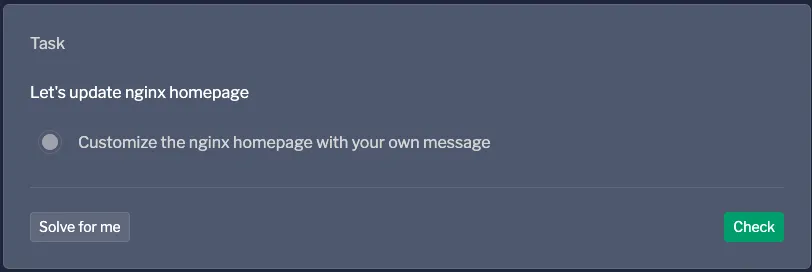
Customize the nginx homepage with your own message- The message shown to learners when they view the condition.
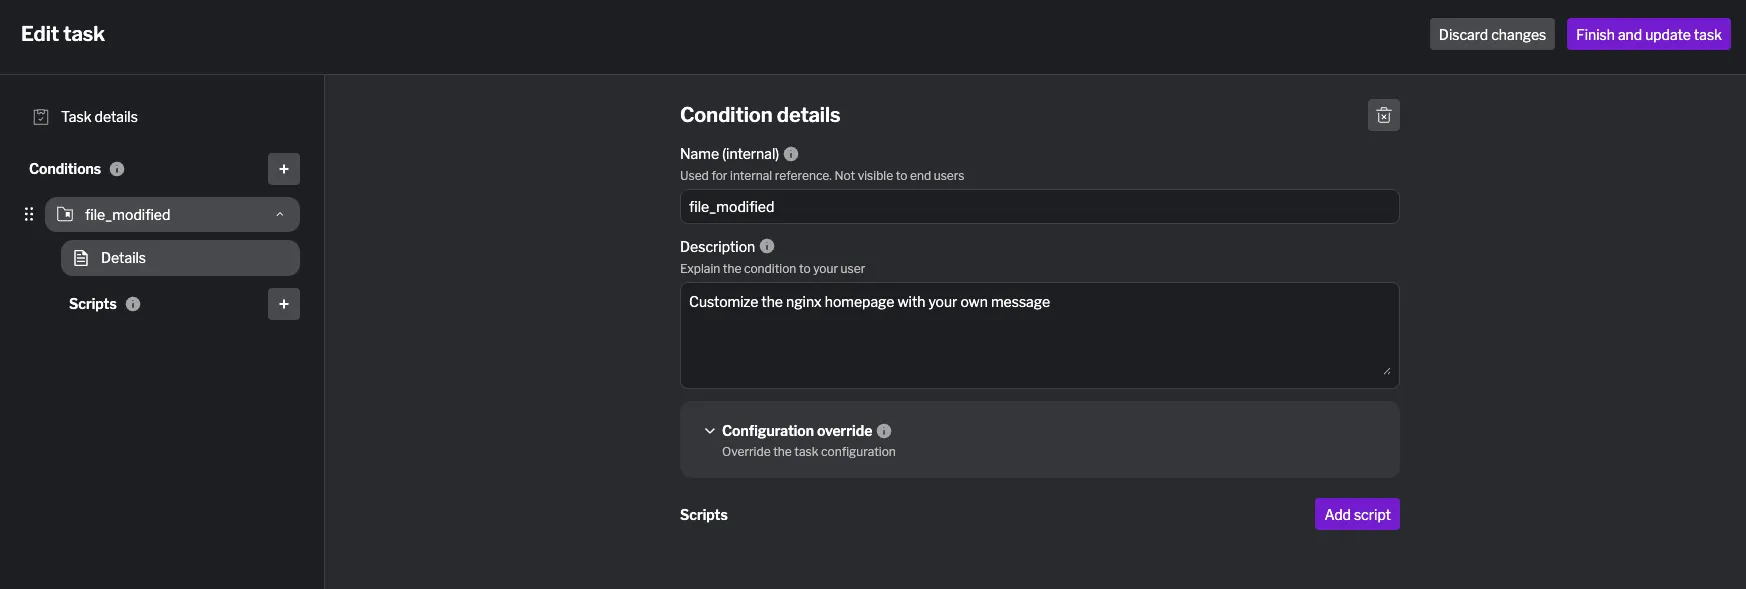
Let’s also add a Script that will validate whether the learner has completed the task correctly.
Each condition can have multiple scripts of different types, each serving a specific purpose in the validation lifecycle:
- Setup: Runs when the condition becomes active (e.g., installing dependencies, preparing environment)
- Check: Runs when validating whether the user met the requirement
- Solve: Runs when the user skips the condition (provides the solution)
- Cleanup: Runs when the condition completes, whether successful or skipped
Click the Add script button. You can also use the sidebar to create and manage scripts.
Remember, this script runs inside the container, so it can directly check files that learners modified.
Let’s select a Check script for this:
- File name - This is the name of the script file. You can name it whatever you prefer. This is useful in case you want to reuse the same script across multiple conditions or tasks. Let’s just keep the already suggested name for now.
- Failure message:
Please edit /usr/share/nginx/html/index.html with your custom message. - This message is shown to learners if they fail the validation. It’s not mandatory, but let’s add it. - Script content:
#!/bin/bash
EXPECTED_MESSAGE="Hello from my web server!"NGINX_HTML="/usr/share/nginx/html/index.html"
if grep -q "$EXPECTED_MESSAGE" "$NGINX_HTML"; then exit 0else exit 1fiThis script uses simple bash commands to look for specific content in the nginx homepage file. If it finds the expected text, the task passes; if not, it fails with a helpful message.
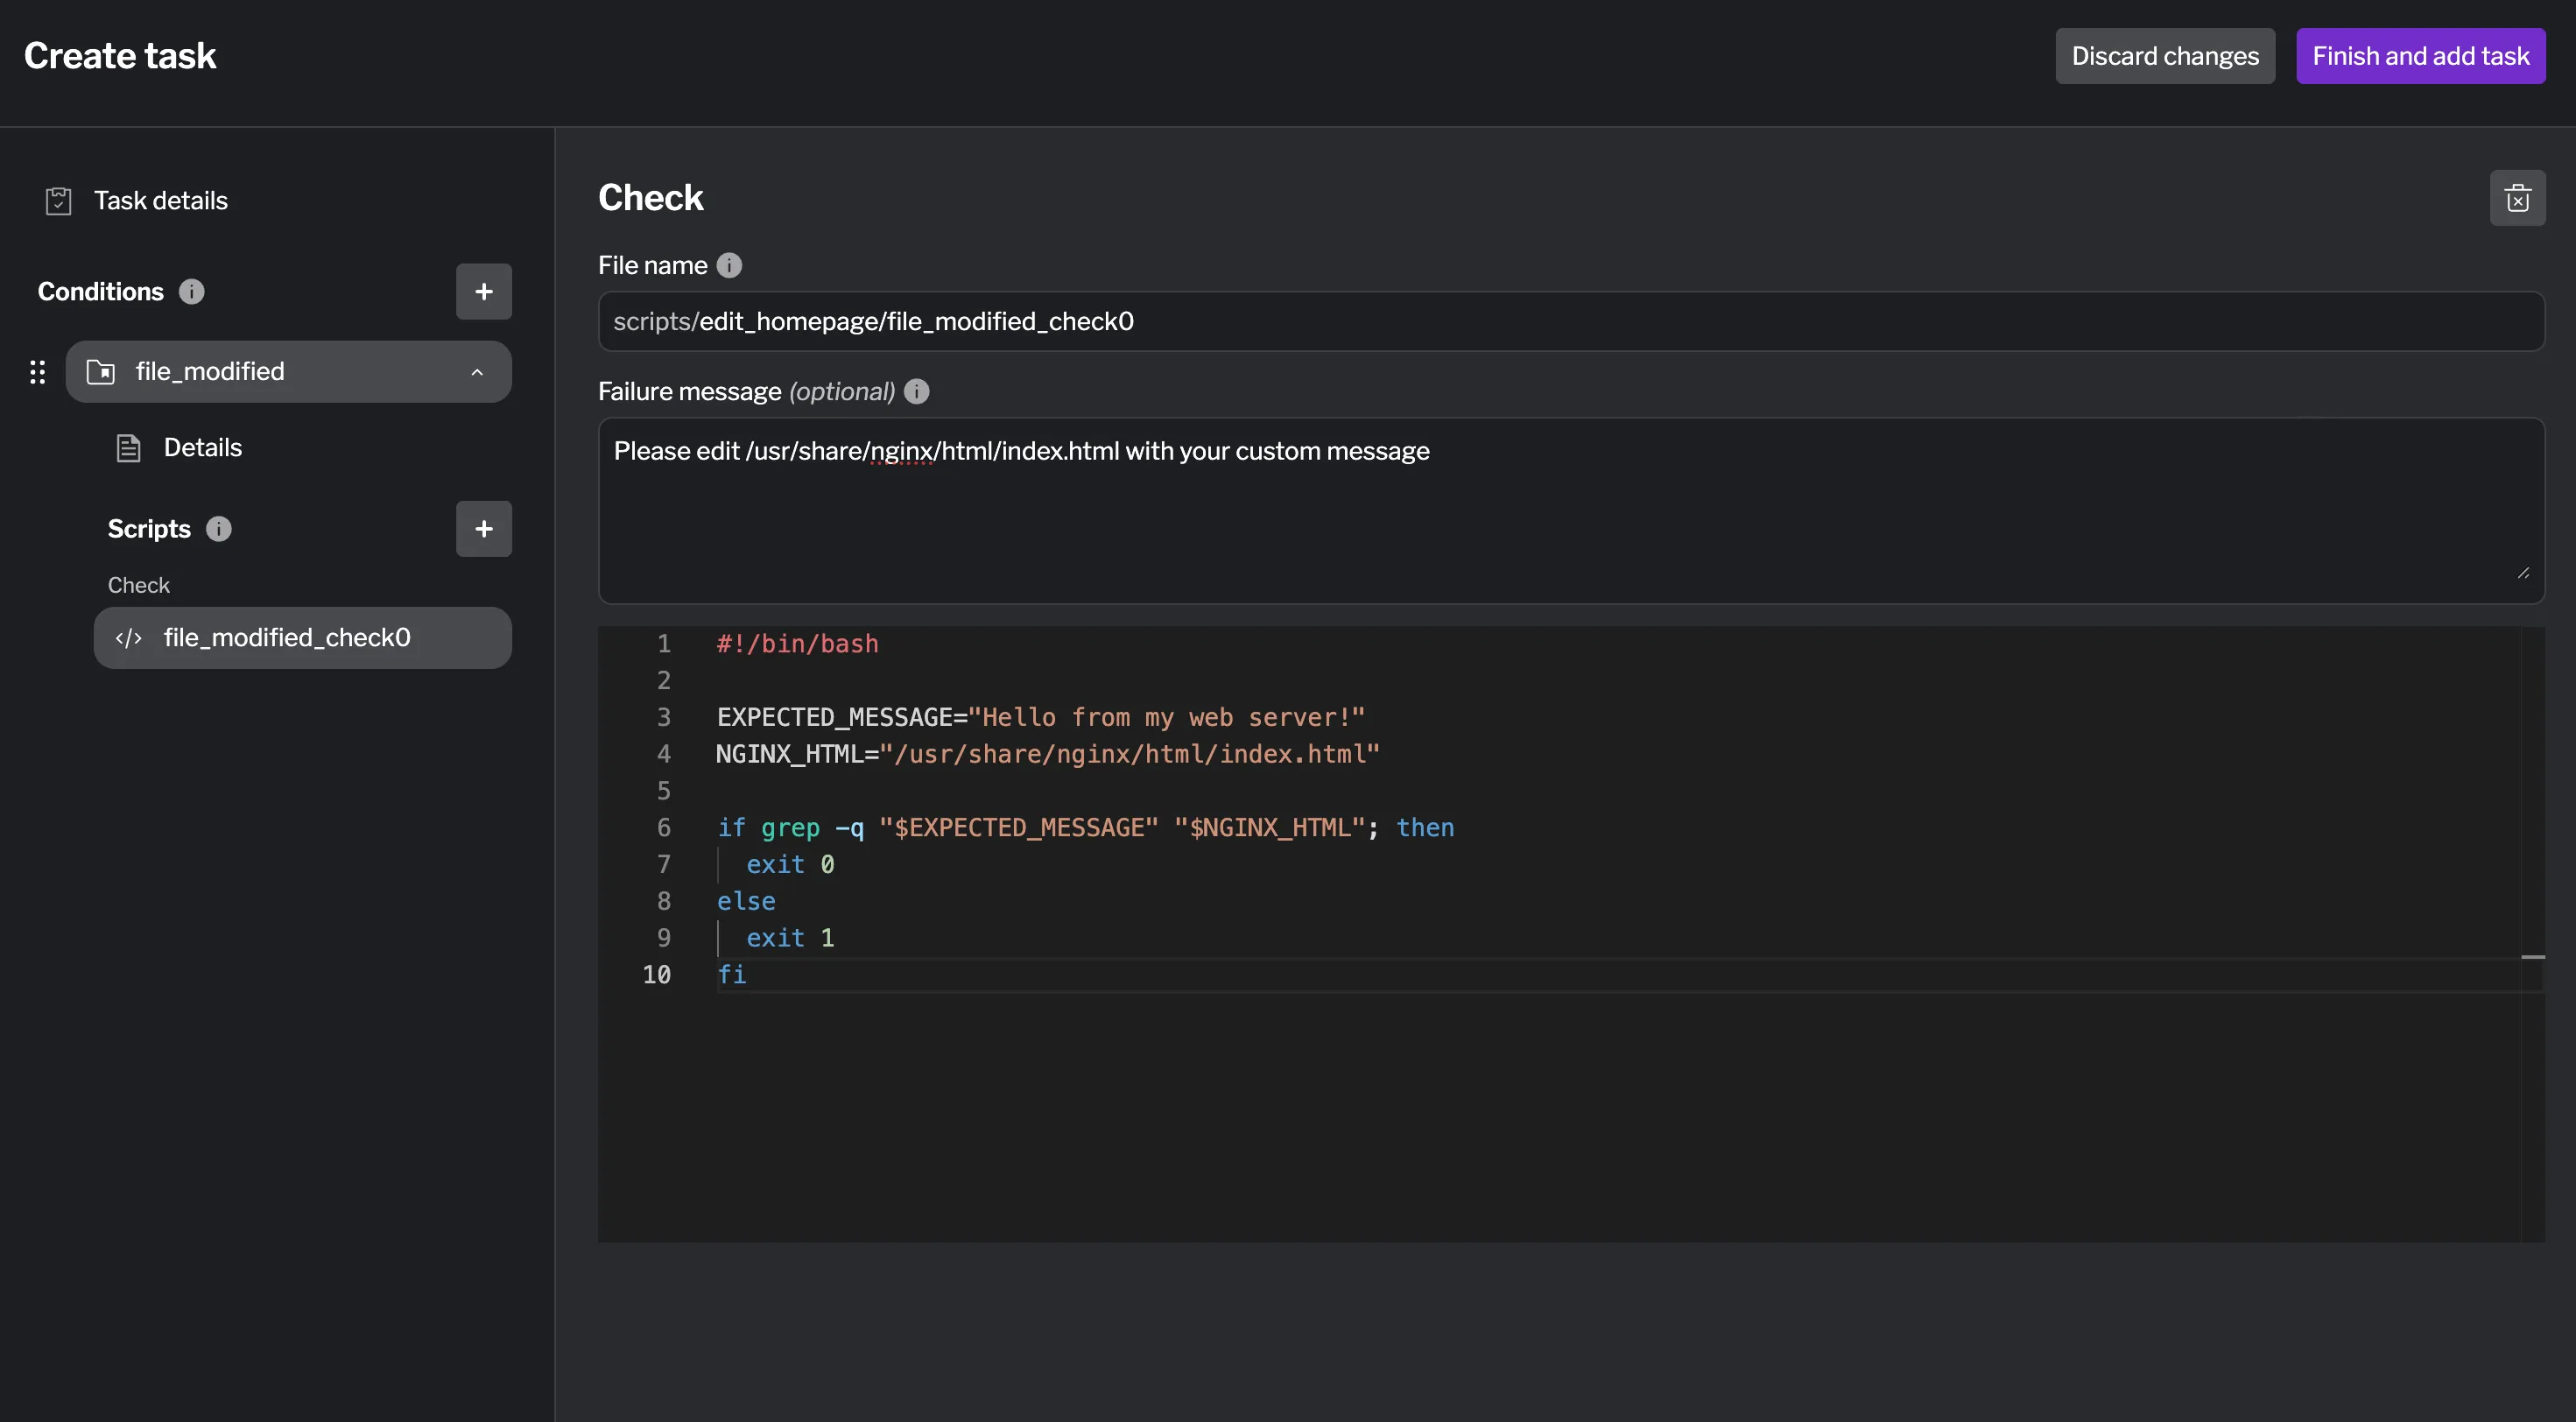
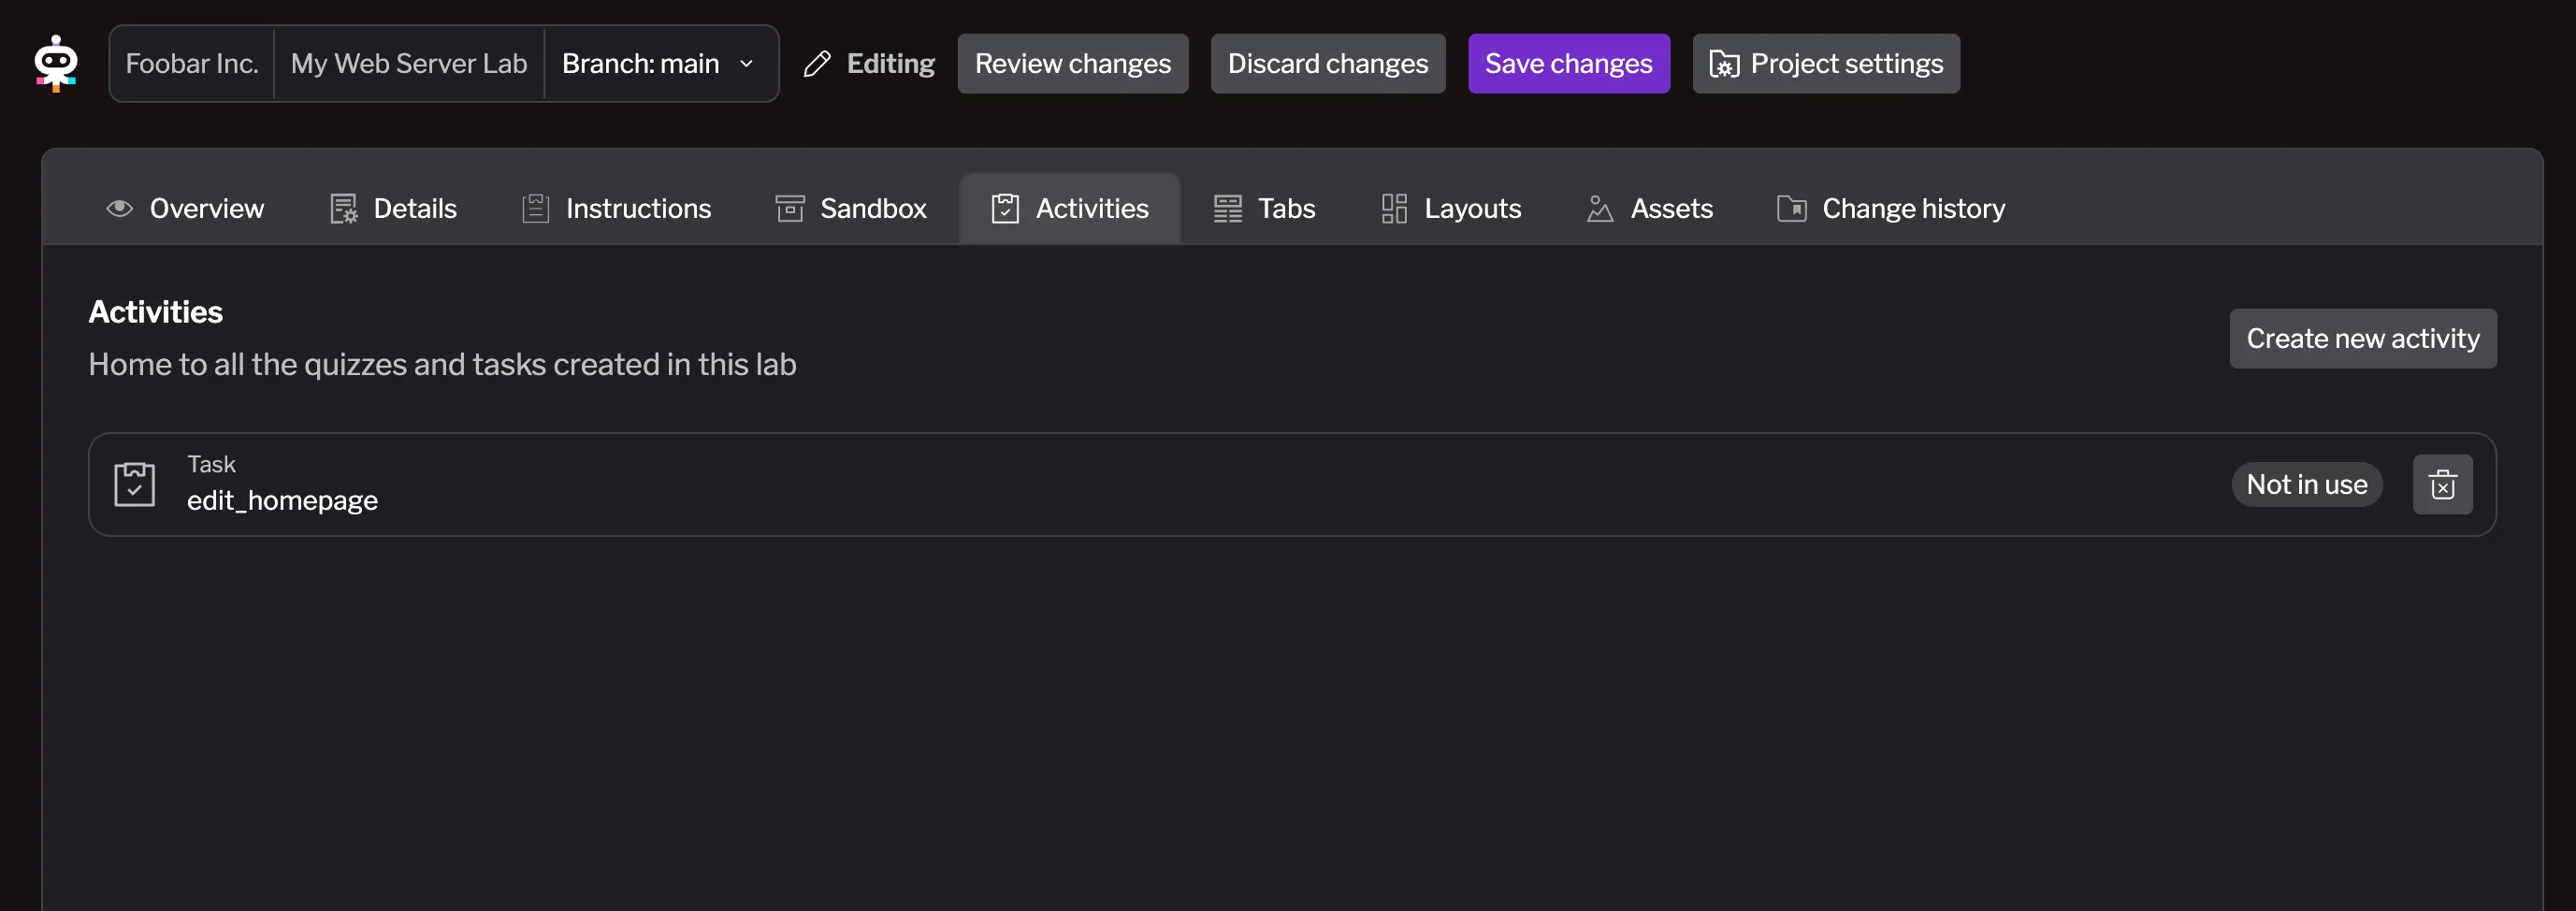
When you are ready, hit Finish and add task at the top of the drawer to save your task. You can see it listed now in the Activities tab with a Not in use tag next to it. This means the task is created but not yet linked to any content page. We will create the page and link the task to it next.
For more information on creating tasks, see the Tasks documentation.
Create Learner Instructions
Section titled “Create Learner Instructions”Now you need to create the actual content that learners will see and follow. This includes step-by-step instructions that guide them through customizing the nginx homepage.
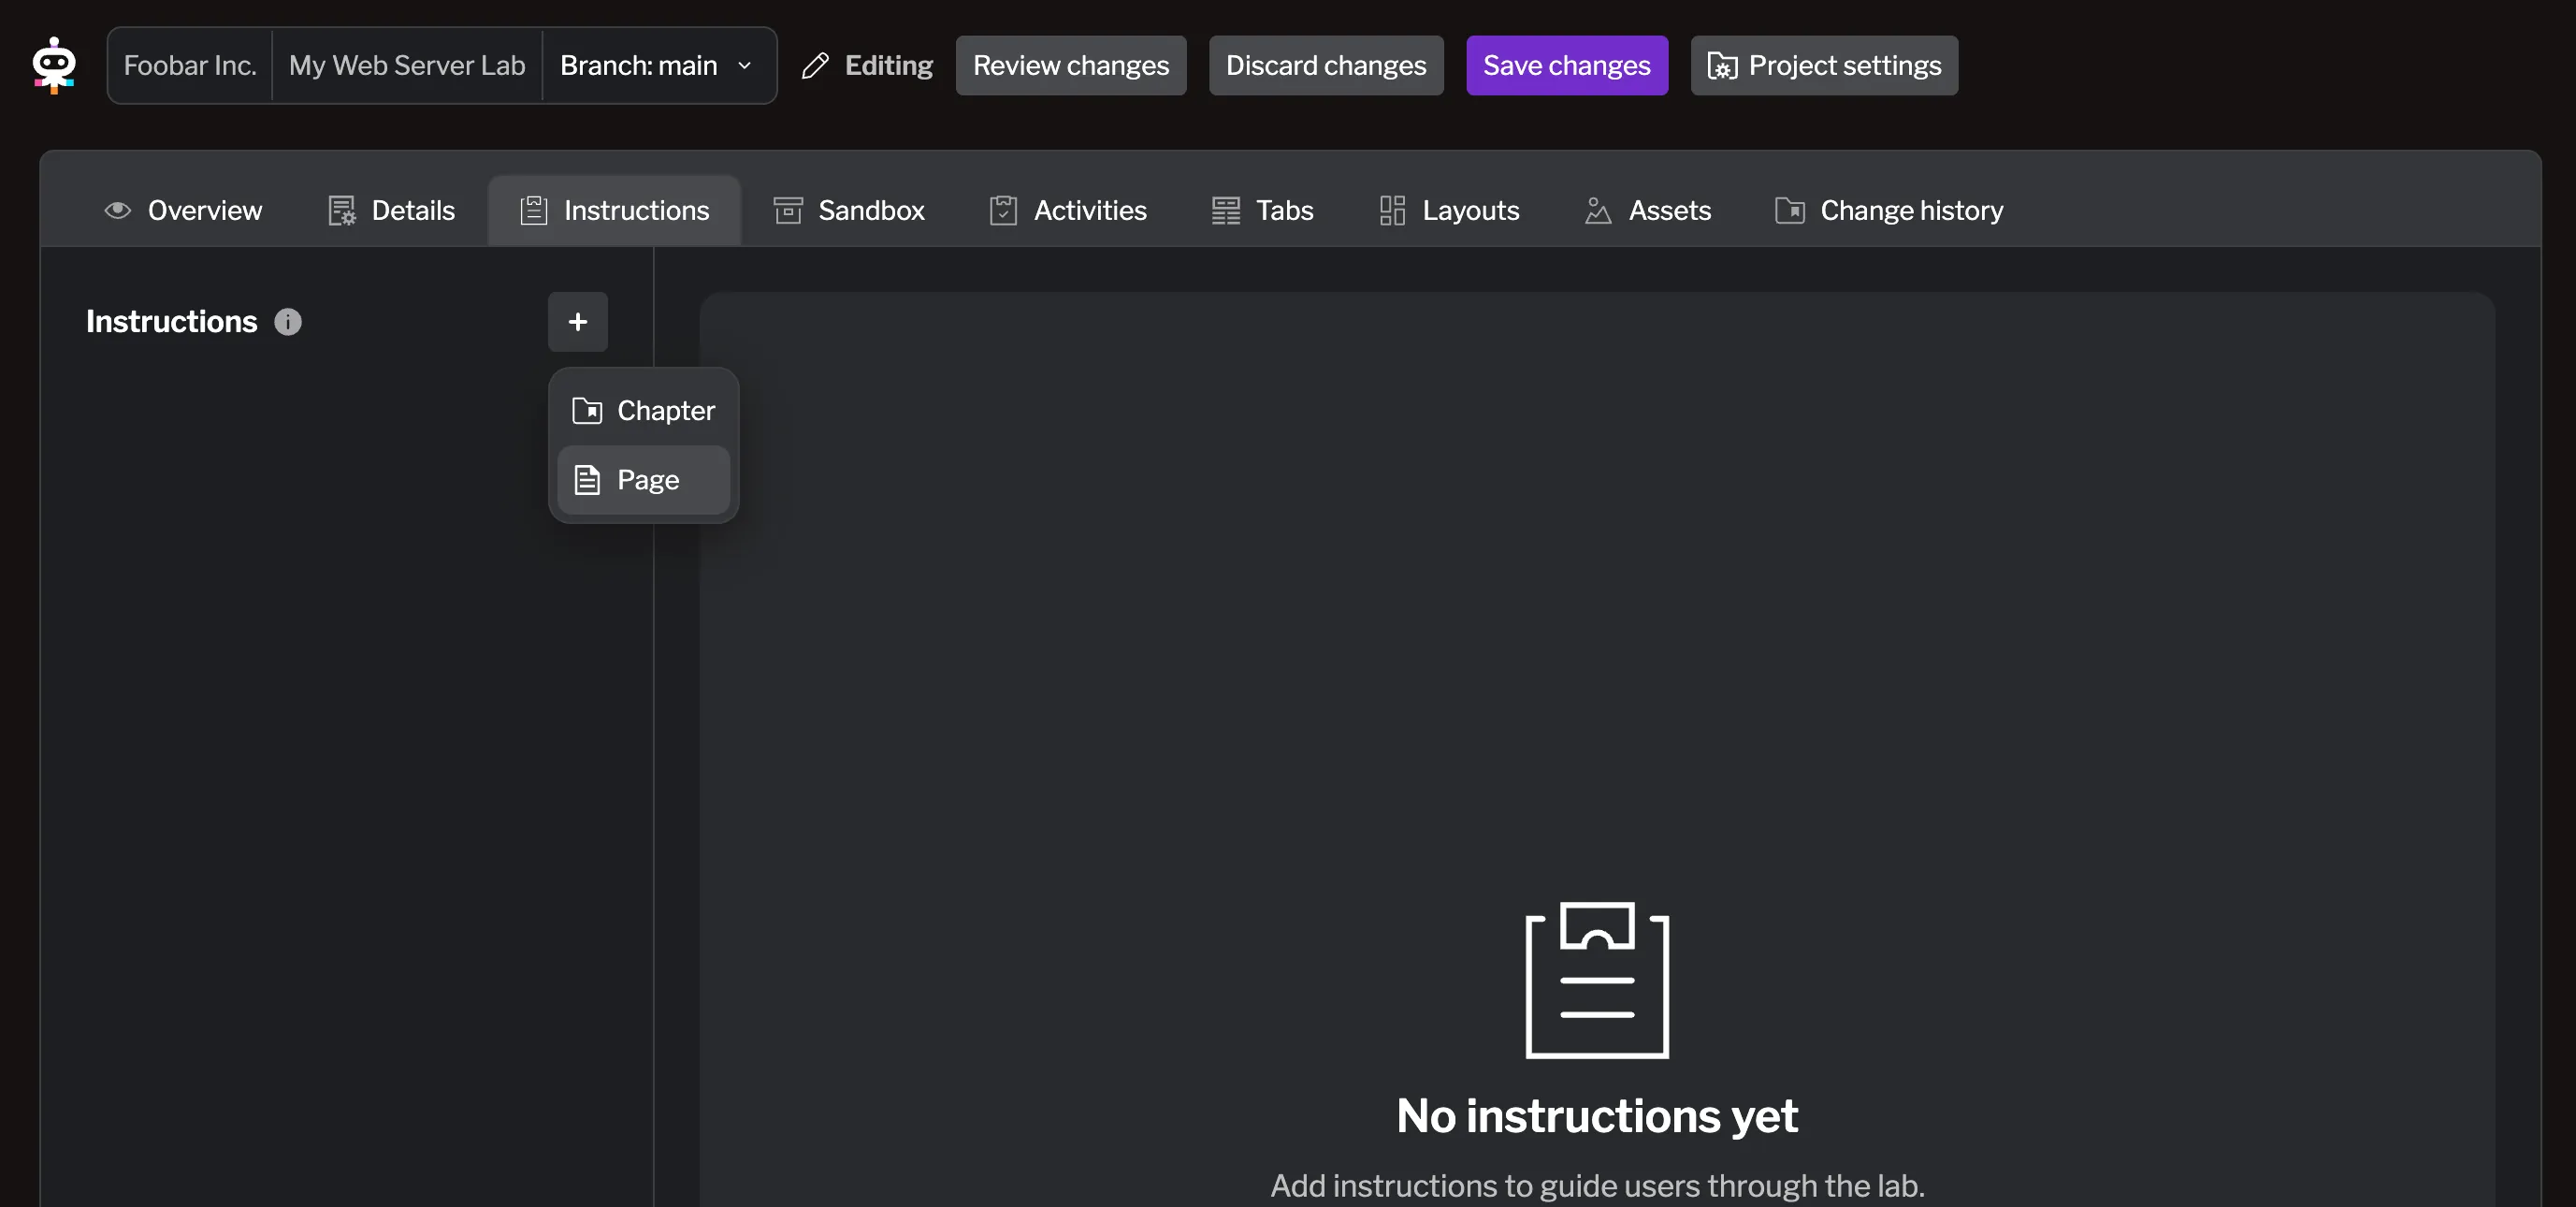
Let’s go to the Instructions tab and create a new page by clicking the + button. Select Page to create a new content page.
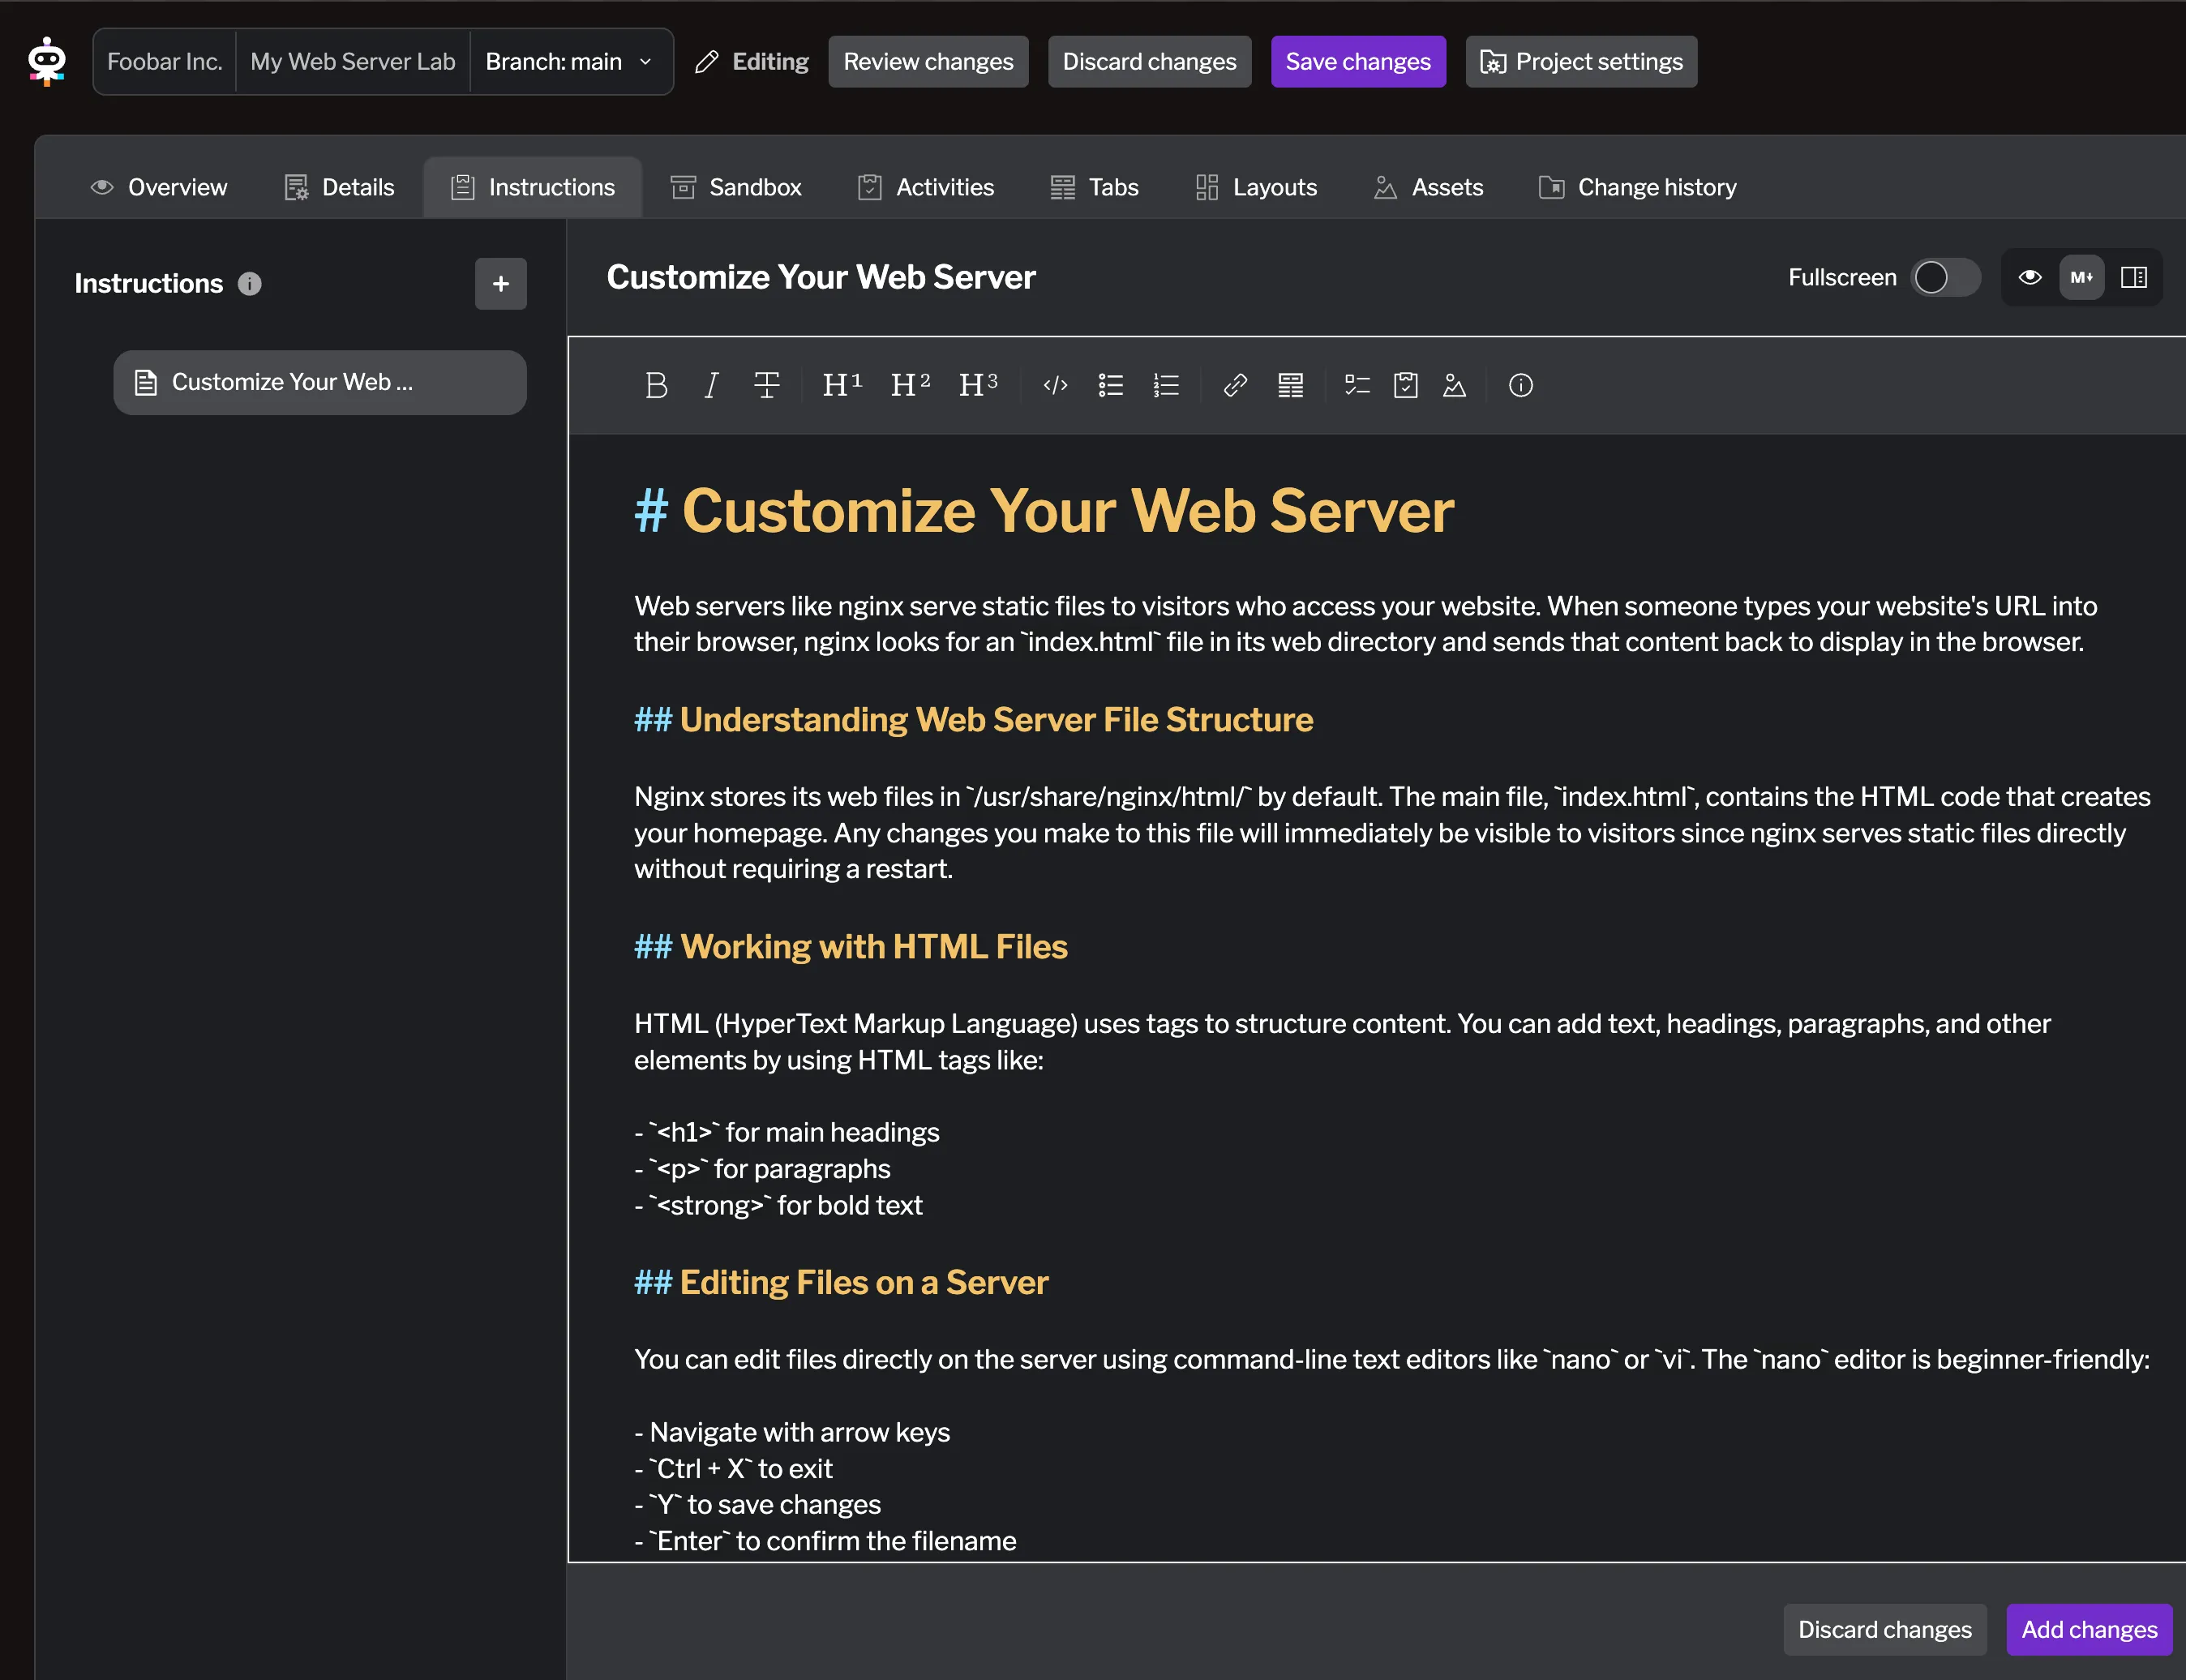
Let’s call it Customize Your Web Server and add some content to guide learners through the task. This is a full markdown editor so you can use standard markdown syntax to format your content. For more information on the markdown features supported, see the Markdown editor documentation.
Let’s use the following content for now:
# Customize Your Web Server
Web servers like nginx serve static files to visitors who access your website. When someone types your website's URL into their browser, nginx looks for an `index.html` file in its web directory and sends that content back to display in the browser.
## Understanding Web Server File Structure
Nginx stores its web files in `/usr/share/nginx/html/` by default. The main file, `index.html`, contains the HTML code that creates your homepage. Any changes you make to this file will immediately be visible to visitors since nginx serves static files directly without requiring a restart.
## Working with HTML Files
HTML (HyperText Markup Language) uses tags to structure content. You can add text, headings, paragraphs, and other elements by using HTML tags like:
- `<h1>` for main headings- `<p>` for paragraphs- `<strong>` for bold text
## Editing Files on a Server
You can edit files directly on the server using command-line text editors like `nano` or `vi`. The `nano` editor is beginner-friendly:
- Navigate with arrow keys- `Ctrl + X` to exit- `Y` to save changes- `Enter` to confirm the filename
To see your changes, refresh your browser or the Service tab after editing the file.
<instruqt-task id="edit_homepage"></instruqt-task>
## Troubleshooting
**Can't find the file?**
- Make sure you're in the right directory: `/usr/share/nginx/html`- List files with: `ls -la`
**Changes not showing?**
- Force refresh the Service tab (Ctrl+F5 or Cmd+Shift+R)- Wait a few seconds and refresh againHit Add changes to save your page. You can see this tag in the page content:
<instruqt-task id="edit_homepage"></instruqt-task>This special tag links the task you created earlier to this content page. When learners view this page, they will see the task embedded within the instructions.
For more information on creating content pages, see the Chapters & Pages documentation.
Create the Layout Configuration
Section titled “Create the Layout Configuration”Layouts define how the lab’s user interface is organized on screen. Multi-column layouts work well for instructional labs – learners can read instructions alongside practice areas and see results in real-time. This keeps everything visible at once, reducing the need to switch between tabs.
Let’s go to the Layouts tab to manage the lab’s layout. You should see a default layout already created named single_panel. This layout is the one currently assigned to your lab as the default layout.
When selecting this layout, you can see there is just one big panel with no tab attached to it. Let’s reuse this one but modify it to add more panels and tabs. To know more about Layouts, creating and managing them, see the Layouts documentation.
Select the single_panel layout and click the Split vertically button to create two vertical panels.
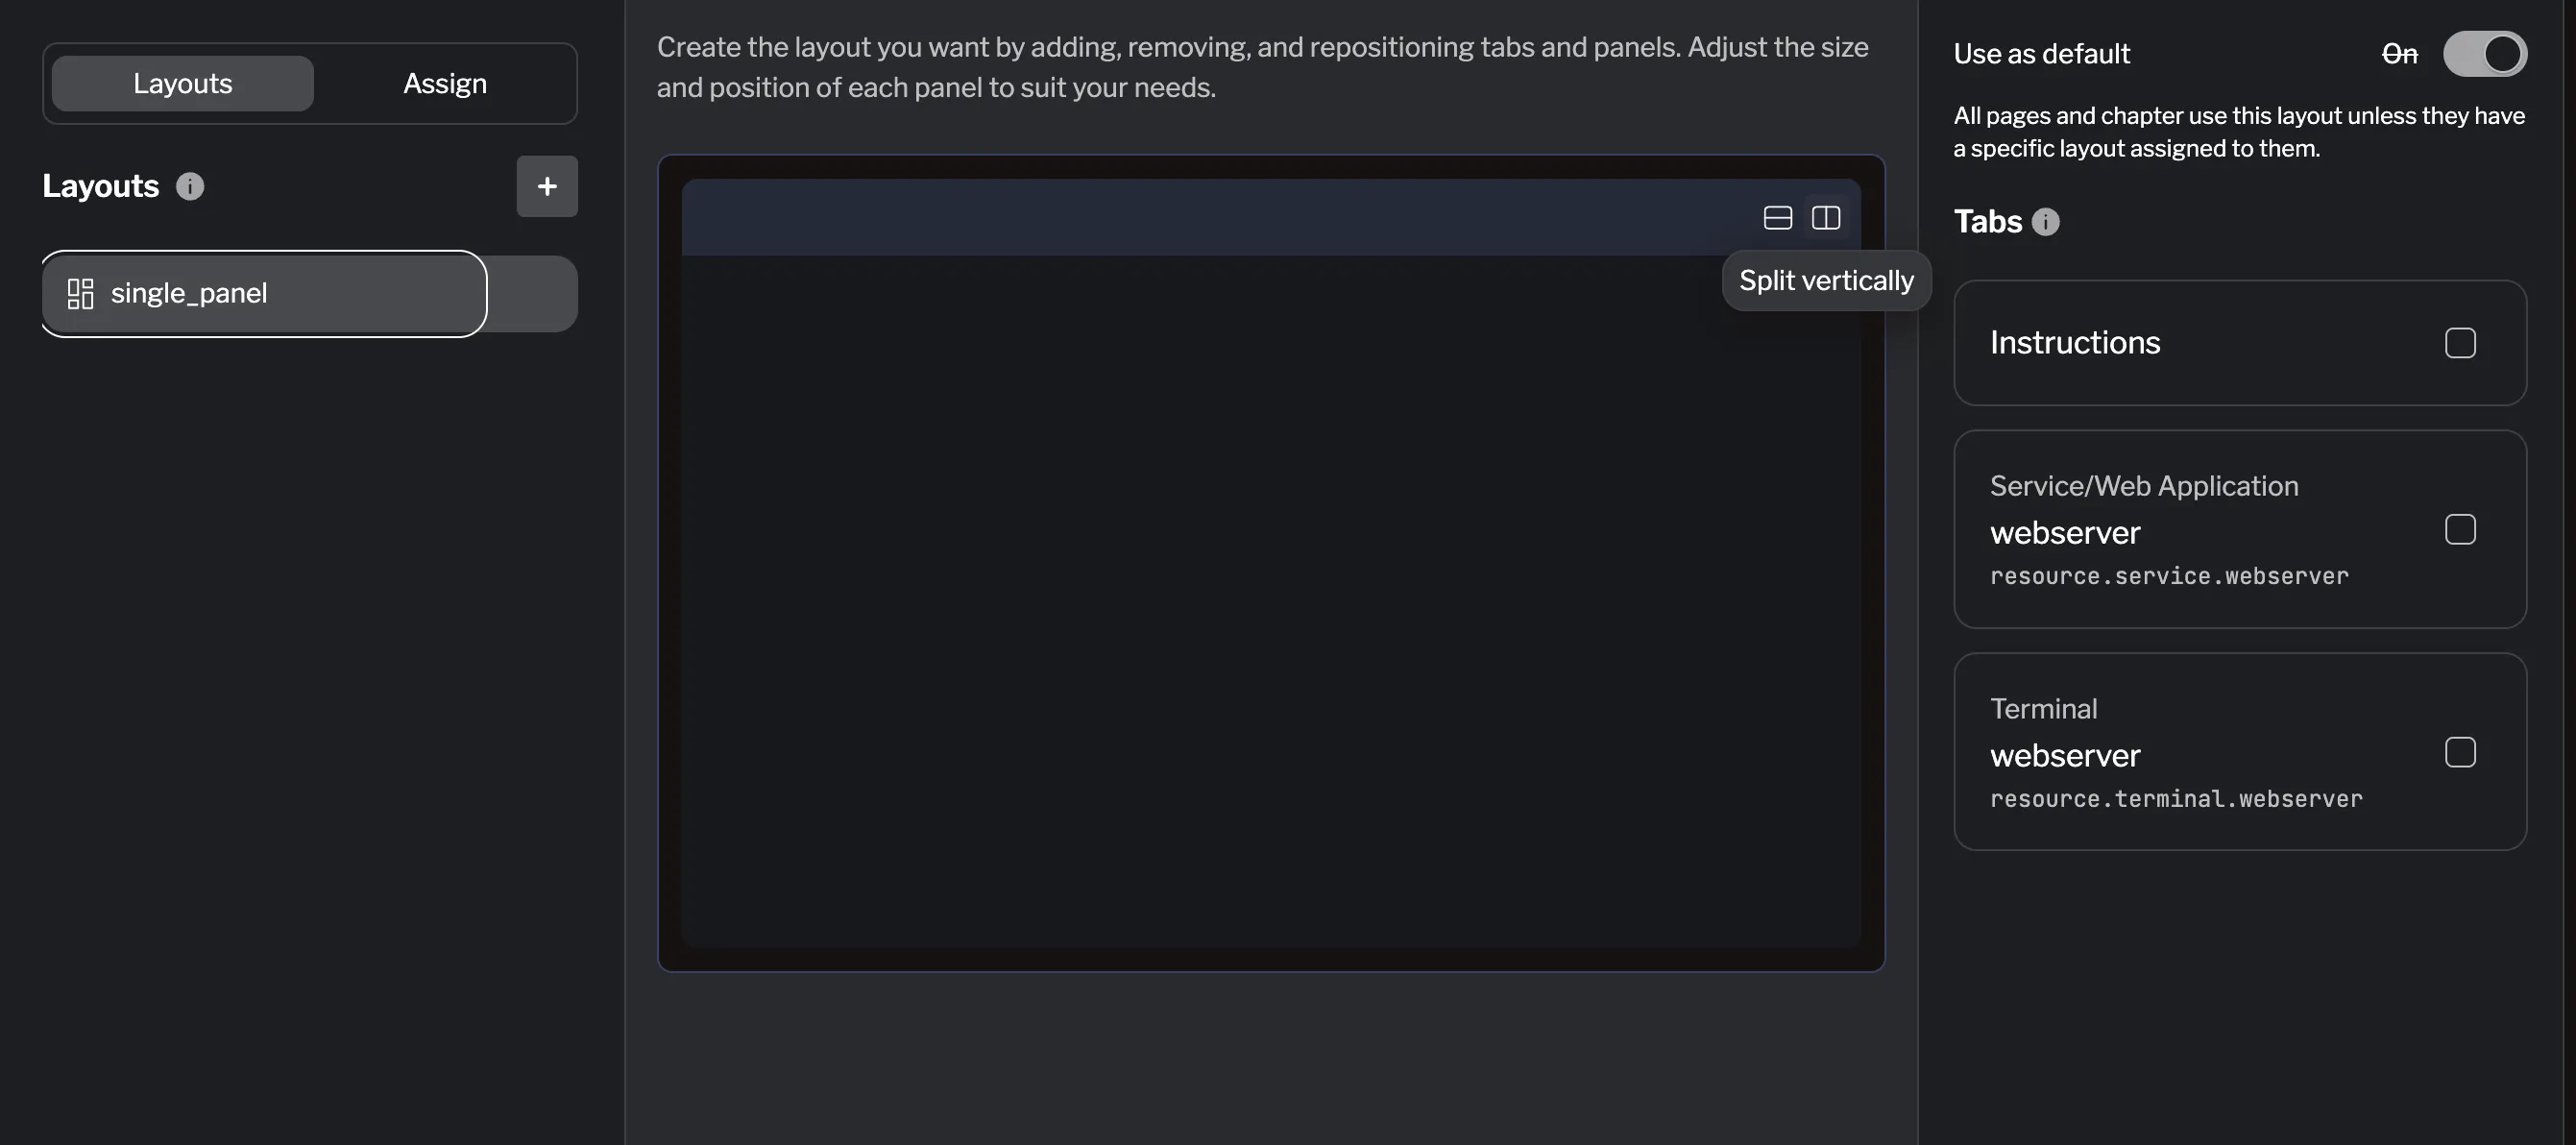
You can already see all the tabs you created previously for this lab listed on the sidebar.
Let’s add the Instructions tab to the left panel and the other two tabs to the right panel. You can click the checkbox next to their names and drag them to the desired panel.
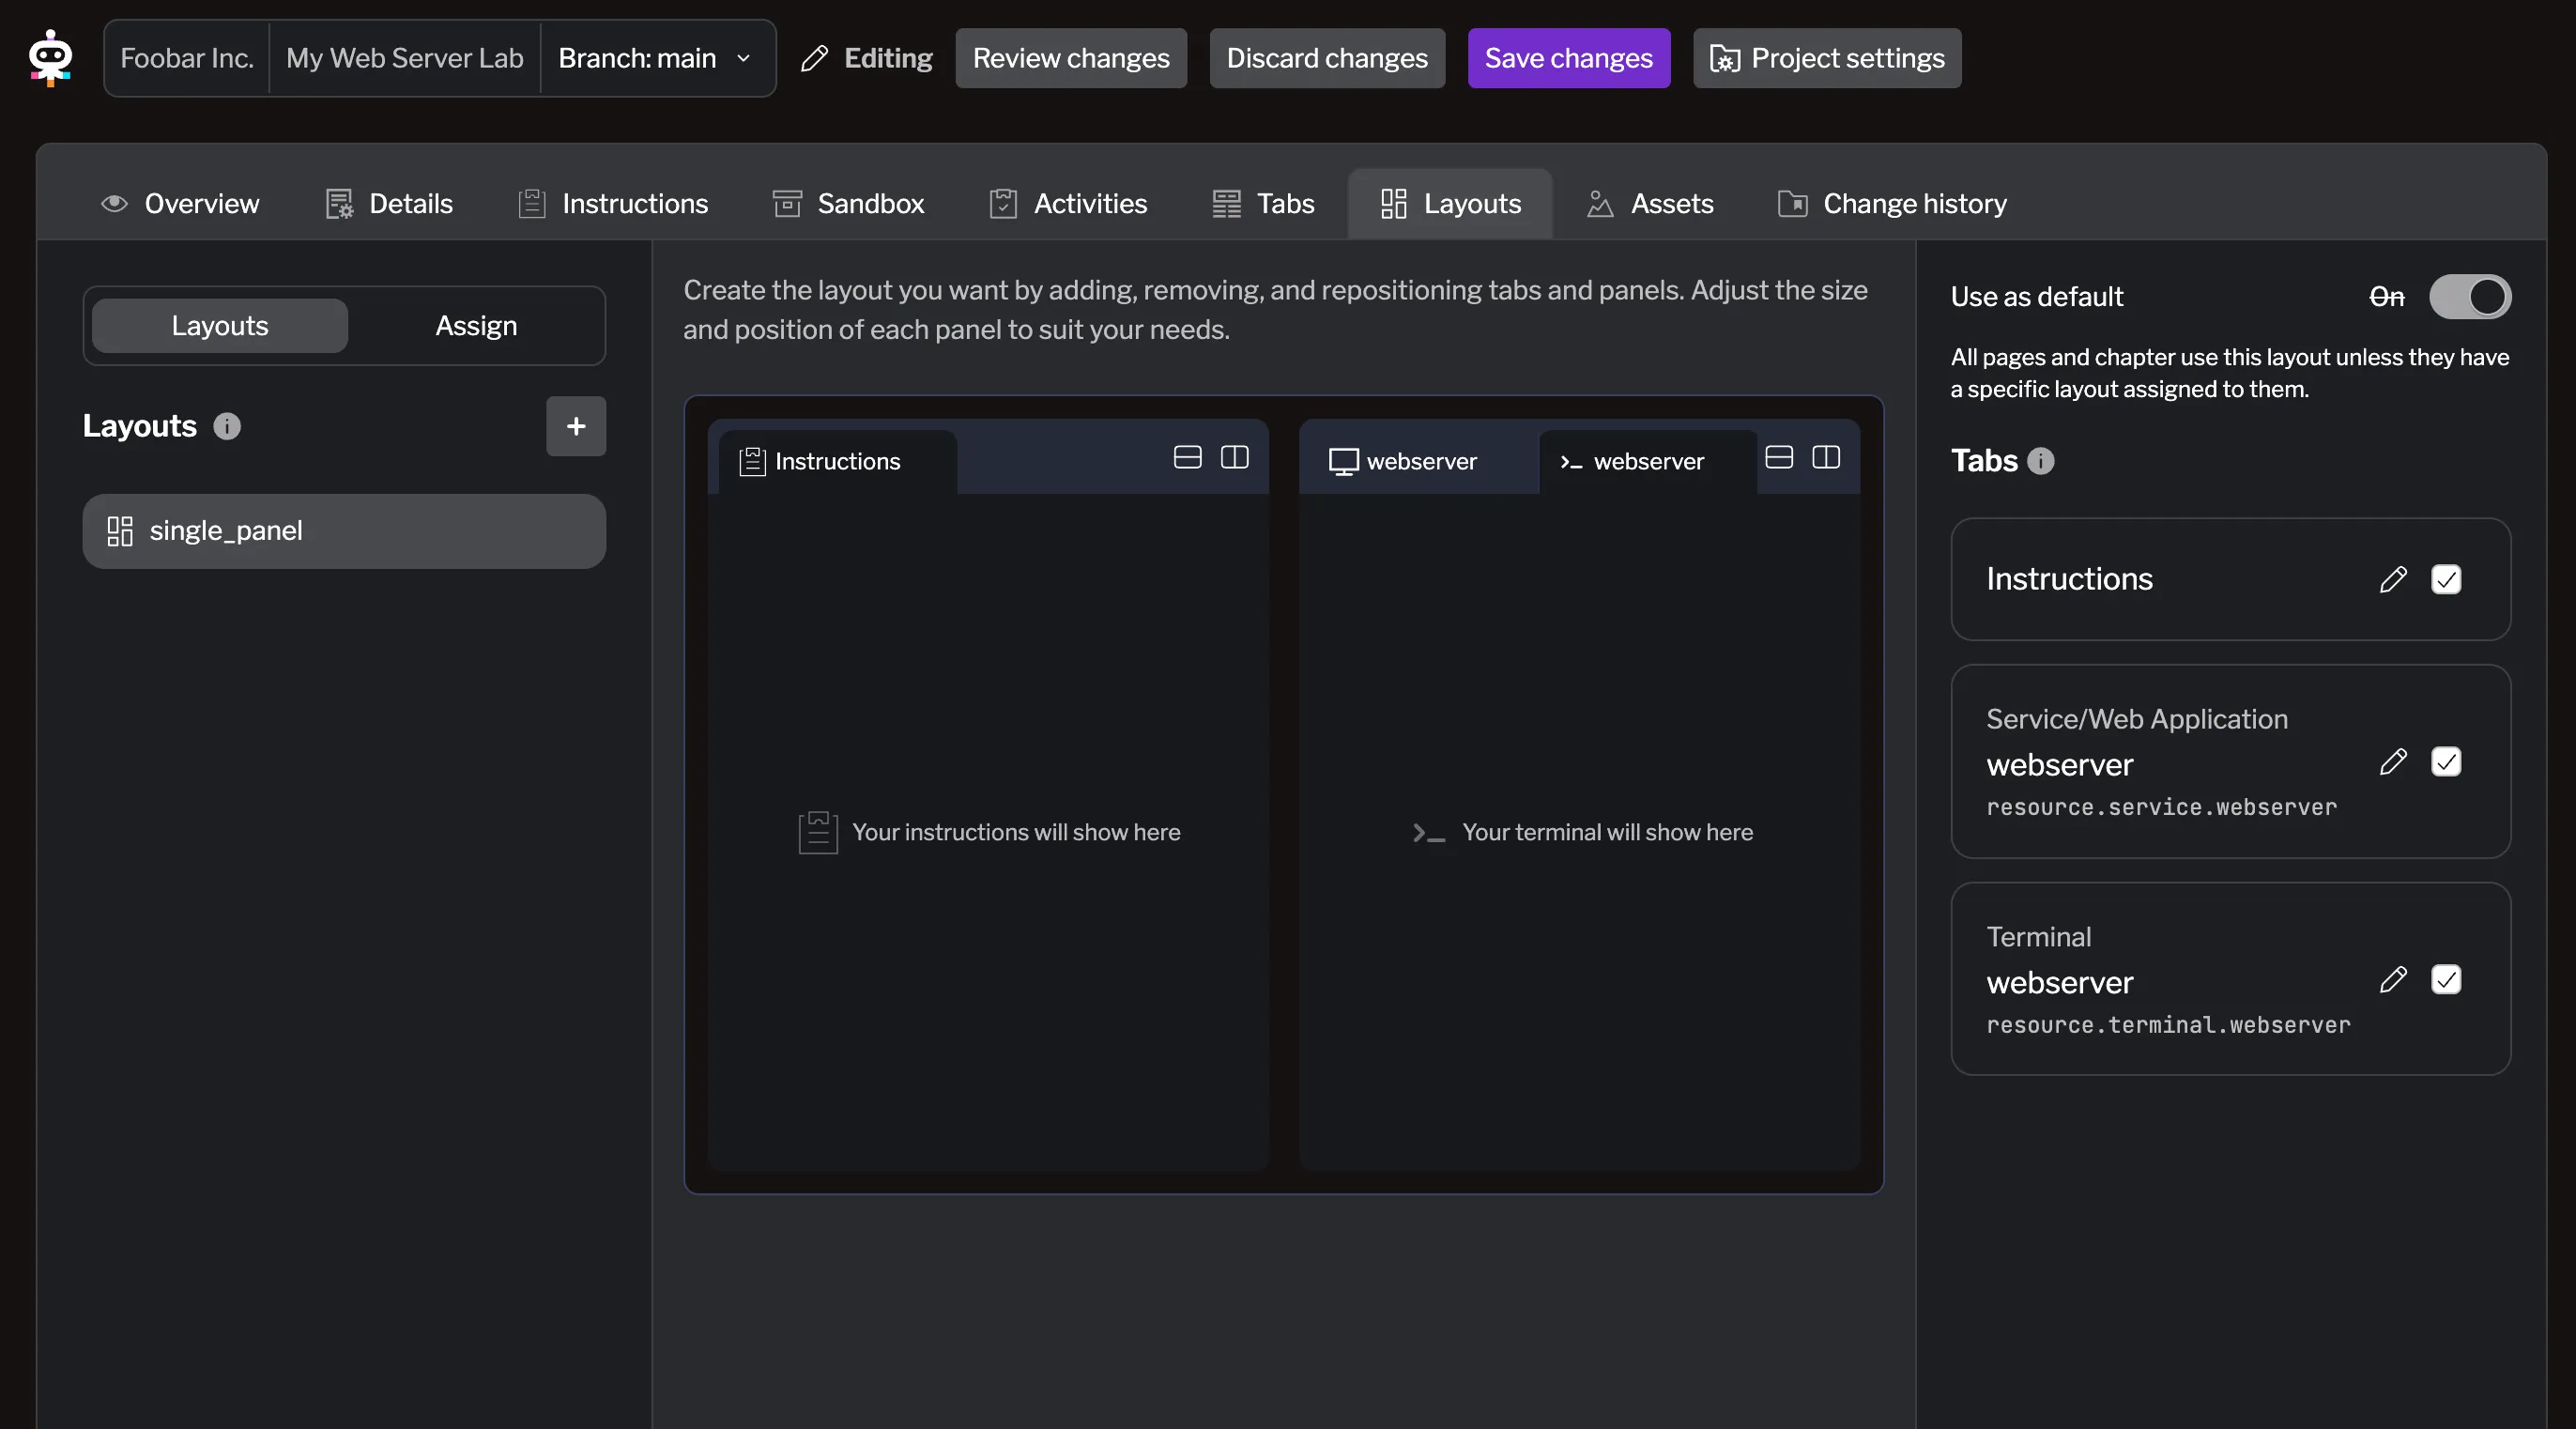
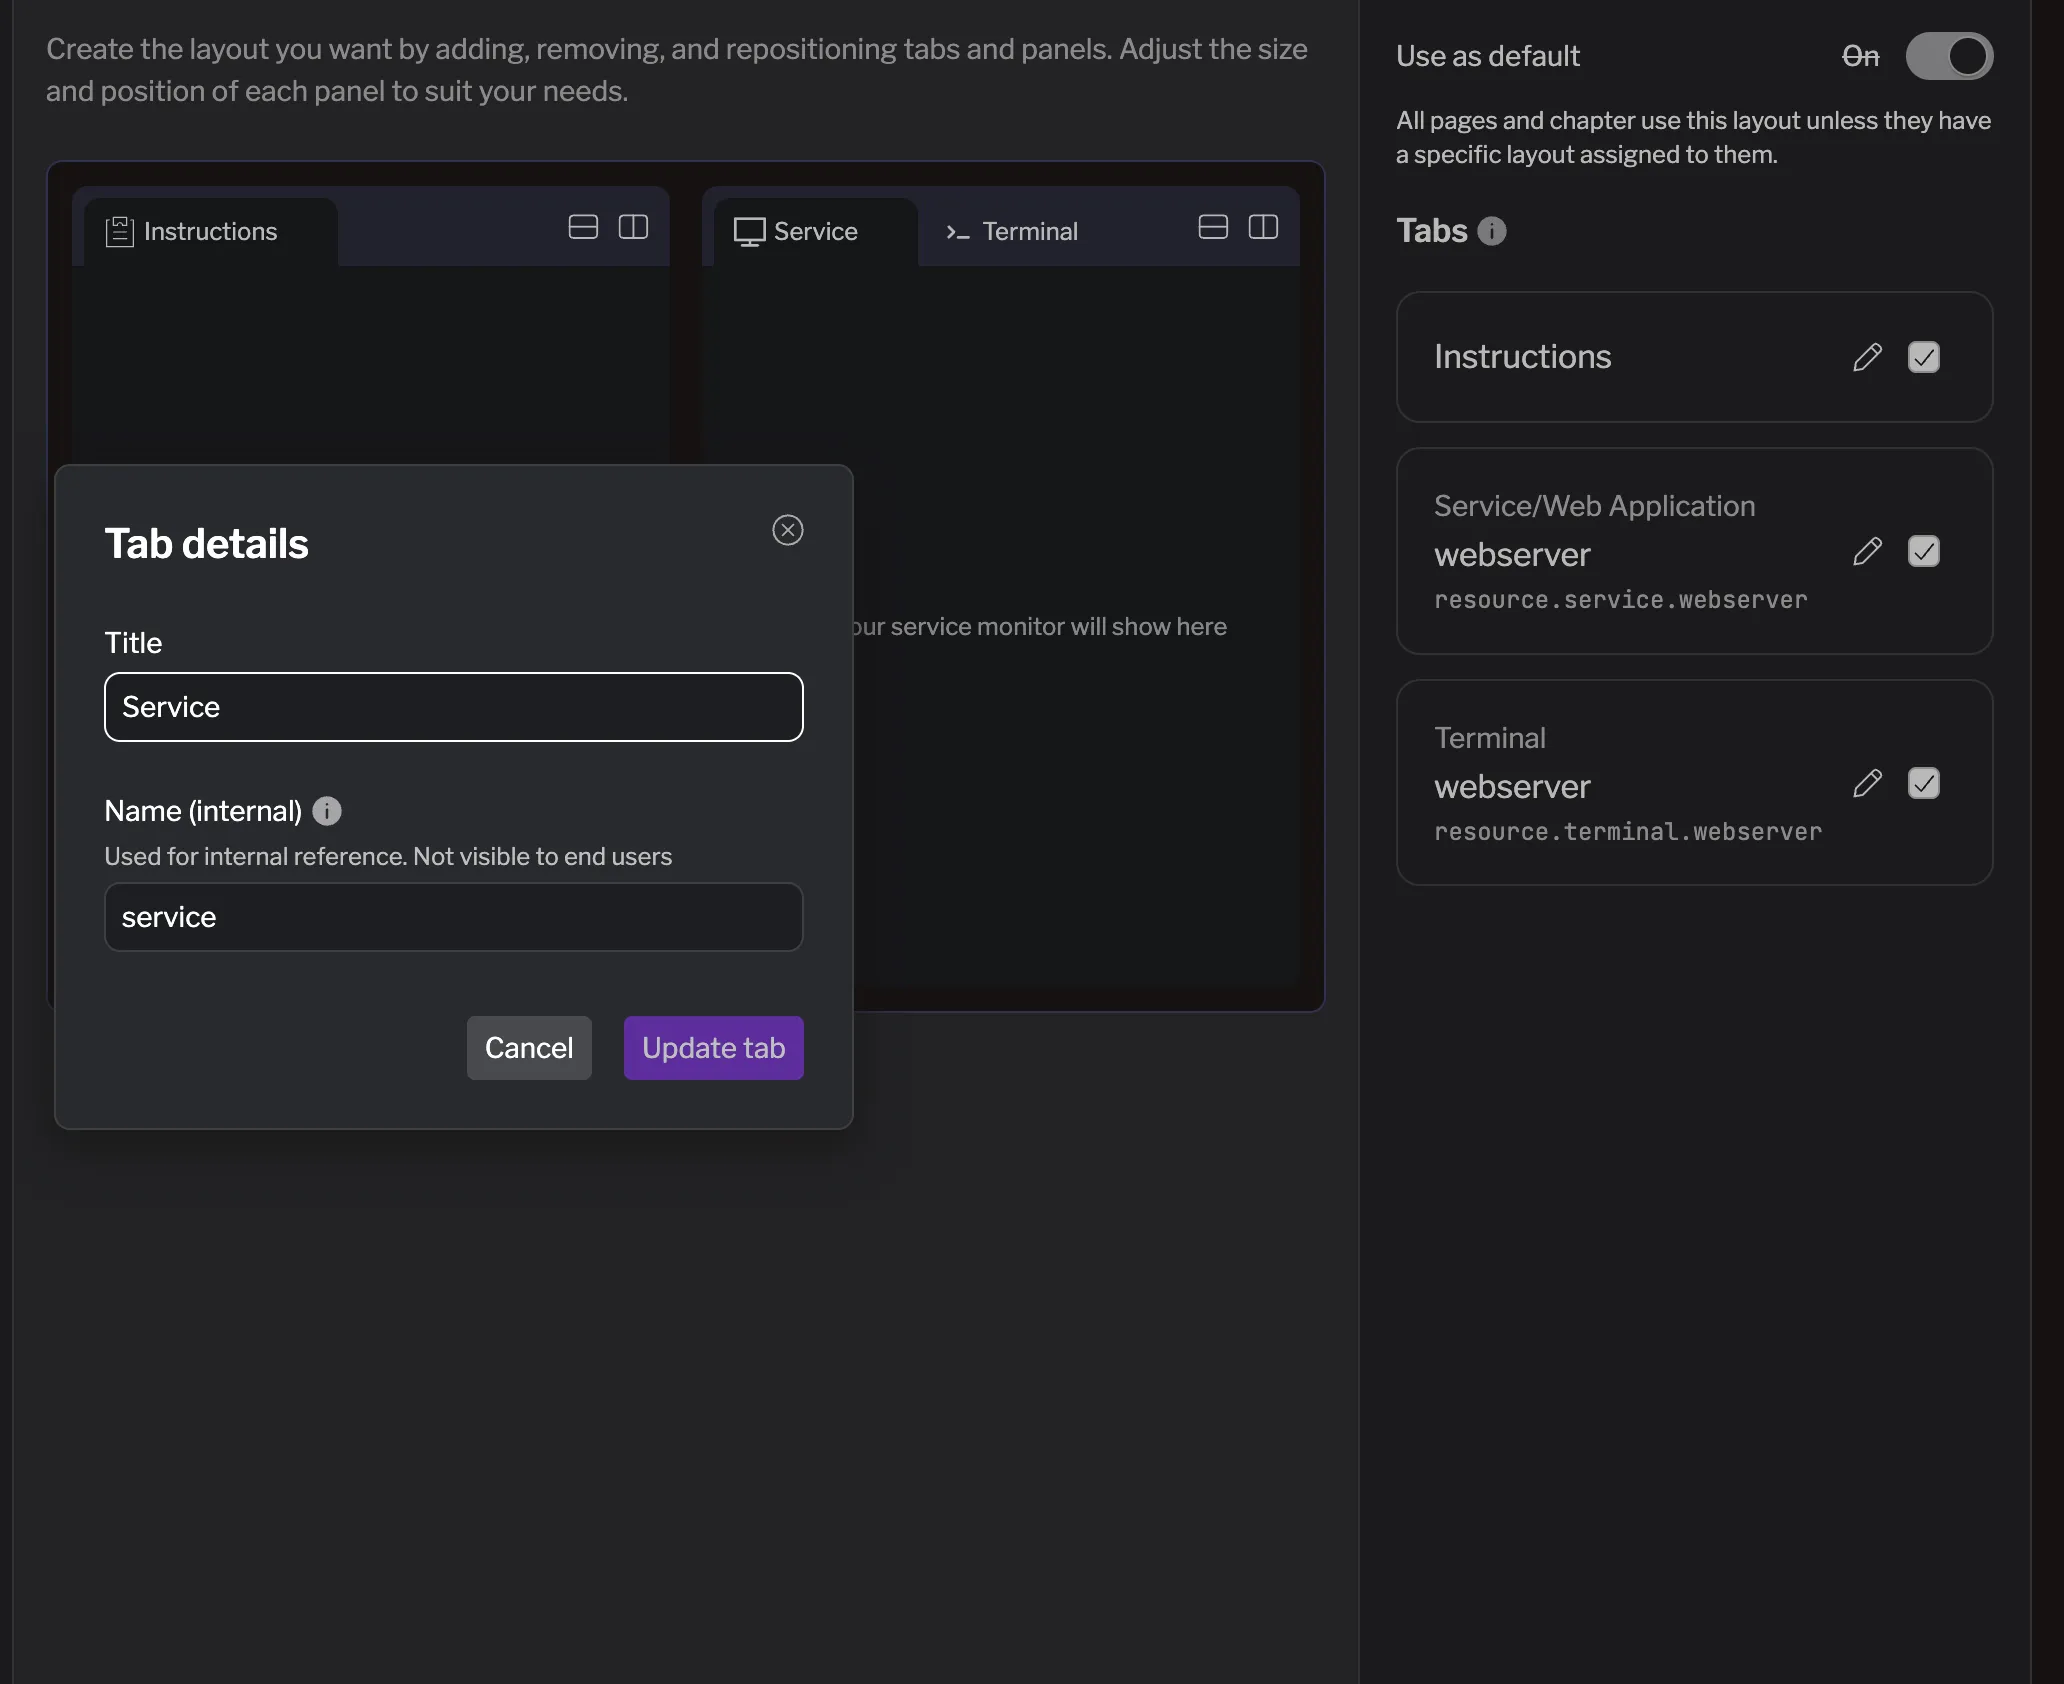
You can see that the name of the tabs is confusing – both use a webserver label. You can change the title of the tab by clicking the pencil icon next to their names on the right sidebar.
Let’s call the terminal tab Terminal and the service tab Service. You also have the option to change their internal names, this is not mandatory, but let’s also name it terminal and service respectively for now. Click Update tab to confirm the changes.
When you are ready, hit the Add changes button at the bottom right to save your changes to the default layout.
We can also rename it to something more meaningful. Let’s call it multi_panel. Hover over the layout’s name and click the ⋮ button that appears, select Rename, and enter the new name.
Review and Save Changes
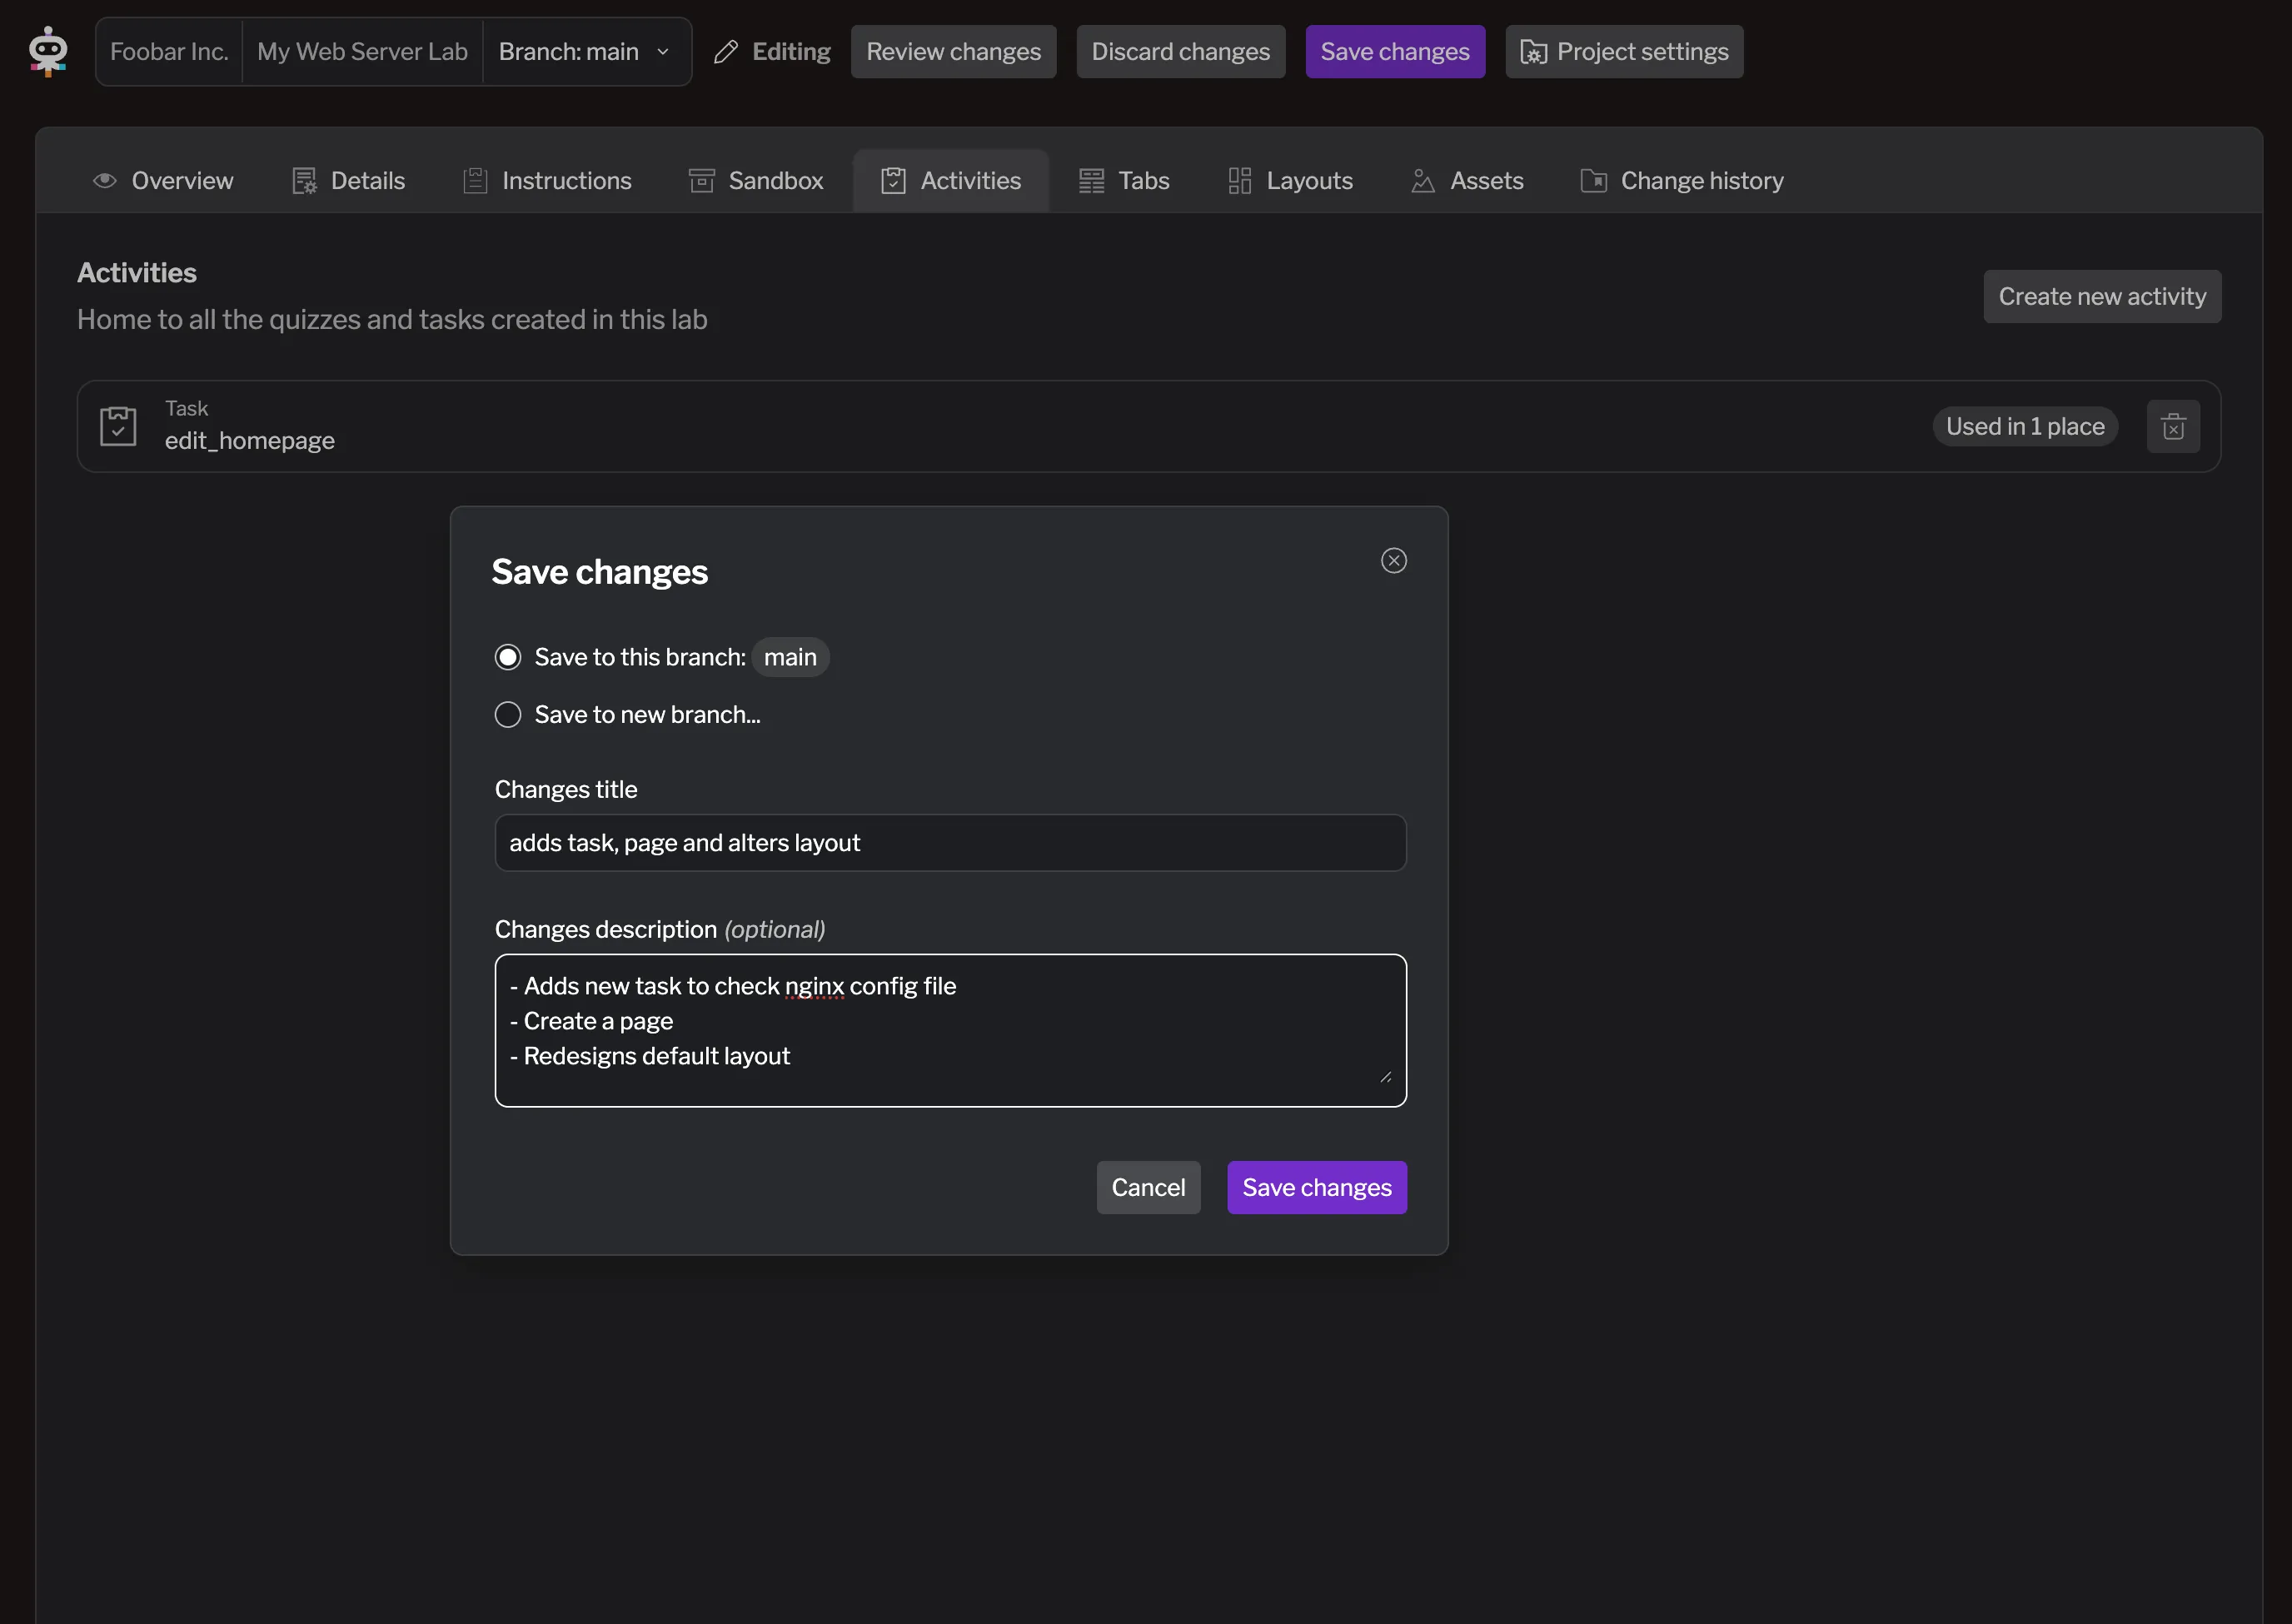
Section titled “Review and Save Changes”Now that you’ve created your content and layout, it’s time to save your changes. Click Review changes at the top to see all the modifications you made during this edit session. You can review all the changes that will be saved when you click Save changes.
Hit Save changes to commit your updates. This merges your changes into the main version of the lab. You can also create a new version if you want to keep the main version unchanged for now, but let’s just save to main for this guide. You can add a title and description for your changes to describe what you did.
What You’ve Built
Section titled “What You’ve Built”You’ve created a complete, interactive Instruqt lab with all the essential components:
- Interactive task that validates learner progress automatically using custom validation scripts
- Educational content with step-by-step instructions that teach web server concepts
Your lab now provides a complete learning experience where learners can read instructions, complete hands-on activities, and receive immediate feedback on their progress. This represents a fully functional Instruqt lab ready for learners.
What’s Next
Section titled “What’s Next”In the final step, you’ll test your complete lab experience and learn how to start it, verifying the infrastructure, completing tasks, and troubleshooting common issues.
